Introduction
Guide to replace a broken screen on Moto G30 phones. On this model, the label on the back says "Type: MC391".
What you need
-
-
-
Remove the SIM card tray with a pin or a small pointy object
 Ask FixBot
-
-
-
Unclip the plastic back cover using any tool you like (mediators, sprudgers, Jimmy...)
-
-
-
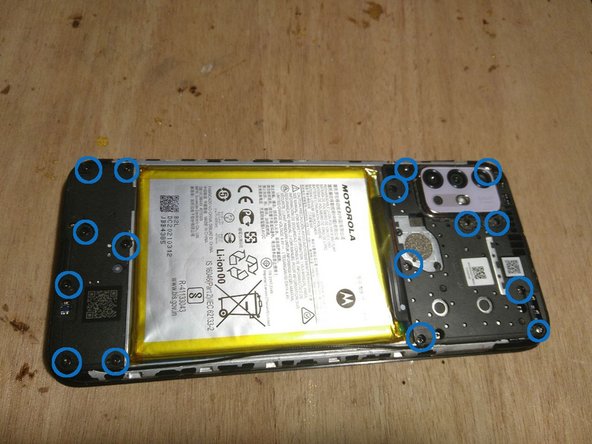
Slighly move the back cover in order to unscrew the plastic piece behind it
-
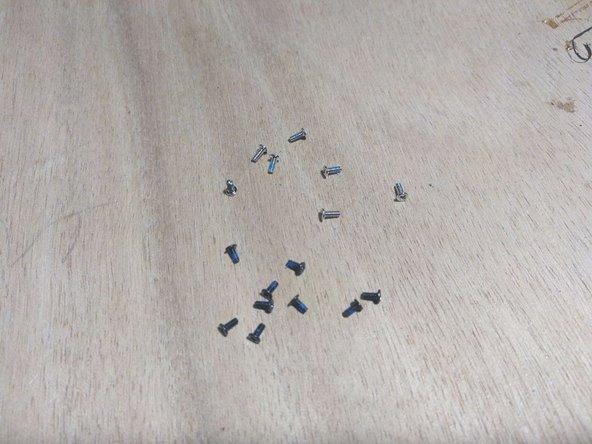
Remove the 9 small Philips-head screws inside
-
You will also have to remove small black adhesive pieces to be able to remove the part completely
-
-
-
Once the black plastic cover piece is removed, unplug the cable holding the back panel
-
Once this flex cable unplugged, lift the back panel completely
-
-
-
Unplug both battery and display connectors
-
Battery on the right
-
Display in the middle
-
You can use the opening tool as lever.
-
-
-
Unscrew the cover at the bottom of the phone
-
7 small Philips head screws to remove
-
A little black adhesive to peel off around the edges
-
Unplug the connector
-
-
-
Detach the display flex cable from the back of the chassis
-
-
-
-
Steps 9 and 10 are only useful if you order the display without its frame. Move on to step 11 if you intend to order the display with its frame
-
Heat up to help unglue the screen
-
Unglue the display from the chassis
-
I could not properly unglue with a cutter blade on the side. My technique is simpler and more brutal: I pushed the display away from the connector hole, with a rigid tool.
-
-
-
Remove the glass shards still glued around the frame
-
-
-
Replug the battery pack
-
Test the battery voltage on the test point to the left of the connector (the ground is everywhere on the metal chassis): it must be between 3.6 and 4.2 V
-
Unglue the screen-USB-motherboard flex cable from your broken screen, and replug the bottom USB board with the top motherboard
-
Turn on phone with Power On + Up buttons
-
Plug it to the computer with an USB-C cable
-
Type "lsusb" in a shell
-
If you can read something like "22b8:XXXX Motorola PCS moto g(30)", congratulations: your motherboard still lives
-
-
-
Once your phone has been successfully torn down and tested, it is time to order the replacement screen
-
The part will cost you around 15-20€. You can find it here for instance
-
Two choices: ordering the display pre-assembled on a new frame, or ordering it without
-
I recommend pre-assembled display, it will be more sturdy and less subject to breaking
-
While waiting for your order, don’t forget to store your parts and small screw properly
-
-
-
If you ordered the display pre-assembled on a frame, you will have to move all the components from the old chassis to the new one
-
-
-
You will find the small button panel on the chassis side, unglue it carefully
-
Start by ungluing the black tape covering it
-
Unplug the button connector from the main PCB
-
Unglue the button flex board carefully
-
Glue it on the new chassis
-
-
-
Unscrew both PCB
-
The top one is held by 2 screws
-
The bottom one is help by one screw
-
-
-
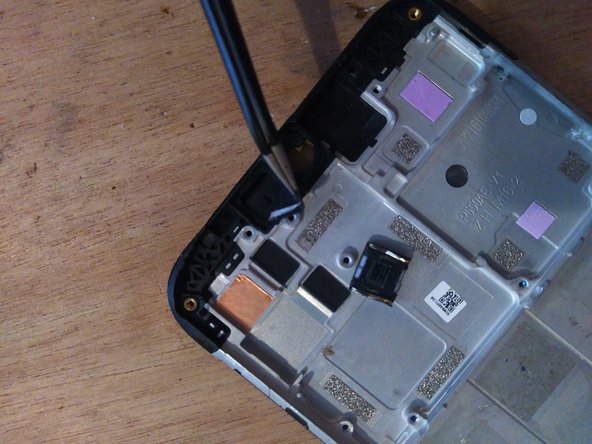
Slide the top PCB out of the chassis
-
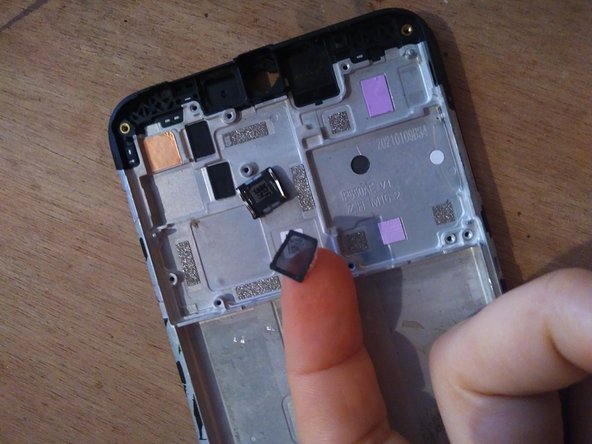
Under it, there is a small undefined module, and an opaque sticker
-
Get the module out of its casing
-
Unglue the sticker under it
-
Replace both module and sticker on the other side
-
-
-
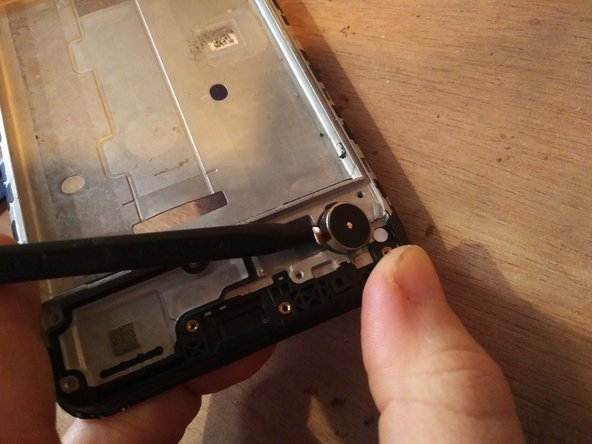
Remove the bottom PCB
-
The haptic module is under it, unglue it carefully
-
Start by the connector side
-
Once the connector side is lifted, it is easier to get to the rest of the module and unglue it
-
-
-
Try to salvage the stickers and glue them back to the new frame
-
You can also use new stickers
-
The pink sticker is a very thin thermal pad, you can replace it by thermal paste
-
The orange sticker is a tape copper foil
-
I don’t know how to replace the metallic grey thing, it is probably use for a better RF shielding
-
-
-
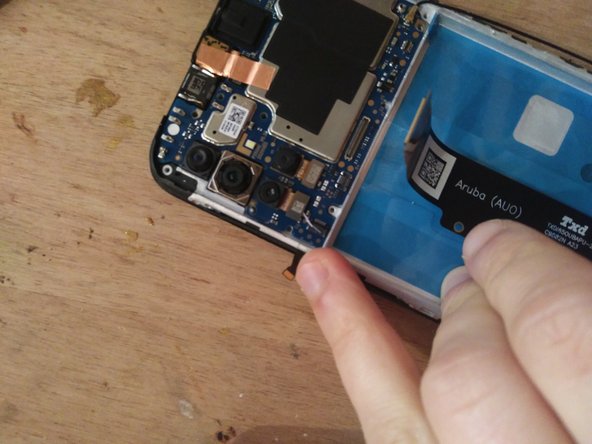
Insert the top PCB into the new frame
-
Don’t forget to move the button PCB small connector out of the way, it could get stuck under the board
-
-
-
Plug the elements back
-
Top and bottom screen module connectors
-
Right-side antenna cable
-
Small button PCB connector
-
Screw the boards back in place
-
-
-
Replug the back cover connector
-
A step you don’t see on the pictures because I forgot
-
Rescrew the two PCB covers
-
-
-
Clip the cover back in place
-
Insert the SIM card holder
-
-


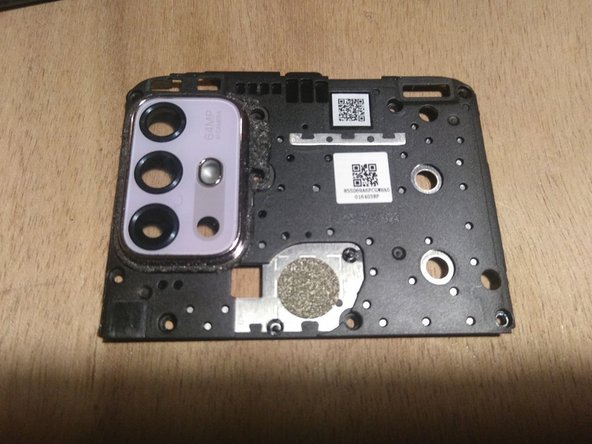


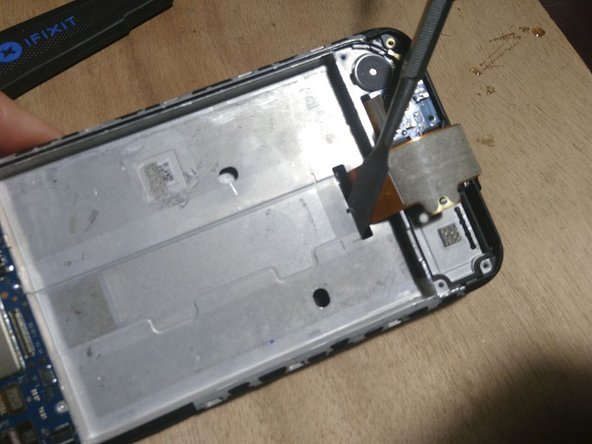
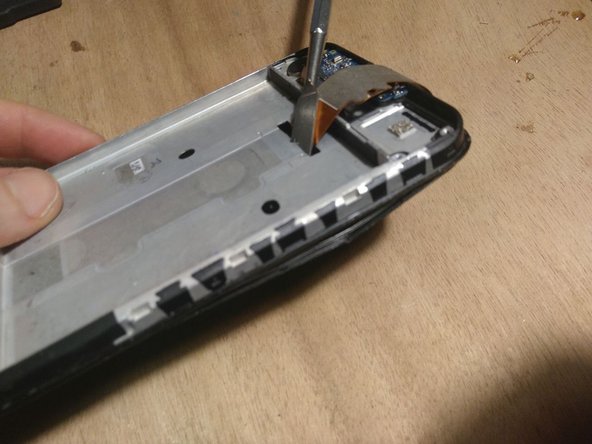


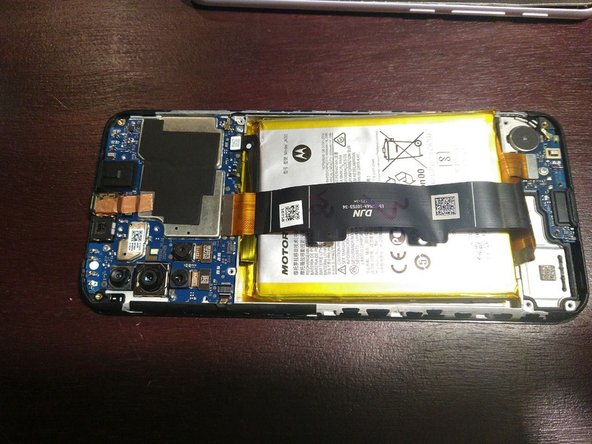




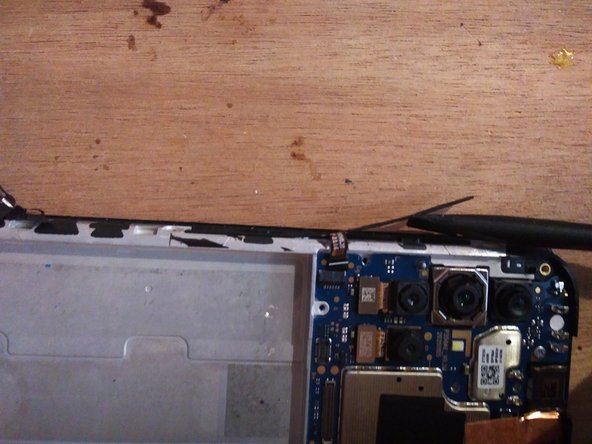
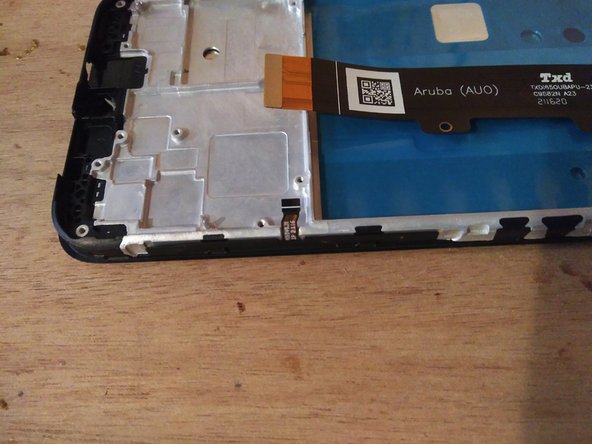


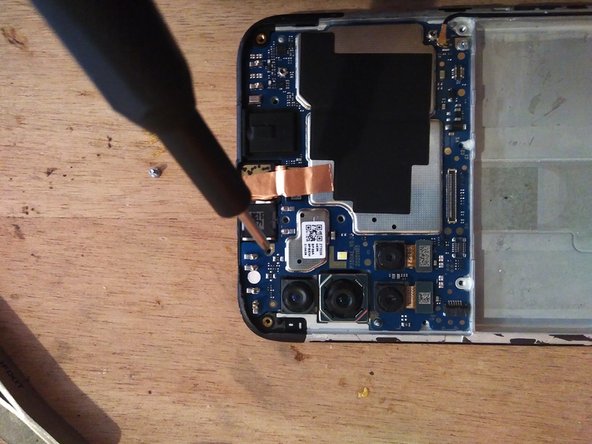










Unfortunately, my phone is bricked, so I could never turn it on and test the new screen. I hope you will get more luck than me!
Cancel: I did not complete this guide.
3 other people completed this guide.
Special thanks to these translators:
100%


These translators are helping us fix the world! Want to contribute?
Start translating ›

1 Guide Comment
Deze handleiding werkt ook voor de Moto G30 met typenummer MC390. Op een enkel punt ziet het frame van het nieuwe scherm er net iets anders uit, maar alles zit op dezelfde plek. De ongedefinieerde module uit stap 16 is de speaker. Na vervanging werkte het toestel weer naar behoren.
