
Motorola E815 Keypad Replacement

Zoie E and 5 other contributors
Last updated on May 7, 2024
Views: 2.7K
View statistics:
- Past 24 Hours:
- 2
- Past 7 Days:
- 23
- Past 30 Days:
- 91
- All Time:
- 2,667
Comments: 3
1 comment on steps, 2 guide comments.
Go to guide commentsCompleted: 1 2
1 person has marked this guide "completed." Will you be next?
2 people have marked this guide "completed." Including you — great job!
Favorites: 0 1
No one has favorited (and subscribed to) this guide. Will you be the first?
1 person has favorited (and subscribed to) this guide — and that's you!
Action Shots
Be an action hero! This guide needs images that better demonstrate how to perform specific actions.
Introduction
Go to step 1 ↓If the buttons on your Motorola E815 are unresponsive or do not seem as crisp as they used to be, you may need to replace your keypad. To accomplish this, you will
- Dissemble the phone
- Access the keypad for repair or replacement
What you need
Tools


-
-
-
Locate the back cover release slide.
-
Use your finger to slide it down.
 Ask FixBot
-
-
-
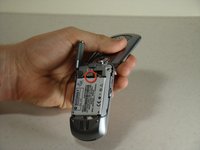
Locate the battery removal slot.
-
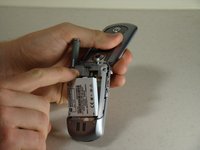
Use your finger to pull the battery out from the top.
-
Remove the battery.
-
-
-
-
-
Locate the antenna port on the top of the phone.
-
-
-
Grip the plastic support post and unscrew the apparatus using a counterclockwise twist.
-
Pull the apparatus up and out of the phone.
-
-
-
-
-
Locate the two screws on the backside of the phone.
-
Unscrew the two screws using a T6 Screwdriver.
-
-
Tool used on this step:Tweezers$4.99
-
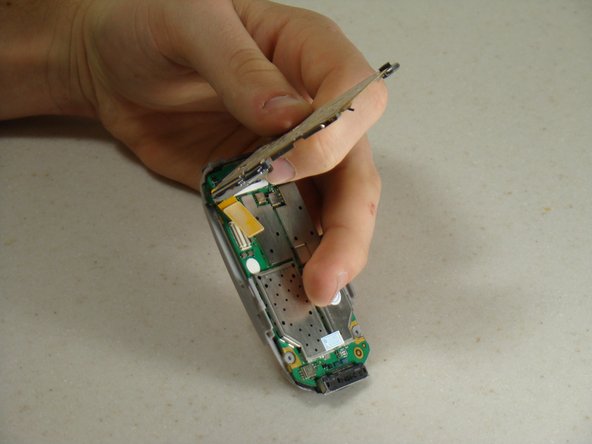
Gently pull the top section of the phone upwards until you feel some resistance.
-
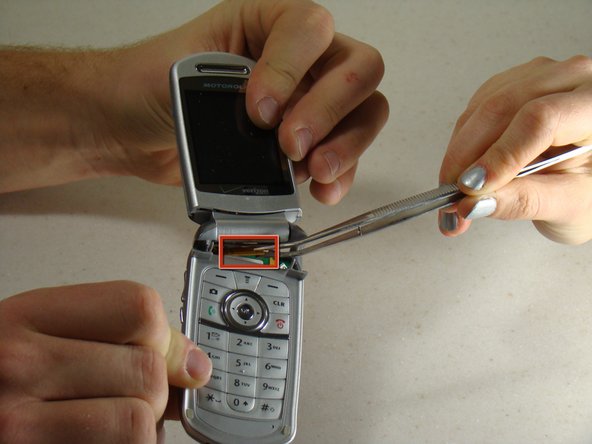
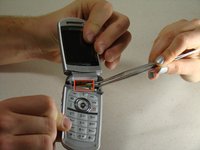
Locate the brown connector that runs from the top section of the phone to the circuit board under the keypad.
-
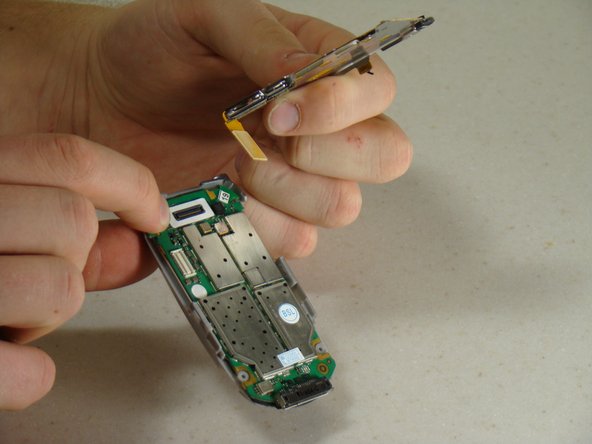
Using tweezers, gently pry the connector from the circuit board.
-
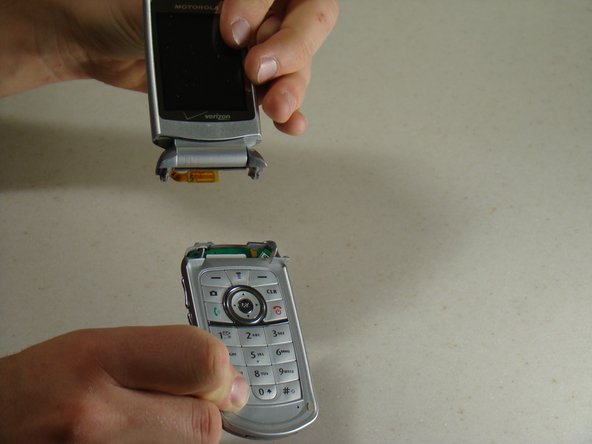
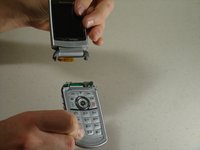
Carefully detach the two sections of the phone.
-
-
-
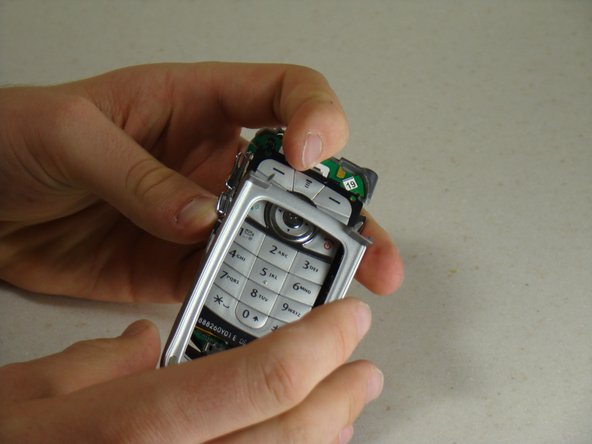
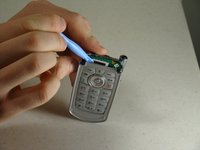
Using the blue pry tool, carefully pull the keypad frame away from the keypad.
-
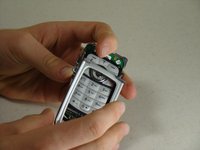
Gently remove the keypad frame from the keypad.
-
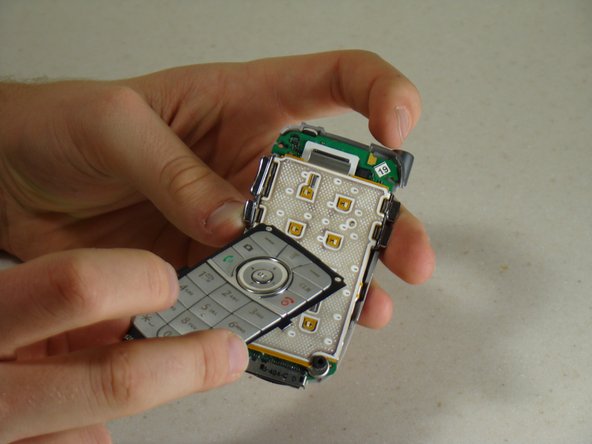
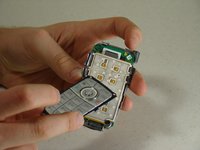
Lift the silicone keypad cover off.
-
-
-
-
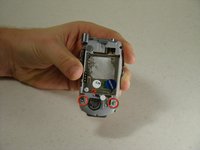
Rotate the phone around so that you are looking at the battery cavity.
-
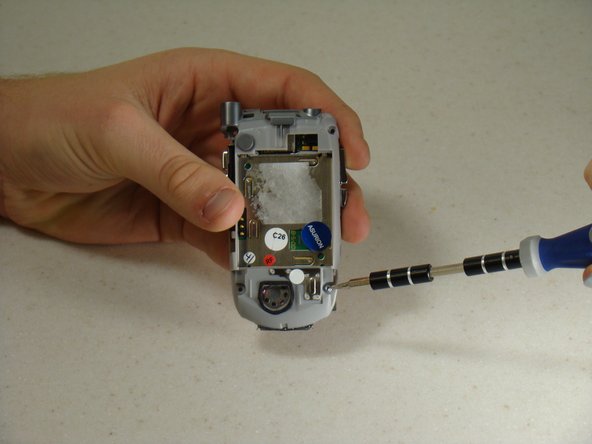
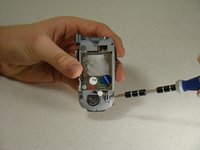
Locate the screws on the bottom base of the phone.
-
Unscrew the two screws using a T6 Screwdriver.
-
-
-
Rotate the phone back to the front side.
-
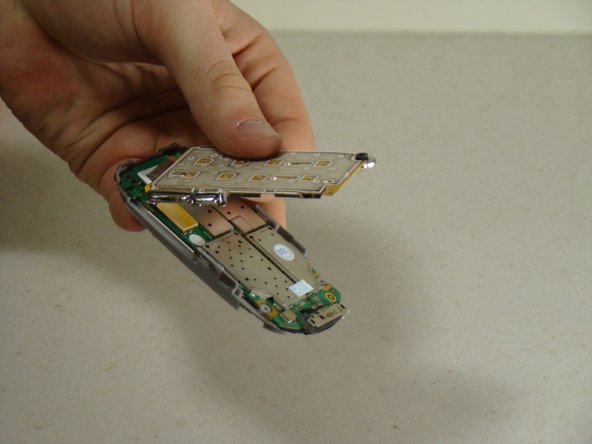
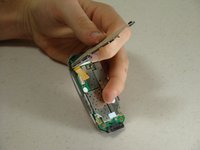
Slowly lift the bottom portion of the keypad off of the phone until you feel resistance.
-
-
-
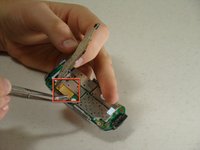
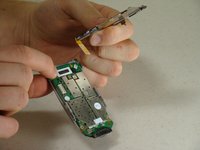
Using tweezers, carefully detach the yellow connector strip from the circuit board by lifting up.
-
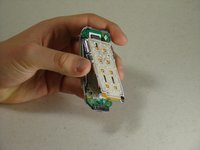
Separate the keypad from the circuit board.
-
-









To reassemble your device, follow these instructions in reverse order.
Cancel: I did not complete this guide.
One other person completed this guide.

Team

Cal Poly, Team 14-8, Forte Winter 2011 Member of Cal Poly, Team 14-8, Forte Winter 2011
CPSU-FORTE-W11S14G8
5 Members
60 Guides authored
2 Guide Comments
We should have a motherboard replacement.
We need to fullify more this content.
