Free Shipping on Domestic Orders $75+

Motorola Droid MAXX 2 Button Assembly Replacement

What you need

  1. Motorola Droid MAXX 2 Button Assembly Replacement, Battery: step 1, image 1 of 1
    • Insert a small pointed object into the hole on the sim card tray to eject the tray from the phone.

    Ask FixBot

    Add Comment

  2. Motorola Droid MAXX 2 Button Assembly Replacement: step 2, image 1 of 1
    • Pull the sim card tray up out of the phone

    Ask FixBot

    Add Comment

  3. Motorola Droid MAXX 2 Button Assembly Replacement: step 3, image 1 of 2 Motorola Droid MAXX 2 Button Assembly Replacement: step 3, image 2 of 2
    • Wedge your thumb into the indent located on the bottom left corner of the back cover and pull up to remove the back cover.

    Ask FixBot

    Add Comment

  4. Motorola Droid MAXX 2 Button Assembly Replacement: step 4, image 1 of 1
    • Remove the seventeen 3.2mm Torx T4 screws from the mid-frame.

    • These may be T3 screws. If you are having trouble unscrewing these, stop and try a T3 bit.

    Ask FixBot

    Add Comment

  5. Motorola Droid MAXX 2 Button Assembly Replacement: step 5, image 1 of 1
    • Pull the mid-frame off of the phone.

    • Keep track of the on/off and volume buttons when you take the phone apart because they are likely to fall out when the halves are separated.

    Ask FixBot

    Add Comment

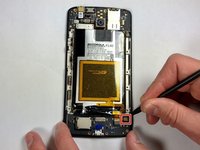
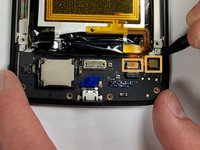
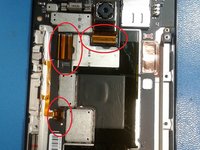
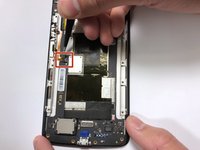
  6. Motorola Droid MAXX 2 Button Assembly Replacement: step 6, image 1 of 3 Motorola Droid MAXX 2 Button Assembly Replacement: step 6, image 2 of 3 Motorola Droid MAXX 2 Button Assembly Replacement: step 6, image 3 of 3
    • Remove the static tape covering the two connectors.

    • Use a spudger to disconnect the battery cables from the motherboard.

    • If battery has adhesive, use heat gun for one to two minutes to loosen it. Be careful of the points outlined in red when prying it up. Use guitar picks or a spudger to gently lift the battery and separate the adhesive.

    Ask FixBot

    Add Comment

  7. Motorola Droid MAXX 2 Button Assembly Replacement: step 7, image 1 of 1
    • Remove the disconnected battery from the phone.

    Ask FixBot

    Add Comment

  8. Motorola Droid MAXX 2 Button Assembly Replacement, Button Assembly: step 8, image 1 of 2 Motorola Droid MAXX 2 Button Assembly Replacement, Button Assembly: step 8, image 2 of 2
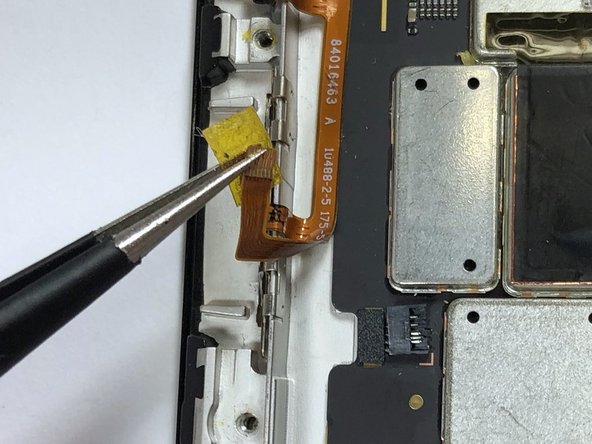
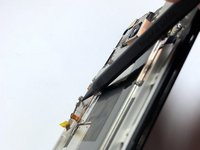
    • Peel back the orange adhesive covering the ZIF connector.

    Ask FixBot

    Add Comment

  9. Motorola Droid MAXX 2 Button Assembly Replacement: step 9, image 1 of 2 Motorola Droid MAXX 2 Button Assembly Replacement: step 9, image 2 of 2
    • Lift the black tab on the ZIF connector up.

    • Pull the ribbon cable out of the ZIF connector.

    Ask FixBot

    Add Comment

  10. Motorola Droid MAXX 2 Button Assembly Replacement: step 10, image 1 of 3 Motorola Droid MAXX 2 Button Assembly Replacement: step 10, image 2 of 3 Motorola Droid MAXX 2 Button Assembly Replacement: step 10, image 3 of 3
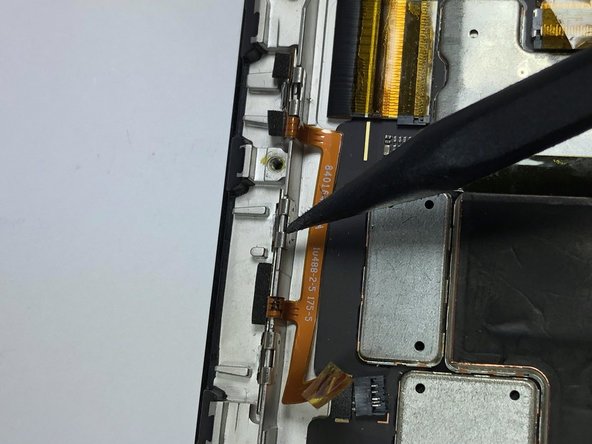
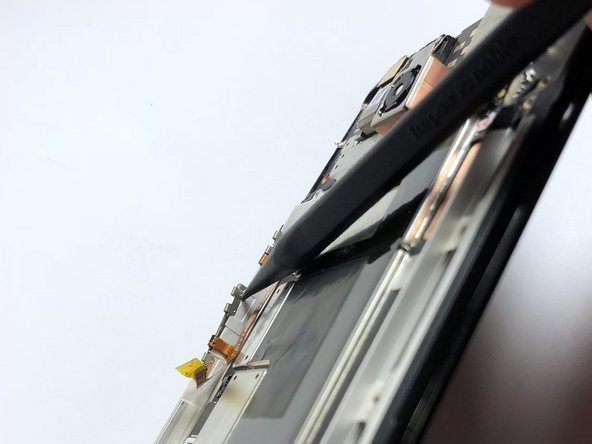
    • Use the plastic spudger to loosen the metal prongs that hold the button assembly onto the phone.

    Ask FixBot

    Add Comment

  11. Motorola Droid MAXX 2 Button Assembly Replacement: step 11, image 1 of 1
    • Pull the button assembly up and out of the phone.

    Ask FixBot

    Add Comment

Conclusion

To reassemble your device, follow these instructions in reverse order.

Cancel: I did not complete this guide.

Burke Seggerman

Member since: 03/18/18

704 Reputation

5 Guides authored

Team

Baylor, Team S3-G4, Williams Spring 2018 Member of Baylor, Team S3-G4, Williams Spring 2018

BU-WILLIAMS-S18S3G4

3 Members

6 Guides authored

0 Guide Comments

Add Comment

View Statistics:

Past 24 Hours: 1

Past 7 Days: 3

Past 30 Days: 22

All Time: 761