
Motorola Droid 4 Rear Bezel Replacement

Cheriann and 4 other contributors
Last updated on Jan 8, 2015
Views: 1K
View statistics:
- Past 24 Hours:
- 2
- Past 7 Days:
- 24
- Past 30 Days:
- 92
- All Time:
- 1,032
Comments: 0
No one has left comments on this guide. Will you be first?
Go to guide commentsCompleted: 0 1
No one has marked this guide "completed." Will you be the first?
1 person has marked this guide "completed." It's you — great job!
Favorites: 2 3
2 people have favorited (and subscribed to) this guide. Will you be next?
3 people have favorited (and subscribed to) this guide — including you!
Community-Contributed Guide
An awesome member of our community made this guide. It was not created by iFixit staff.
Action Shots
Be an action hero! This guide needs images that better demonstrate how to perform specific actions.
Needs More Images
A few more images would make this guide's procedures crystal clear.
Introduction
Go to step 1 ↓The rear bezel holds most of the phone together. The rear bezel needs to be removed to allow you to have access to the internal parts of the phone besides the battery.
You will need to remove several torx head screws. Make sure to use the correct type.
What you need
Tools
-
Spudger4.9


-
-
-
Insert the rear cover removal tool, or a paper clip, in the hole near the back camera lens.
-
Slide the cover down to remove.
 Ask FixBot
-
-
-
-
-
Tool used on this step:T5 Torx Screwdriver$5.49
-
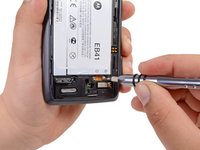
Use the T5 Torx Screwdriver to remove both 2.5 mm screws from the battery cable.
-
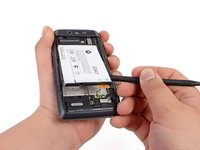
Use the Spudger to unstick the battery.
-
-
-
-
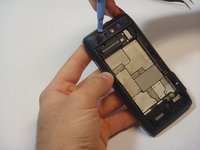
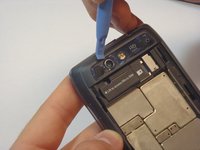
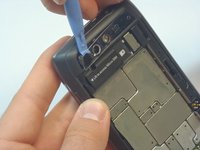
Using the blue plastic opening tool, pry off the thin plastic camera cover.
-
-
-
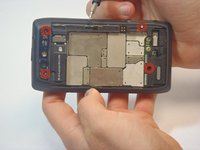
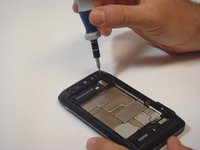
Remove the four screws, indicated by the red circles, with the screwdriver and T5 Torx bit.
-
-
-
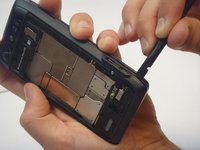
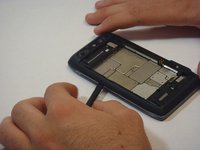
Insert the spudger between the rear bezel and the main housing.
-
Slide the spudger around all sides of the phone to separate the bezel from the housing.
-
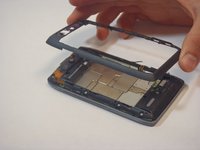
Pry the bezel free.
-
-








To reassemble your device, follow these instructions in reverse order.

Team

USF Tampa, Team 5-1, Mcgee Fall 2014 Member of USF Tampa, Team 5-1, Mcgee Fall 2014
USFT-MCGEE-F14S5G1
5 Members
60 Guides authored
