Free Shipping on Domestic Orders $75+

Motorola C139 Rear Casing Replacement

What you need

  1. Motorola C139 Rear Casing Replacement, Battery: step 1, image 1 of 3 Motorola C139 Rear Casing Replacement, Battery: step 1, image 2 of 3 Motorola C139 Rear Casing Replacement, Battery: step 1, image 3 of 3
    • Begin by flipping your phone over so that the back cover is facing up.

    • Apply force to the back cover and simultaneously slide the cover down.

    • Note: Applying pressure on the ridges will make it easier to remove the cover.

    Ask FixBot

    Add Comment

  2. Motorola C139 Rear Casing Replacement: step 2, image 1 of 3 Motorola C139 Rear Casing Replacement: step 2, image 2 of 3 Motorola C139 Rear Casing Replacement: step 2, image 3 of 3
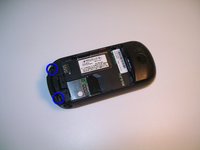
    • Press the button labeled "PUSH" located at the bottom back of the phone. This will release the battery.

    • Lift and remove the battery.

    Ask FixBot

    Add Comment

  3. Motorola C139 Rear Casing Replacement, Rear Casing: step 3, image 1 of 3 Motorola C139 Rear Casing Replacement, Rear Casing: step 3, image 2 of 3 Motorola C139 Rear Casing Replacement, Rear Casing: step 3, image 3 of 3
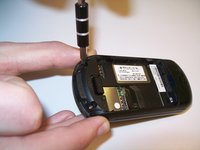
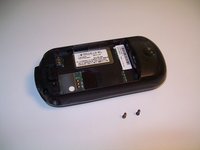
    • Use a Torx T-5 screwdriver to remove the screws on the back of the phone.

    • The screws are 6.86 mm long and 1.61 mm in diameter.

    Ask FixBot

    Add Comment

  4. Motorola C139 Rear Casing Replacement: step 4, image 1 of 3 Motorola C139 Rear Casing Replacement: step 4, image 2 of 3 Motorola C139 Rear Casing Replacement: step 4, image 3 of 3
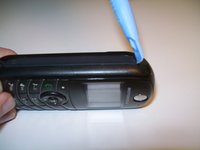
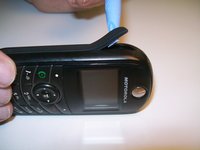
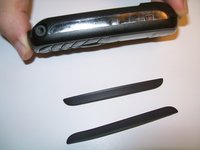
    • Slide a pry tool underneath the adhesive rubber stip and peel it back away from the phone.

    • Repeat for the other side.

    Ask FixBot

    Add Comment

  5. Motorola C139 Rear Casing Replacement: step 5, image 1 of 3 Motorola C139 Rear Casing Replacement: step 5, image 2 of 3 Motorola C139 Rear Casing Replacement: step 5, image 3 of 3
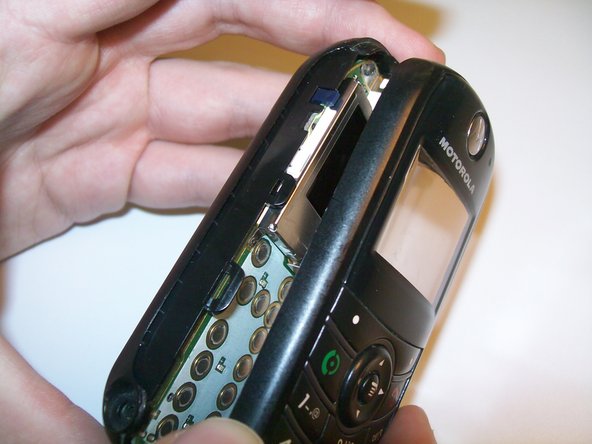
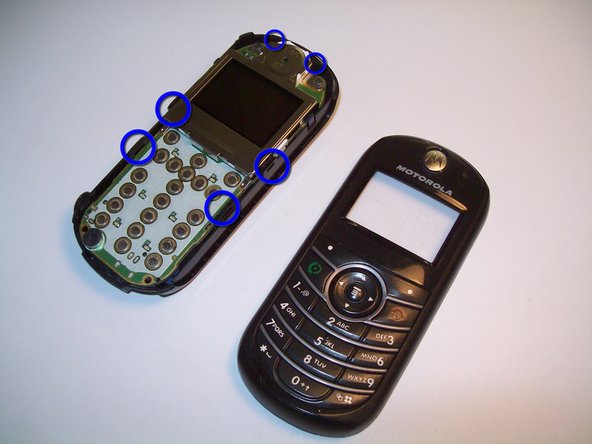
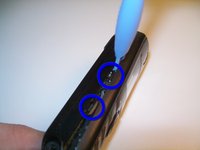
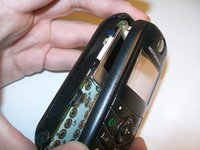
    • Insert the pry tool in the slit on the side of the phone and slide it down until you hear an audible click and the phone bottom loosens from the top.

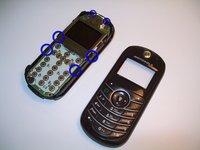
    • Use the pry tool to release the two hooks on each side and the two hooks at the top holding the case together.

    • Release a total of six hooks from the sides and top to free the phone into two halves.

    Ask FixBot

    Add Comment

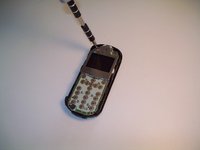
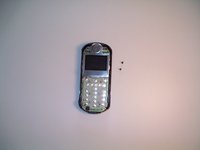
  6. Motorola C139 Rear Casing Replacement: step 6, image 1 of 3 Motorola C139 Rear Casing Replacement: step 6, image 2 of 3 Motorola C139 Rear Casing Replacement: step 6, image 3 of 3
    • Using a Torx T-5 screwdriver remove the screws at the top of the phone.

    • The screws are 6.86 mm long and 1.61mm in diameter.

    Ask FixBot

    Add Comment

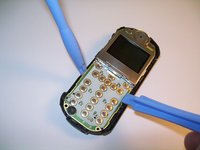
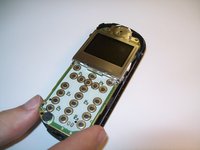
  7. Motorola C139 Rear Casing Replacement: step 7, image 1 of 3 Motorola C139 Rear Casing Replacement: step 7, image 2 of 3 Motorola C139 Rear Casing Replacement: step 7, image 3 of 3
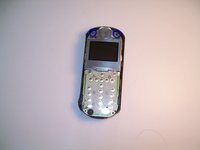
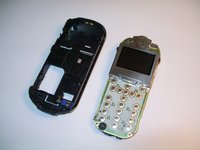
    • Use plastic opening tools to free the circuit board from the case.

    • There are two hooks (one on each side) holding the circuit board into the case.

    • Then grip the circuit board and lift to remove the circuit board from the case.

    Ask FixBot

    Add Comment

Conclusion

To reassemble your device, follow these instructions in reverse order.

Cancel: I did not complete this guide.

Christopher Stubbs

Member since: 03/09/12

77 Reputation

4 Guides authored

Team

Clemson, Team 2-2, Benson Spring 2012 Member of Clemson, Team 2-2, Benson Spring 2012

CLEM-BENSON-S12S2G2

3 Members

23 Guides authored

0 Guide Comments

Add Comment

View Statistics:

Past 24 Hours: 1

Past 7 Days: 3

Past 30 Days: 19

All Time: 1,276