
Moto C Motherboard Assembly Replacement

Dominik Schnabelrauch and 4 other contributors
Last updated on May 7, 2024
Views: 2.7K
View statistics:
- Past 24 Hours:
- 2
- Past 7 Days:
- 22
- Past 30 Days:
- 71
- All Time:
- 2,703
Comments: 2
2 comments on steps.
Completed: 2 3
2 people have marked this guide "completed." Will you be next?
3 people have marked this guide "completed." Including you — great job!
Favorites: 0 1
No one has favorited (and subscribed to) this guide. Will you be the first?
1 person has favorited (and subscribed to) this guide — and that's you!
Introduction
Go to step 1 ↓Use this guide to remove the motherboard assembly of the Motorola Moto C.
Before you begin, download the Rescue and Smart Assistant app to backup your device and diagnose whether your problem is software or hardware related.
What you need
Tools
-
Spudger4.9
-
-
-


-
-
-
Insert a thumbnail, or spudger, into the notch on the bottom right corner to start separating the phone unit from the back cover.
-
Move it to the bottom left corner and pry the phone unit out of the back cover until you can get a good grip.
 Ask FixBot
-
-
-
-
-
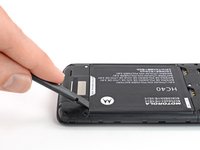
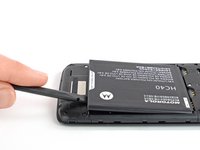
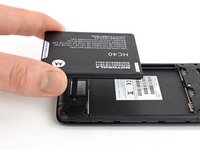
Use a finger or spudger to lever the battery out of its recess and remove it.
-
-
-
-
-
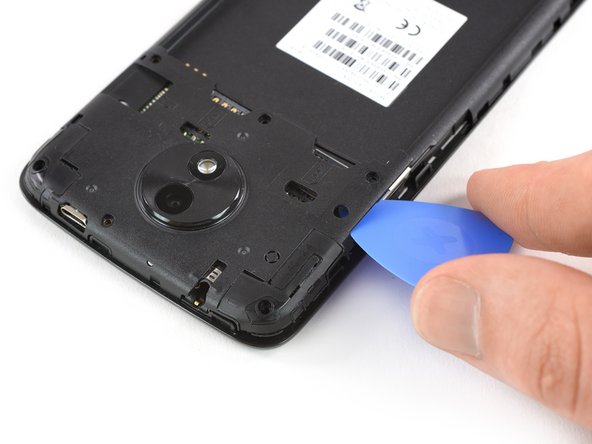
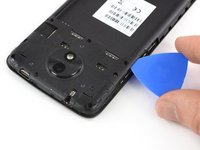
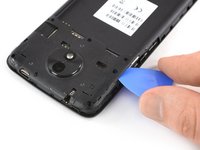
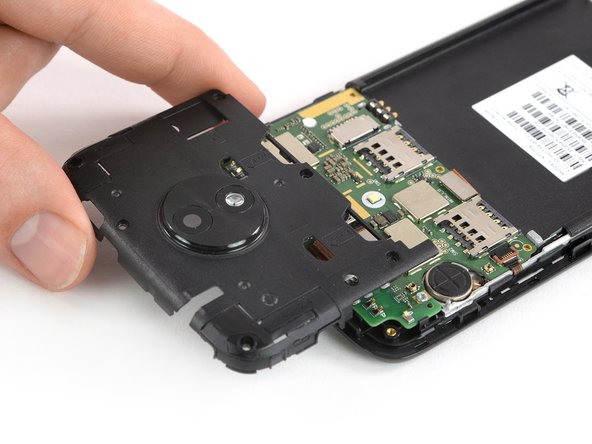
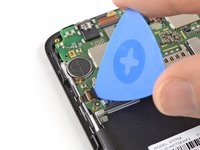
Insert an opening pick between the cover and the motherboard near the SIM 2 slot where the power buttons are located.
-
Slide and twist the opening pick to pry open the plastic clips securing the cover.
-
-
-
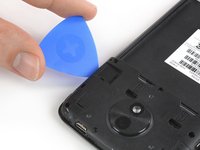
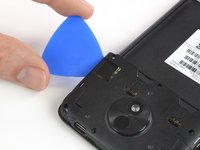
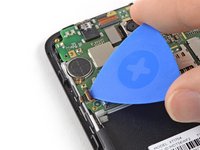
Slide an opening pick between the cover and the motherboard on the opposite side next to the SD card slot.
-
Twist the opening pick to pry open the plastic clips securing the cover.
-
-
-
-
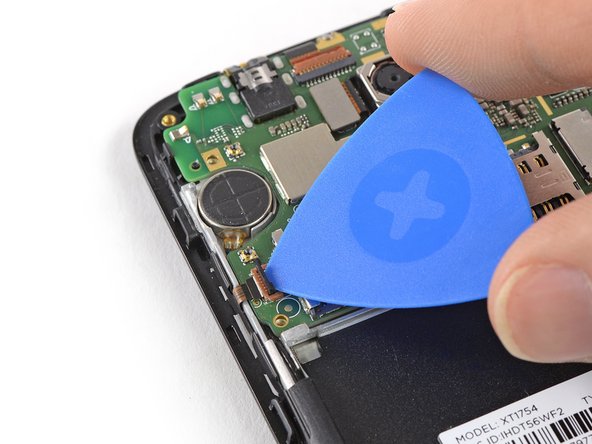
Use the tip of an opening pick to pry up and open the black lever of the ZIF connector located on the bottom left of the motherboard.
-
-
Tool used on this step:Tweezers$4.99
-
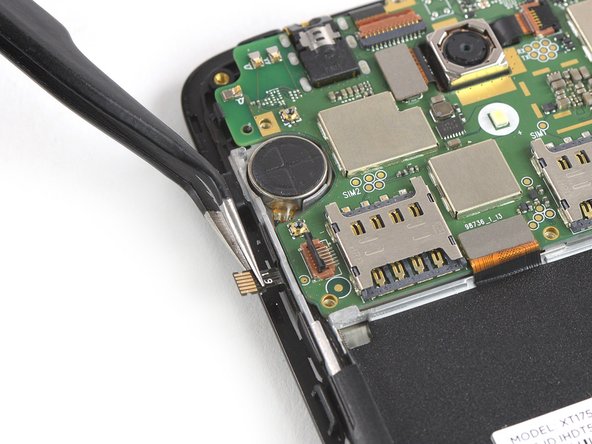
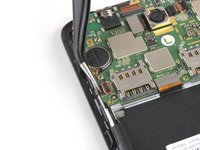
Use a pair of tweezers to pull the power and volume button flex cable out of the ZIF connector.
-
Fold the power and volume button flex cable out of the way.
-
-
-
Use the flat end of a spudger to pry up and disconnect the display flex cable located at the bottom of the motherboard.
-
-
-
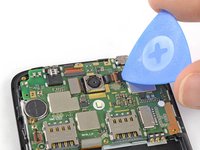
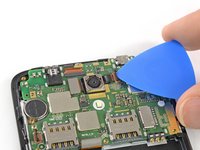
Use the tip of an opening pick to pry up and open the black lever of the ZIF connector located at the top of the motherboard next to the rear camera.
-
-
-
-
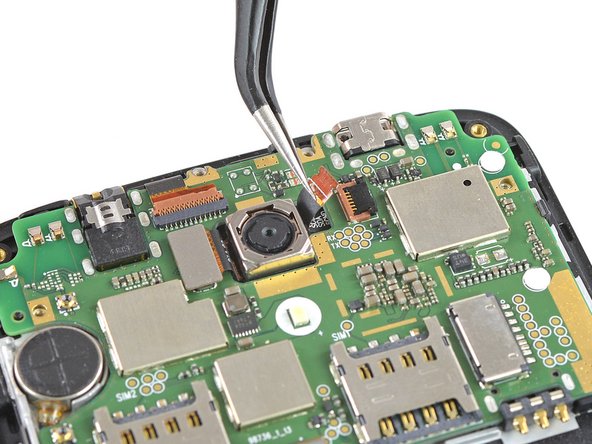
Use a pair of tweezers to pull the digitizer flex cable out of the ZIF connector.
-
-
-
Prepare an iOpener and apply it to the upper half of the display for at least two minutes to loosen the adhesive beneath the vibration motor and the rear facing camera.
-
-
-
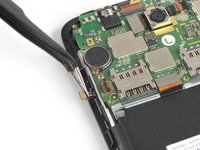
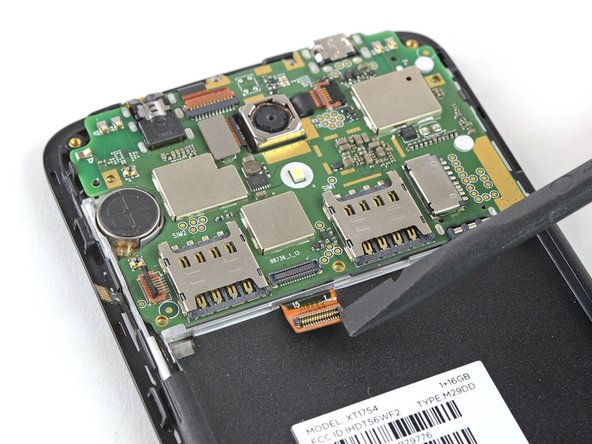
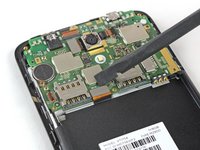
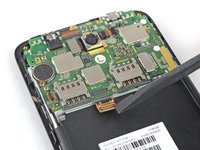
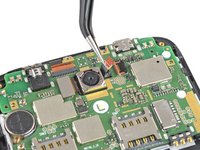
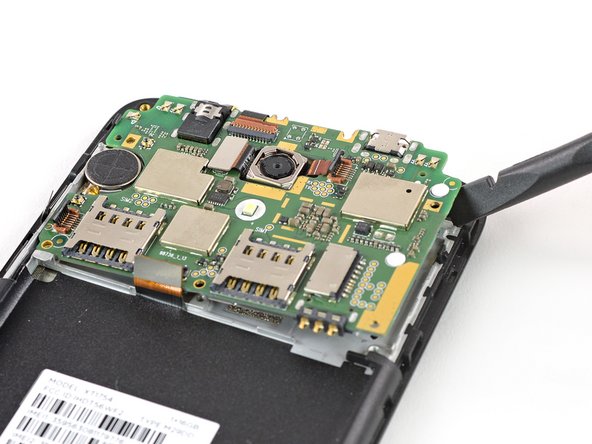
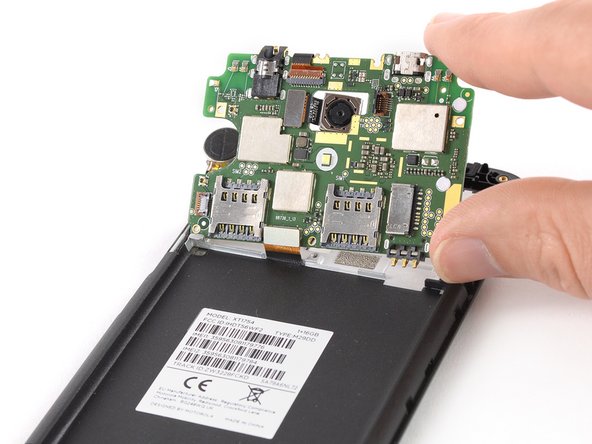
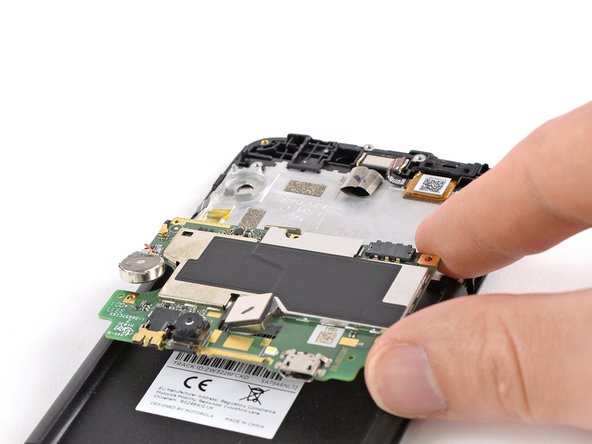
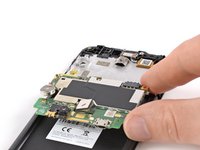
Use a spudger to carefully lift the motherboard until you can get a good grip. Avoid to damage the cables next to the motherboard.
-
-
-
Fold the motherboard over the battery cavity to access the coaxial cable connectors.
-
-
-
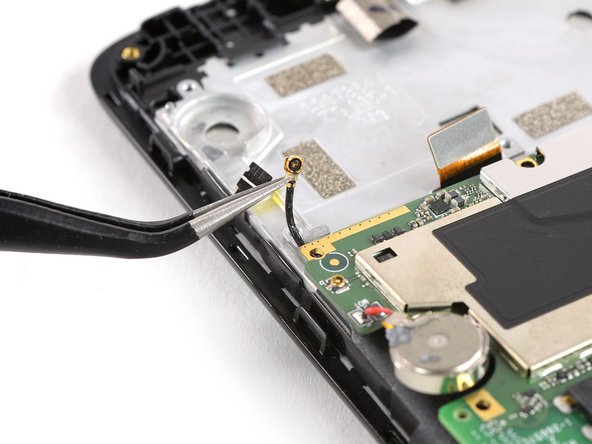
Use a pair of tweezers to pry up and disconnect the antenna cable from the back of the motherboard.
-



















To reassemble your device, follow these instructions in reverse order.
Take your e-waste to an R2 or e-Stewards certified recycler.
Repair didn’t go as planned? Check out our Answers community for troubleshooting help.
Cancel: I did not complete this guide.
2 other people completed this guide.


