Free Shipping on Domestic Orders $75+

Motion Computing LE1600 Display Screen Replacement

Views: 4.3K

View statistics:

Past 24 Hours:
4
Past 7 Days:
28
Past 30 Days:
103
All Time:
4,276
Comments: 0

No one has left comments on this guide. Will you be first?

Go to guide comments
Completed: 4

4 people have marked this guide "completed." Will you be next?

Favorites: 3

3 people have favorited (and subscribed to) this guide. Will you be next?

Time Required: 15 minutes
Difficulty: Moderate
Needs Better Images

Better photos will improve this guide. Help out by taking, editing, or uploading new ones!

Motion Computing LE1600 Display Screen Replacement

Introduction

Go to step 1 ↓

If your screen cracks or one of the pixels no longer functions correctly, you may need to replace the display screen. This guide will take you through the process of removing and replacing the display screen of the LE1600.

What you need

Tools

  • Phillips #1 Screwdriver
    5
  • Spudger
    4.9
    1. Motion Computing LE1600 Display Screen Replacement, Battery: step 1, image 1 of 1
      • Turn the device so the screen is facing down.

      Ask FixBot
      Add Comment

    2. Motion Computing LE1600 Display Screen Replacement: step 2, image 1 of 2 Motion Computing LE1600 Display Screen Replacement: step 2, image 2 of 2
      • Slide the battery lock switch next to the power slider to the unlocked position.

      Ask FixBot
      Add Comment

    3. Motion Computing LE1600 Display Screen Replacement: step 3, image 1 of 3 Motion Computing LE1600 Display Screen Replacement: step 3, image 2 of 3 Motion Computing LE1600 Display Screen Replacement: step 3, image 3 of 3
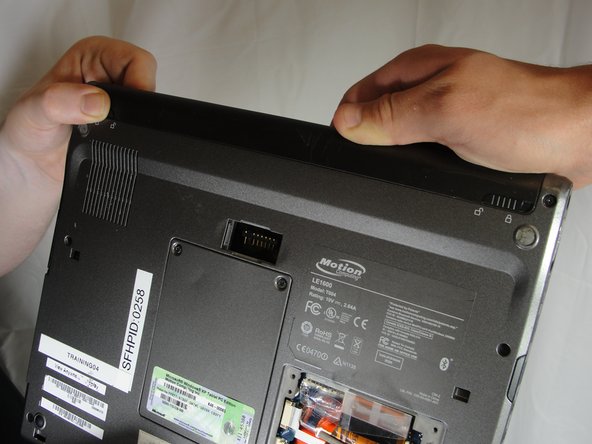
      • Slide and hold the switch by the fan vent to the unlocked position. Firmly grasp the battery and pull away from tablet.

      • When replacing the battery, place the end near the fan vent in first. Make sure to keep the other switch in the unlocked position while pushing the battery into place.

      Ask FixBot
      Add Comment

    1. Motion Computing LE1600 Display Screen Replacement, Display Screen: step 4, image 1 of 1
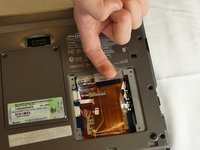
      • Unscrew hard drive panel using a Phillips head #1 screwdriver.

      • (Our device was not given to us with a hard drive or a hard drive panel)

      Ask FixBot

      Add Comment

    2. Motion Computing LE1600 Display Screen Replacement: step 5, image 1 of 3 Motion Computing LE1600 Display Screen Replacement: step 5, image 2 of 3 Motion Computing LE1600 Display Screen Replacement: step 5, image 3 of 3
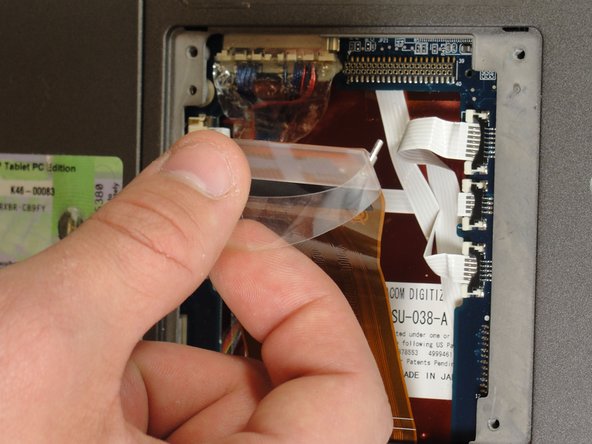
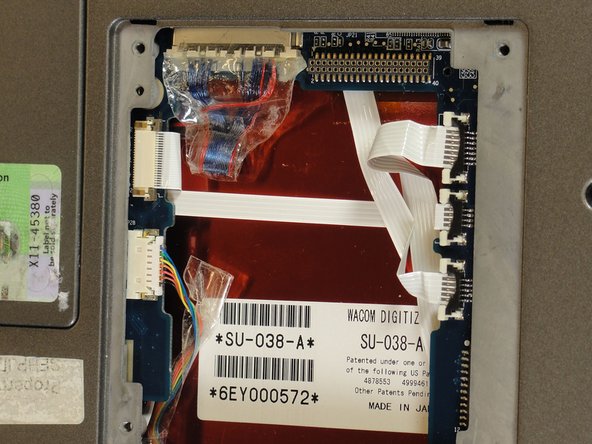
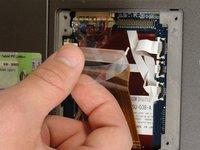
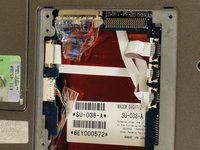
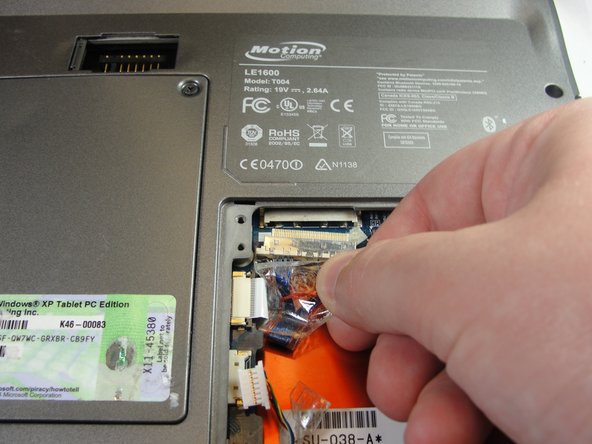
      • Pull clear plastic tab to detach hard drive from tablet.

      Ask FixBot
      Add Comment

    3. Motion Computing LE1600 Display Screen Replacement: step 6, image 1 of 2 Motion Computing LE1600 Display Screen Replacement: step 6, image 2 of 2
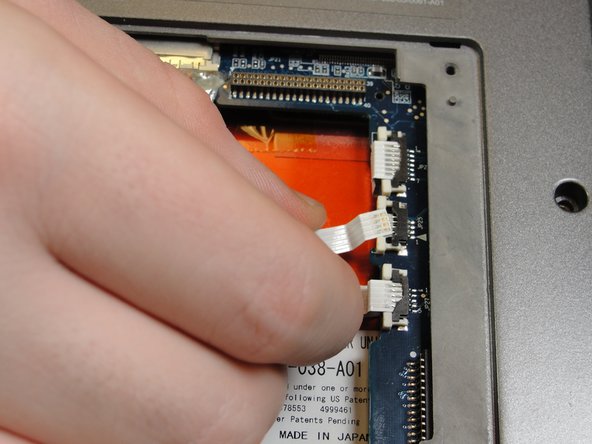
      • To disconnect the three white ribbon cables on the side closest to the hard drive connector, pull the white plastic tabs.

      Ask FixBot
      Add Comment

    4. Motion Computing LE1600 Display Screen Replacement: step 7, image 1 of 1
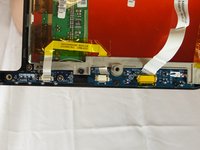
      • Pull the brown tabs to disconnect the white ribbon cable on the other side.

      Ask FixBot
      Add Comment

    5. Motion Computing LE1600 Display Screen Replacement: step 8, image 1 of 2 Motion Computing LE1600 Display Screen Replacement: step 8, image 2 of 2
      • Caution: do not pull on the wires, instead pull from the plastic connectors.

      • To disconnect the remaining ribbon cables, pull the plastic connectors away from their connections.

      Ask FixBot

      Add Comment

    6. Motion Computing LE1600 Display Screen Replacement: step 9, image 1 of 1
      • With a Phillips #1 screwdriver, Unscrew the nine 10mm screws holding the case together.

      Ask FixBot
      Add Comment

    7. Motion Computing LE1600 Display Screen Replacement: step 10, image 1 of 2 Motion Computing LE1600 Display Screen Replacement: step 10, image 2 of 2
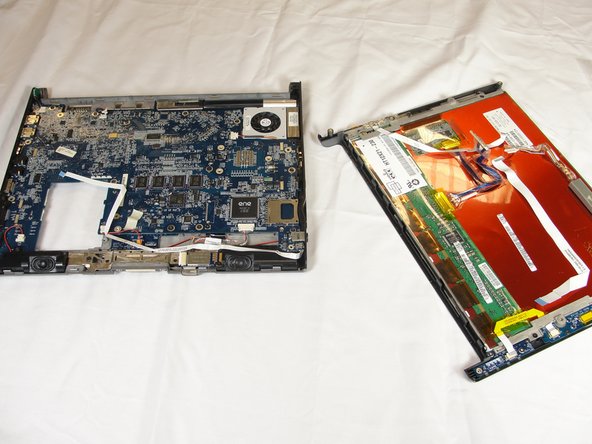
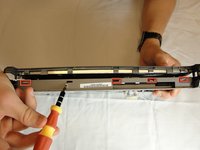
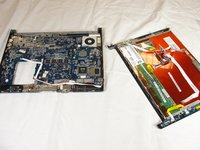
      • Using a spudger, press in the five tabs on the side where the battery was.

      • This should separate the two halves of the device. Carefully set the side with the motherboard off to the side.

      Ask FixBot
      Add Comment
    8. Motion Computing LE1600 Display Screen Replacement: step 11, image 1 of 2 Motion Computing LE1600 Display Screen Replacement: step 11, image 2 of 2
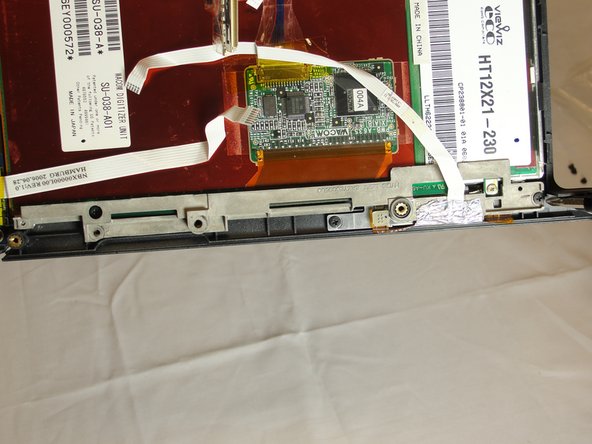
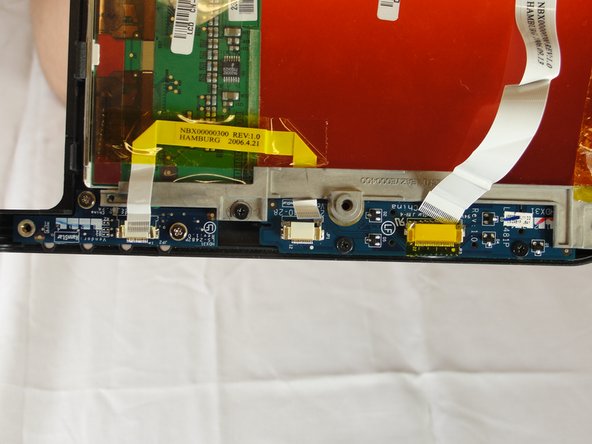
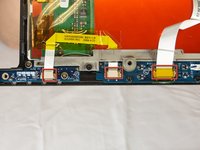
      • Unplug the three ribbon cables by pulling on the brown tabs and unplugging cable.

      Ask FixBot

      Add Comment

    9. Motion Computing LE1600 Display Screen Replacement: step 12, image 1 of 2 Motion Computing LE1600 Display Screen Replacement: step 12, image 2 of 2
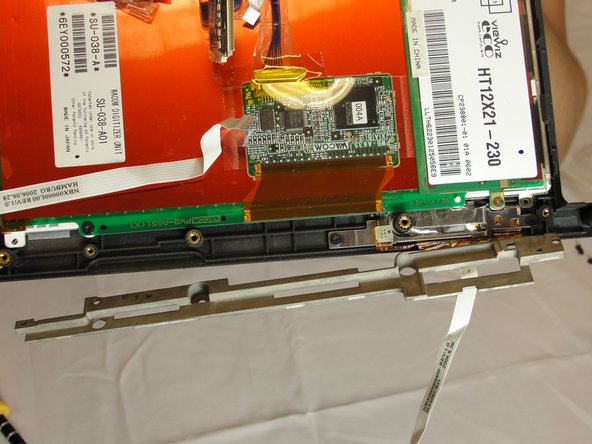
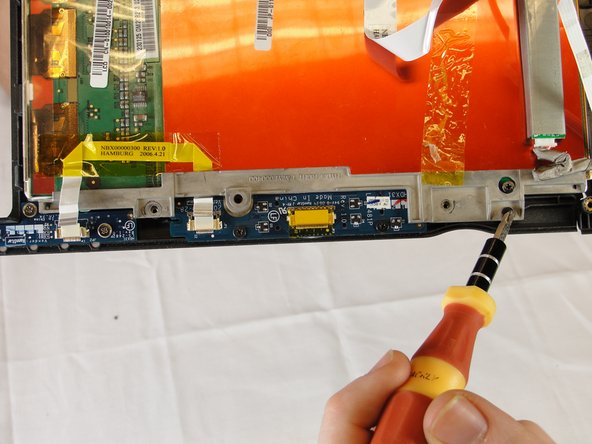
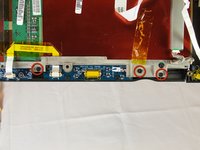
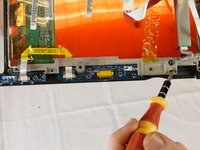
      • With a Phillips #1 screwdriver, unscrew the three 4mm screws holding the display bracket on the back side of the front buttons.

      Ask FixBot

      Add Comment

    10. Motion Computing LE1600 Display Screen Replacement: step 13, image 1 of 3 Motion Computing LE1600 Display Screen Replacement: step 13, image 2 of 3 Motion Computing LE1600 Display Screen Replacement: step 13, image 3 of 3
      • On the bracket behind the fingerprint scanner, unscrew the two 4mm screws holding it to the display with a Phillips #1 screwdriver.

      • Fold away right bracket from display.

      Ask FixBot

      Add Comment

    11. Motion Computing LE1600 Display Screen Replacement: step 14, image 1 of 2 Motion Computing LE1600 Display Screen Replacement: step 14, image 2 of 2
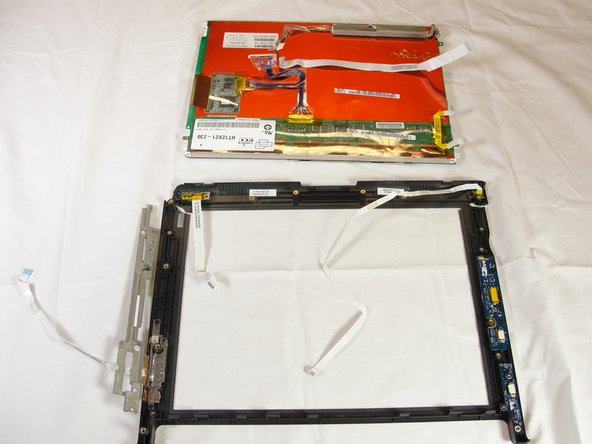
      • Pull the plastic case away from the display screen.

      Ask FixBot

      Add Comment

Conclusion

To reassemble your device, follow these instructions in reverse order.

Cancel: I did not complete this guide.

4 other people completed this guide.

Jesse Graham

Member since: 04/03/12

63 Reputation

1 Guide authored

Team

Cal Poly, Team 15-14, Forte Spring 2012 Member of Cal Poly, Team 15-14, Forte Spring 2012

CPSU-FORTE-S12S15G14

5 Members

60 Guides authored

0 Guide Comments

Add Comment

View Statistics:

Past 24 Hours: 4

Past 7 Days: 28

Past 30 Days: 103

All Time: 4,276