
Motion Computing LE1600 Button Assembly Replacement

Fred Wilby and 5 other contributors
Last updated on Jul 31, 2026
Views: 2.6K
View statistics:
- Past 24 Hours:
- 6
- Past 7 Days:
- 31
- Past 30 Days:
- 120
- All Time:
- 2,598
Comments: 0
No one has left comments on this guide. Will you be first?
Go to guide commentsCompleted: 0 1
No one has marked this guide "completed." Will you be the first?
1 person has marked this guide "completed." It's you — great job!
Favorites: 3 4
3 people have favorited (and subscribed to) this guide. Will you be next?
4 people have favorited (and subscribed to) this guide — including you!
Needs Better Images
Better photos will improve this guide. Help out by taking, editing, or uploading new ones!
Introduction
Go to step 1 ↓If the buttons on the front of the device aren't responding, you may have a faulty button board. Follow the instructions below to replace your button board.
What you need
Tools
-
Spudger4.9


-
-
-
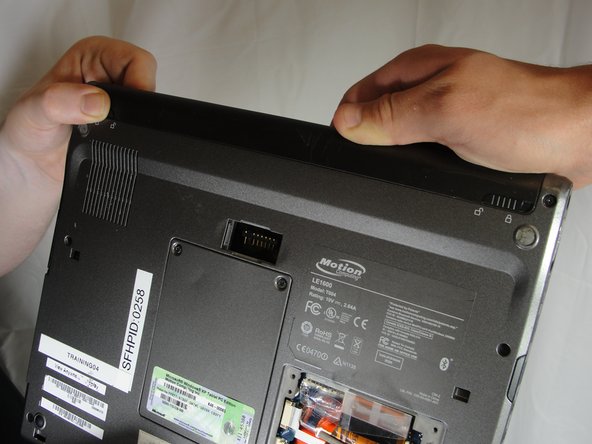
Slide the battery lock switch next to the power slider to the unlocked position.
-
-
-
Slide and hold the switch by the fan vent to the unlocked position. Firmly grasp the battery and pull away from tablet.
-
-
-
-
Unscrew hard drive panel using a Phillips head #1 screwdriver.
-
(Our device was not given to us with a hard drive or a hard drive panel)
-
-
-
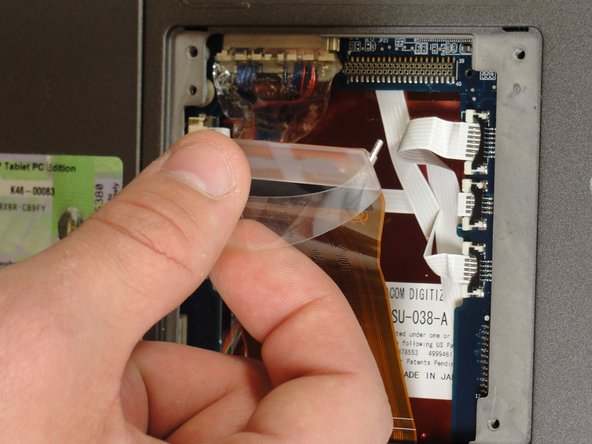
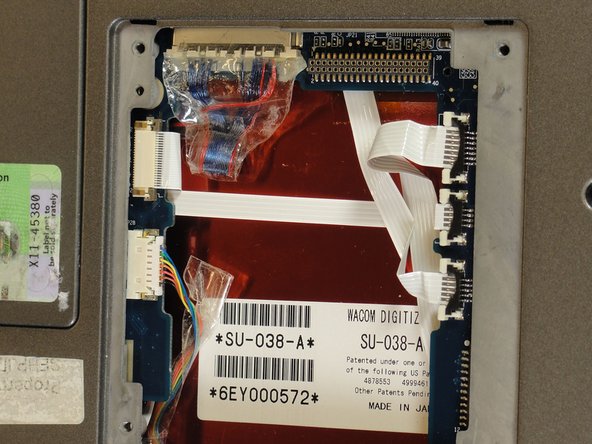
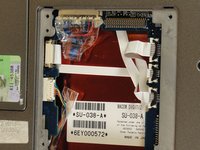
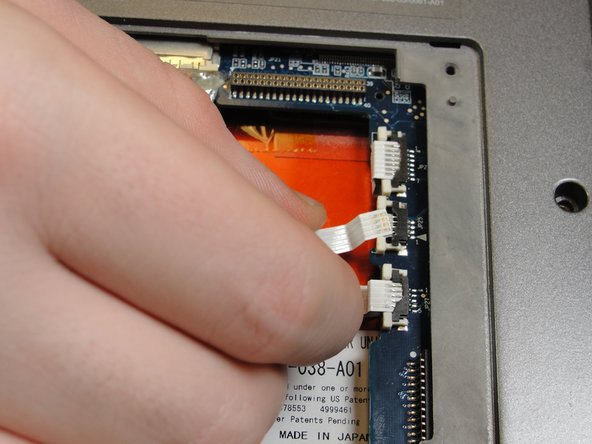
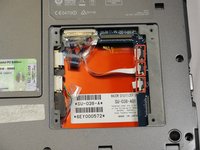
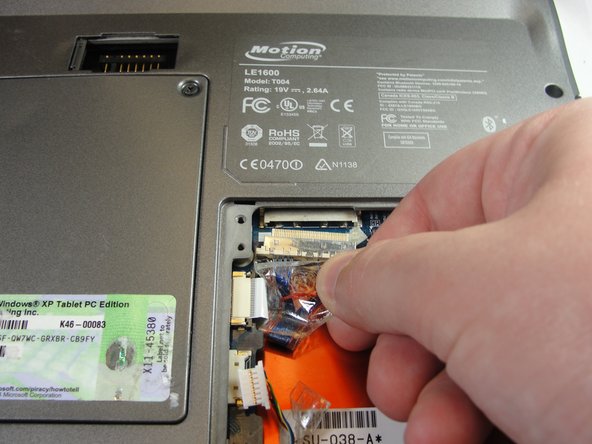
To disconnect the three white ribbon cables on the side closest to the hard drive connector, pull the white plastic tabs.
-
-
-
To disconnect the remaining ribbon cables, pull the plastic connectors away from their connections.
-
-
-
With a Phillips #1 screwdriver, Unscrew the nine 10mm screws holding the case together.
-
-
-
-
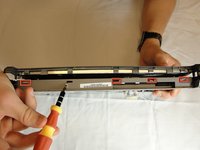
Using a spudger, press in the five tabs on the side where the battery was.
-
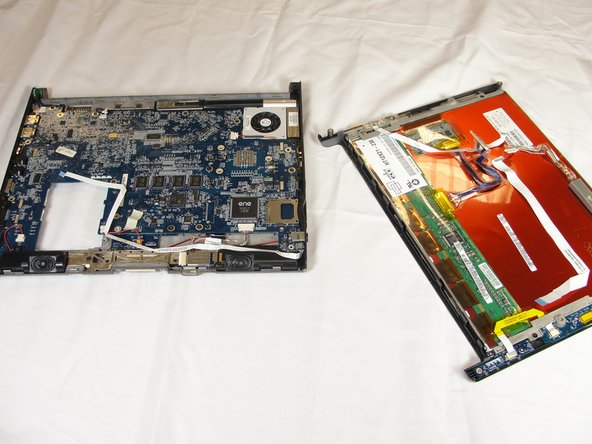
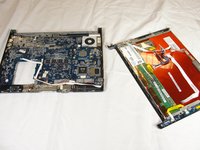
This should separate the two halves of the device. Carefully set the side with the motherboard off to the side.
-
-
-
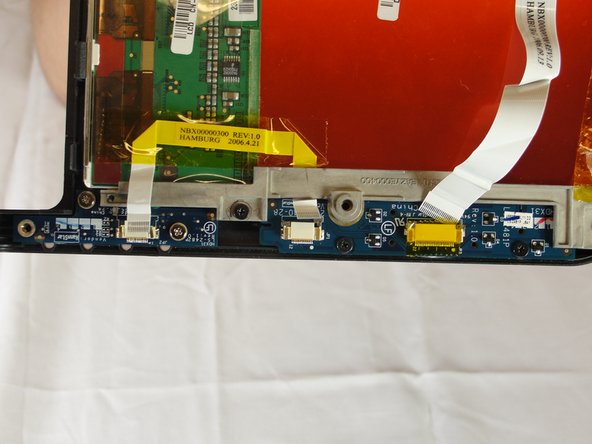
Unplug the three ribbon cables by pulling on the brown tabs and unplugging cable.
-
-
-
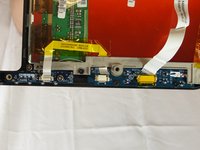
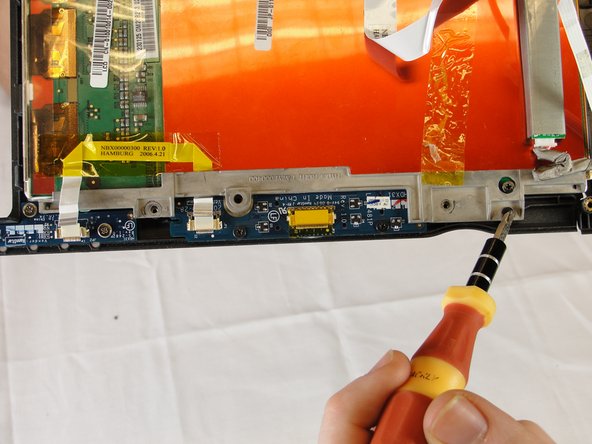
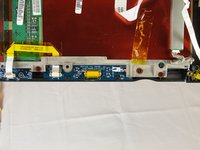
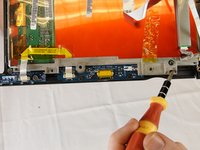
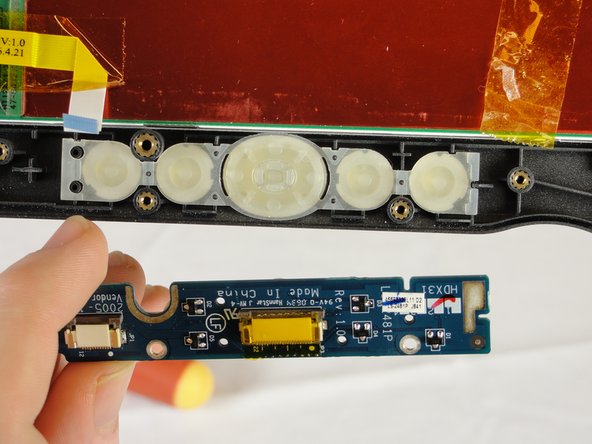
With a Phillips #1 screwdriver, unscrew the three 4mm screws holding the display bracket on the back side of the front buttons.
-
-

 Ask FixBot













To reassemble your device, follow these instructions in reverse order.

Team

Cal Poly, Team 15-14, Forte Spring 2012 Member of Cal Poly, Team 15-14, Forte Spring 2012
CPSU-FORTE-S12S15G14
5 Members
60 Guides authored
