Free Shipping on Domestic Orders $75+

Moen Posi-Temp Cartridge Part #1112b Replacement

What you need

    1. Moen Posi-Temp Cartridge Part #1112b Replacement, Moen Posi-Temp Cartridge Part #1112b: step 1, image 1 of 1
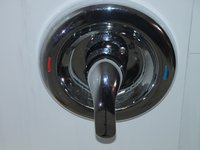
      • Turn the water shutoff valve counter-clockwise to the "off" position.

      Ask FixBot

      Add Comment

    2. Moen Posi-Temp Cartridge Part #1112b Replacement: step 2, image 1 of 1
      • Open both the hot and cold taps of a nearby faucet or shower until the water no longer flows.

      Ask FixBot

      Add Comment

    3. Moen Posi-Temp Cartridge Part #1112b Replacement: step 3, image 1 of 2 Moen Posi-Temp Cartridge Part #1112b Replacement: step 3, image 2 of 2
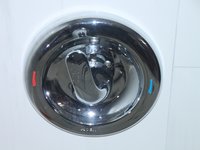
      • Turn the handle of the shower valve 180 degrees until it is in the "up" or "on" position.

      Ask FixBot

      Add Comment

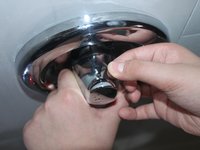
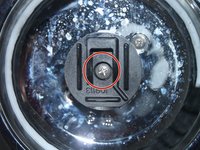
    4. Moen Posi-Temp Cartridge Part #1112b Replacement: step 4, image 1 of 2 Moen Posi-Temp Cartridge Part #1112b Replacement: step 4, image 2 of 2
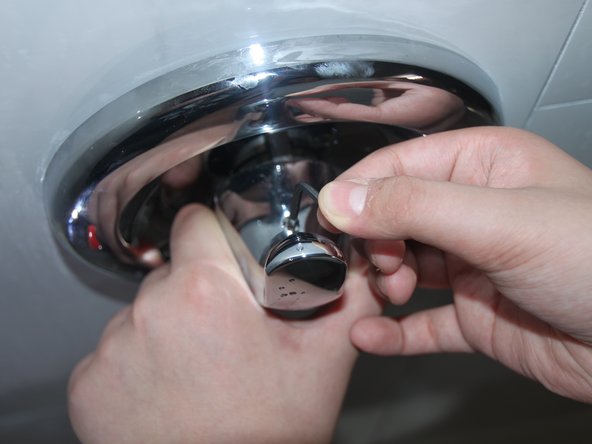
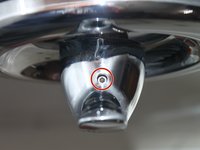
      • Unscrew the handle screw with an Allen wrench.

      • Remove the handle.

      Ask FixBot

      Add Comment

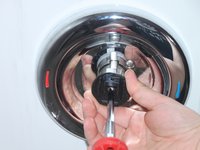
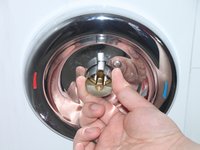
    5. Moen Posi-Temp Cartridge Part #1112b Replacement: step 5, image 1 of 2 Moen Posi-Temp Cartridge Part #1112b Replacement: step 5, image 2 of 2
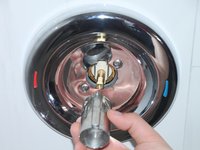
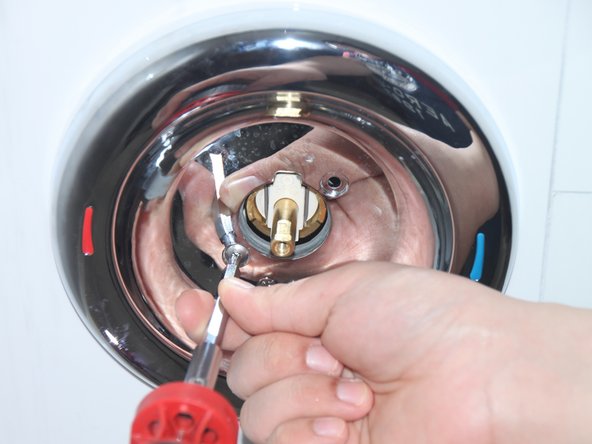
      • Remove the handle adaptor screw with a Phillips screwdriver.

      • Remove the handle adaptor simply by pulling it out.

      Ask FixBot

      Add Comment

    6. Moen Posi-Temp Cartridge Part #1112b Replacement: step 6, image 1 of 1
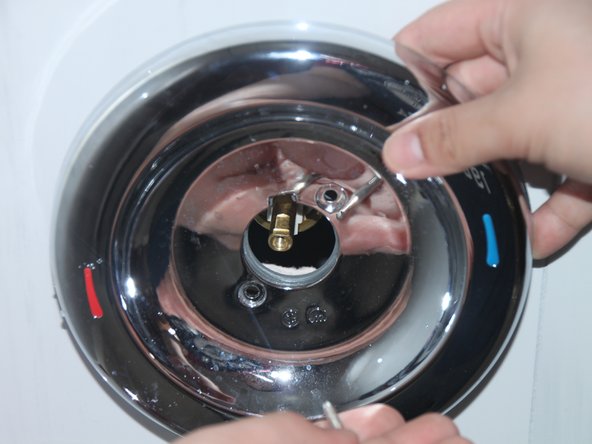
      • Pull out the white key/adjustable limit stop.

      Ask FixBot

      Add Comment

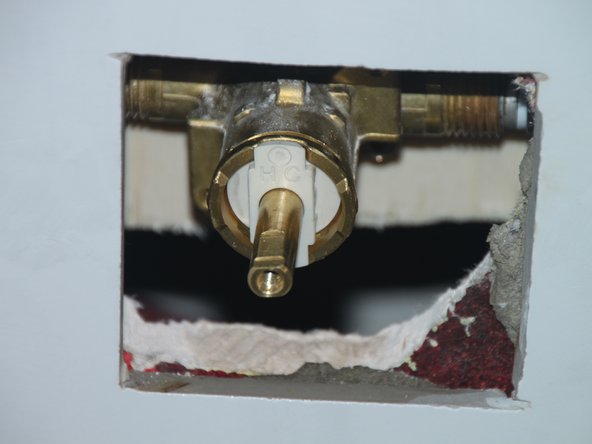
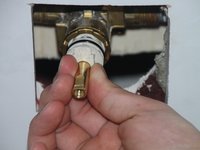
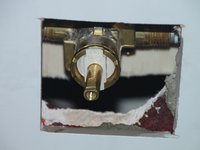
    7. Moen Posi-Temp Cartridge Part #1112b Replacement: step 7, image 1 of 3 Moen Posi-Temp Cartridge Part #1112b Replacement: step 7, image 2 of 3 Moen Posi-Temp Cartridge Part #1112b Replacement: step 7, image 3 of 3
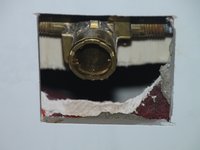
      • Gently pull out the stop tube.

      Ask FixBot

      Add Comment

    8. Moen Posi-Temp Cartridge Part #1112b Replacement: step 8, image 1 of 3 Moen Posi-Temp Cartridge Part #1112b Replacement: step 8, image 2 of 3 Moen Posi-Temp Cartridge Part #1112b Replacement: step 8, image 3 of 3
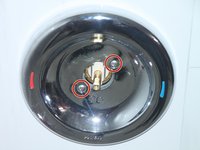
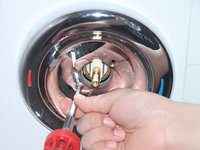
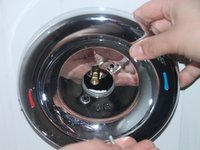
      • Using the Phillips head screwdriver, remove the two screws located at the top right corner and bottom left corner.

      • Remove the metal plate.

      Ask FixBot

      Add Comment

    9. Moen Posi-Temp Cartridge Part #1112b Replacement: step 9, image 1 of 3 Moen Posi-Temp Cartridge Part #1112b Replacement: step 9, image 2 of 3 Moen Posi-Temp Cartridge Part #1112b Replacement: step 9, image 3 of 3
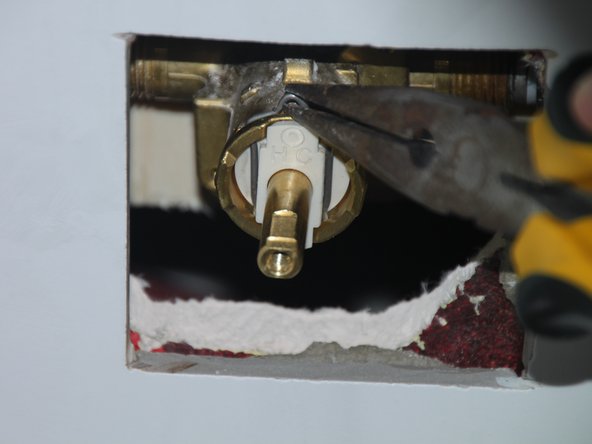
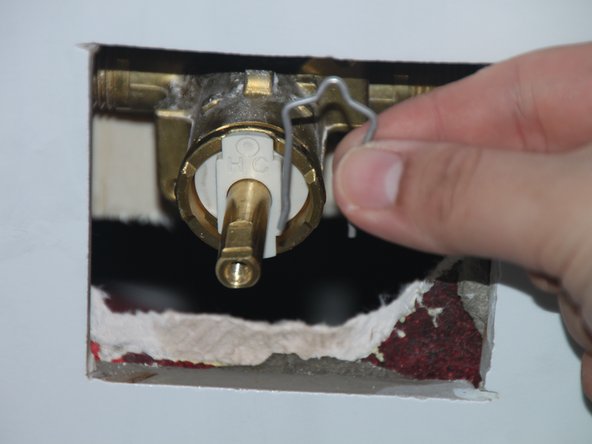
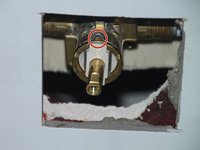
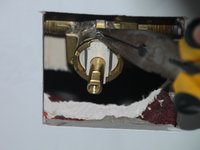
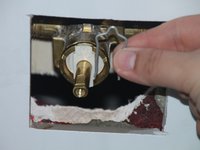
      • Slide the tip of needle-nose pliers under the notch of the retaining clip and pull the clip upwards.

      Ask FixBot

      Add Comment

    10. Moen Posi-Temp Cartridge Part #1112b Replacement: step 10, image 1 of 3 Moen Posi-Temp Cartridge Part #1112b Replacement: step 10, image 2 of 3 Moen Posi-Temp Cartridge Part #1112b Replacement: step 10, image 3 of 3
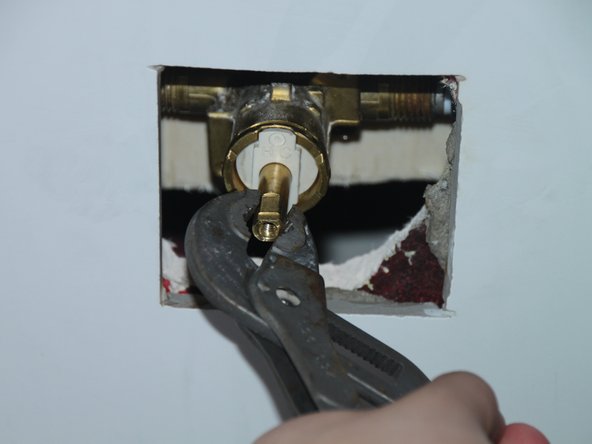
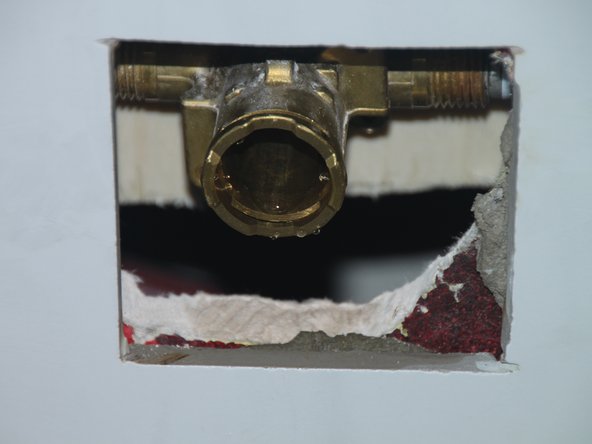
      • Clamp firmly onto the brass tube with a pair of vice grips and gently but firmly pull out the cartridge.

      Ask FixBot

      Add Comment

    11. Moen Posi-Temp Cartridge Part #1112b Replacement: step 11, image 1 of 2 Moen Posi-Temp Cartridge Part #1112b Replacement: step 11, image 2 of 2
      • Insert the new Moen Posi-Temp cartridge.

      Ask FixBot

      Add Comment

    12. Moen Posi-Temp Cartridge Part #1112b Replacement: step 12, image 1 of 1
      • Insert the new cartridge into the valve assembly.

      • Ensure that the H/C symbols are facing up.

      • Ensure that the notch on the brass tube is also facing up.

      Ask FixBot

      Add Comment

Conclusion

To reassemble your device, follow these instructions in reverse order.

Cancel: I did not complete this guide.

One other person completed this guide.

John Mendoza

Member since: 09/17/20

237 Reputation

1 Guide authored

0 Guide Comments

Add Comment

View Statistics:

Past 24 Hours: 3

Past 7 Days: 22

Past 30 Days: 117

All Time: 2,551