
Modal MD-WORCSS6 LED Replacement

Michael Richard Cassell and 5 other contributors
Last updated on May 7, 2024
Views: 414
View statistics:
- Past 24 Hours:
- 1
- Past 7 Days:
- 11
- Past 30 Days:
- 58
- All Time:
- 414
Comments: 0
No one has left comments on this guide. Will you be first?
Go to guide commentsCompleted: 1 2
1 person has marked this guide "completed." Will you be next?
2 people have marked this guide "completed." Including you — great job!
Favorites: 0 1
No one has favorited (and subscribed to) this guide. Will you be the first?
1 person has favorited (and subscribed to) this guide — and that's you!
Introduction
Go to step 1 ↓The following steps in this guide explains how to replace the LED lights in the MODAL WORCSS6 wine opener. The LED lights are important to be able to see where the corkscrew is when approaching the wine bottle. The LEDs also create a nice visual display for guest or the user. This guide will require soldering, so check out this soldering guide if you are unfamiliar with the process.
What you need
Tools


-
-
-
Put on Electrostatic Discharge (ESD) bracelet. Hold the device with the transparent plastic casing on the top.
-
Using the jimmy tool, carefully pry off the black plastic ring.
-
Remove the spring assembly from inside the transparent plastic tube.
 Ask FixBot
-
-
-
Using a Phillips #1 screwdriver, unscrew each of the four 12.7 mm screws inside and at the bottom of the plastic tube.
-
Take the plastic tube off of the metal casing.
-
-
-
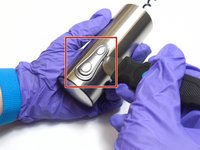
Place the jimmy tool blade between the button assembly and the metal casing. Gently pry off the button assembly; it should pop out.
-
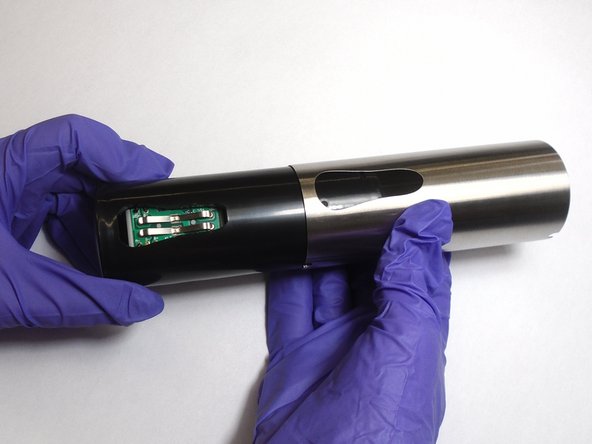
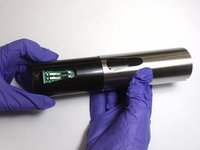
With the button assembly removed, slide off the metal casing.
-
-
-
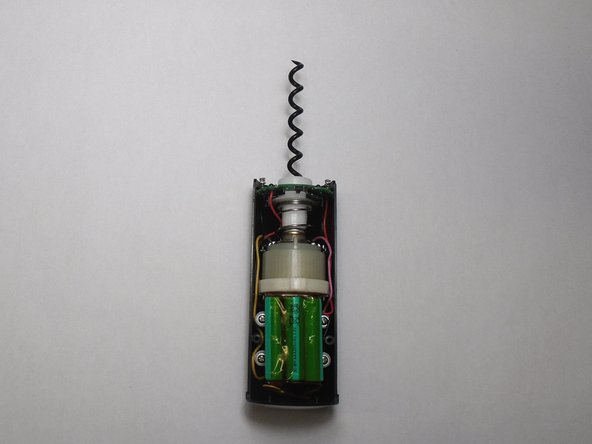
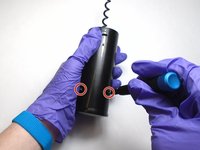
Unscrew the two 6.4 mm screws in the black plastic body using the Phillips #1 screwdriver.
-
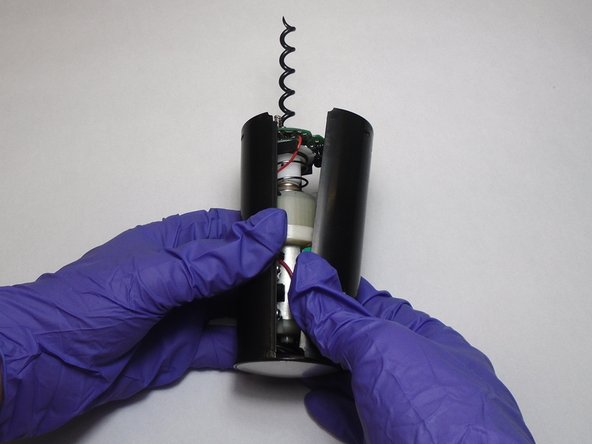
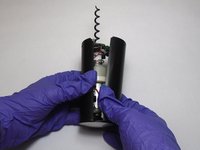
Separate the two halves of the plastic body. Keep the half containing the motor facing up.
-
-
-
-
-
Tool used on this step:Tweezers$4.99
-
Slide the circuit board out of its slot.
-
Remove the LEDs by clipping off their connections with a pair of tweezers.
-
Attach the new LEDs by soldering the ends of the LEDS to their corresponding connections on the circuit board.
-
-





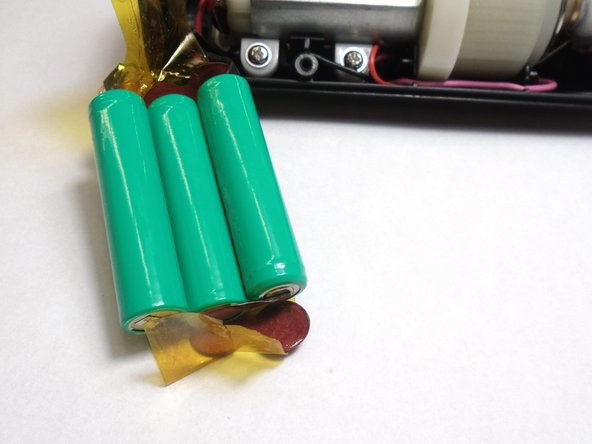
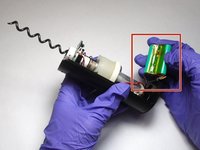
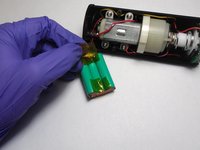


To reassemble your device, follow these instructions in reverse order.
Cancel: I did not complete this guide.
One other person completed this guide.

Team

The Citadel Military College of South Carolina, Team S3-G13, Eggleston Fall 2019 Member of The Citadel Military College of South Carolina, Team S3-G13, Eggleston Fall 2019
CMCSC-EGGLESTON-F19S3G13
3 Members
48 Guides authored
