Free Shipping on Domestic Orders $75+

MistAire Humidifier Cap Spring Replacement

Views: 2K

View statistics:

Past 24 Hours:
8
Past 7 Days:
48
Past 30 Days:
185
All Time:
1,977
Comments: 1

1 comment on steps.

Completed: 0

No one has marked this guide "completed." Will you be the first?

Favorites: 0

No one has favorited (and subscribed to) this guide. Will you be the first?

Time Required: 10 minutes
Difficulty: Easy
Featured Student Guide

This guide has been the hard work of our awesome students and is found to be exceptionally cool by the iFixit staff.

MistAire Humidifier Cap Spring Replacement

Introduction

Go to step 1 ↓

If your MistAire Humidifier isn’t properly converting water into mist, use this guide to replace the spring inside the cap component.

The spring-loaded (a.k.a. bottle-valve) cap on the humidifier's tank lets water transfer from the filled tank to the heating element in a controlled manner. If the cap has a faulty spring, the water will stay in the tank and the humidifier cannot successfully produce mist. This may occur if dirt accumulates within the base, or if the humidifier is old.

Before using this guide, make sure the tank is empty and does not contain any water. For parts, all you need is a new spring to replace the broken one. These are linked here, on the right hand side. These directions do not require any tools and should take around ten minutes to complete.

What you need

    1. MistAire Humidifier Cap Spring Replacement, Cap Spring: step 1, image 1 of 2 MistAire Humidifier Cap Spring Replacement, Cap Spring: step 1, image 2 of 2
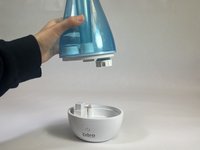
      • Lift the blue tank off of the base of the humidifier.

      • The two parts are not attached or snapped together, so they should separate easily.

      Ask FixBot

      Add Comment

    2. MistAire Humidifier Cap Spring Replacement: step 2, image 1 of 3 MistAire Humidifier Cap Spring Replacement: step 2, image 2 of 3 MistAire Humidifier Cap Spring Replacement: step 2, image 3 of 3
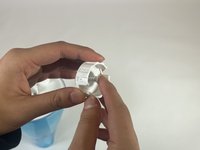
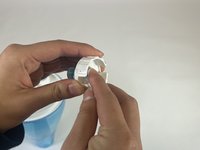
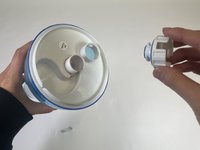
      • Turn the tank upside down.

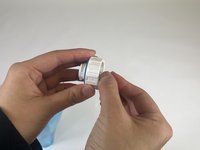
      • Turn the round cap counterclockwise to completely unscrew it.

      Ask FixBot

      Add Comment

    3. MistAire Humidifier Cap Spring Replacement: step 3, image 1 of 2 MistAire Humidifier Cap Spring Replacement: step 3, image 2 of 2
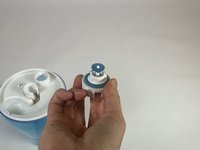
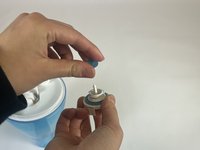
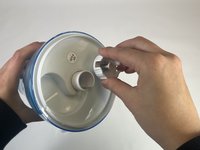
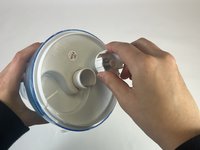
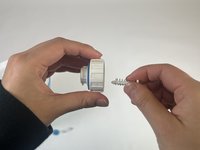
      • There is a white plastic rod that goes through the center of the cap. It has a flat, circular end and a pointed end. The pointed end has a small, blue, silicone ring around it.

      • Push the flat side of the rod until the pointed end protrudes from the other side of the cap.

      Ask FixBot
      Add Comment

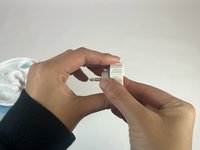
    4. MistAire Humidifier Cap Spring Replacement: step 4, image 1 of 3 MistAire Humidifier Cap Spring Replacement: step 4, image 2 of 3 MistAire Humidifier Cap Spring Replacement: step 4, image 3 of 3
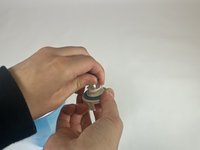
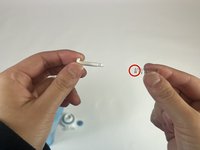
      • While still pushing on the rod, tug the small, blue, silicone ring completely off of the pointed end.

      Ask FixBot
      Add Comment

    5. MistAire Humidifier Cap Spring Replacement: step 5, image 1 of 2 MistAire Humidifier Cap Spring Replacement: step 5, image 2 of 2
      • Once the ring is off, pull the rod and spring out from the center of the cap.

      Ask FixBot

      Add Comment

    6. MistAire Humidifier Cap Spring Replacement: step 6, image 1 of 2 MistAire Humidifier Cap Spring Replacement: step 6, image 2 of 2
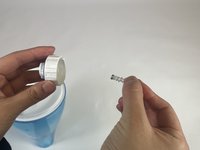
      • Slide the broken spring off of the rod.

      • The spring should come off easily.

      Ask FixBot

      Add Comment

    7. MistAire Humidifier Cap Spring Replacement: step 7, image 1 of 2 MistAire Humidifier Cap Spring Replacement: step 7, image 2 of 2
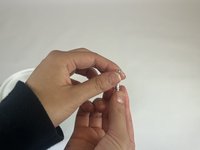
      • Slide a new 10x6x19mm Tapered Compression Spring around the rod.

      • Ensure the narrower end of the cone-shaped spring goes first.

      Ask FixBot

      Add Comment

    8. MistAire Humidifier Cap Spring Replacement: step 8, image 1 of 2 MistAire Humidifier Cap Spring Replacement: step 8, image 2 of 2
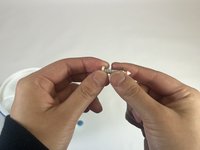
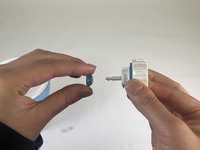
      • Pinch the spring gently to secure it around the rod.

      • Push the pointed end of the rod all the way through the center hole of the cap. Hold it there for Step 9.

      Ask FixBot
      Add Comment

    9. MistAire Humidifier Cap Spring Replacement: step 9, image 1 of 3 MistAire Humidifier Cap Spring Replacement: step 9, image 2 of 3 MistAire Humidifier Cap Spring Replacement: step 9, image 3 of 3
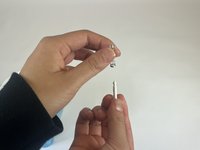
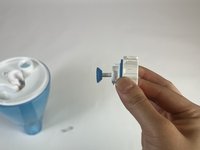
      • Push the small blue ring back onto the pointed end of the rod.

      • You should hear a snap when it’s secured.

      Ask FixBot
      Add Comment

    10. MistAire Humidifier Cap Spring Replacement: step 10, image 1 of 3 MistAire Humidifier Cap Spring Replacement: step 10, image 2 of 3 MistAire Humidifier Cap Spring Replacement: step 10, image 3 of 3
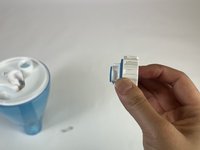
      • Now that you have fixed the spring-loaded cap, screw the cap clockwise back onto the bottom of the tank.

      Ask FixBot
      Add Comment

    11. MistAire Humidifier Cap Spring Replacement: step 11, image 1 of 3 MistAire Humidifier Cap Spring Replacement: step 11, image 2 of 3 MistAire Humidifier Cap Spring Replacement: step 11, image 3 of 3
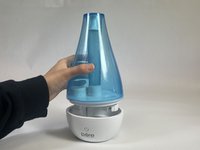
      • Place the tank back onto the humidifier base.

      • You have now successfully replaced the spring in the MistAire Humidifier!

      Ask FixBot

      Add Comment

Finish Line

Cancel: I did not complete this guide.

Abby

Member since: 01/31/24

193 Reputation

1 Guide authored

Team

UC Davis, Team 1-1, Andersen Winter 2024 Member of UC Davis, Team 1-1, Andersen Winter 2024

UCD-ANDERSEN-W24S1G1

3 Members

12 Guides authored

0 Guide Comments

Add Comment

View Statistics:

Past 24 Hours: 8

Past 7 Days: 48

Past 30 Days: 185

All Time: 1,977