
Mini Fridge Hinges Replacement

Adam Millen and 2 other contributors
Last updated on Dec 9, 2021
Views: 6.7K
View statistics:
- Past 24 Hours:
- 3
- Past 7 Days:
- 37
- Past 30 Days:
- 209
- All Time:
- 6,691
Comments: 2
1 comment on steps, 1 guide comment.
Go to guide commentsCompleted: 1 2
1 person has marked this guide "completed." Will you be next?
2 people have marked this guide "completed." Including you — great job!
Favorites: 0 1
No one has favorited (and subscribed to) this guide. Will you be the first?
1 person has favorited (and subscribed to) this guide — and that's you!
Introduction
Go to step 1 ↓Is your mini fridge door not working properly? Are you having trouble keeping the door closed and the contents cold? You may want to inspect the quality of the hinges connecting your door to the fridge.
This guide is designed to assist you in replacing your mini fridge hinges. Before replacing your hinges verify that there are not any underlying problems with your door seal and mechanical components. Should these remain functional but the hinges are not you can proceed to follow this guide.
These hinges can become damaged, rusted, or worn over time resulting in poor functionality of the fridge door. This repair can be completed by one person but an assistant is helpful.
What you need
Tools

-
-
-
Remove the plug from the outlet. Be sure to grab from the head of the cord.
 Ask FixBot
-
-
-
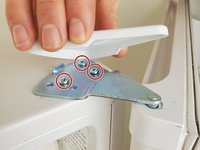
Remove the cover to the top hinge to access the hinge and screws. If you are unable to remove the cover with your hands, use a flathead screwdriver to pry it off.
-
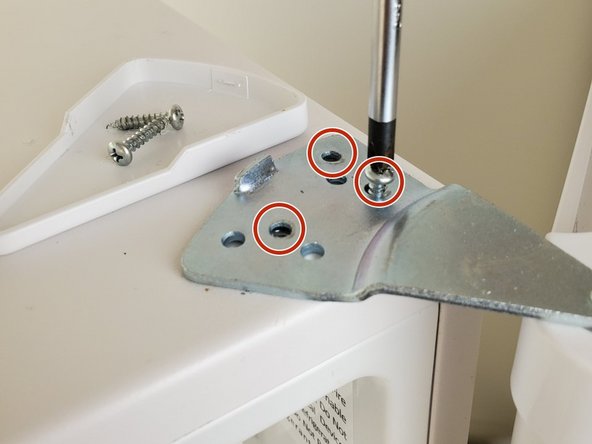
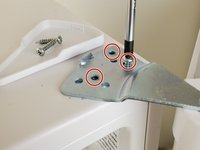
Remove the three 20 mm Phillips #1 screws from beneath the cover.
-
-
-
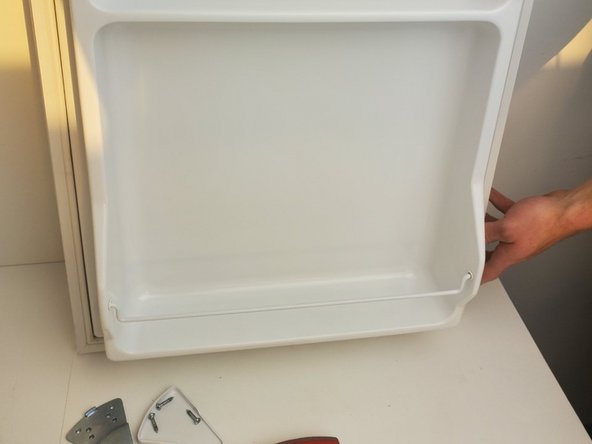
After removing the top hinge, lift the door off of the bottom hinge.
-
Place the door and removed top hinge securely to the side.
-
-
-
Rotate the fridge onto its side.
-
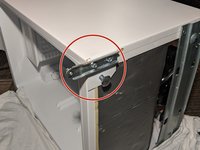
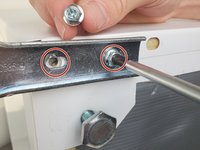
Remove the two 19 mm Phillips #1 screws and the bottom hinge.
-
-
-
-
Install the bottom replacement hinge and the two 19 mm Phillips #1 screws.
-
Turn the fridge right side up after the bottom hinge is replaced.
-
-
-
Place the door on the bottom hinge, aligning the hole with the hinge.
-
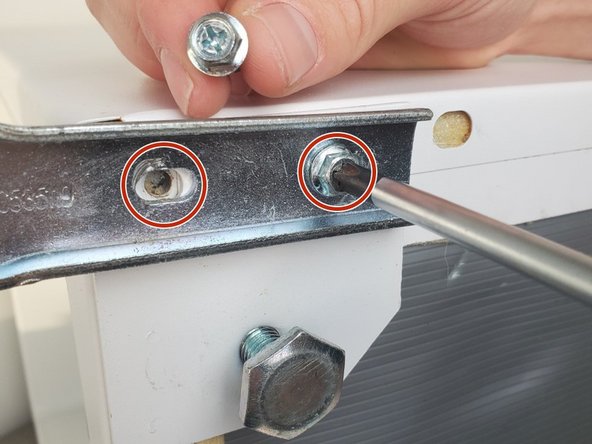
Install the new top hinge and the three 20 mm Philips #1 screws. Ensure the orientation of the hinge lines up with the door.
-
Replace the top cover and the shelving inside the fridge.
-
-







This is a relatively easy fix and is easily repeatable. The replacement parts are inexpensive. We hope this guide extends the life of a mini fridge and expands your understanding of the topic.
Cancel: I did not complete this guide.
One other person completed this guide.

Team

Embry-Riddle Aeronautical University, Team S11-G5, Salas Spring 2020 Member of Embry-Riddle Aeronautical University, Team S11-G5, Salas Spring 2020
ERAU-SALAS-S20S11G5
2 Members
12 Guides authored
1 Guide Comment
My fridge is not working Death ho gaya h bikul kuch bbi n chal rha h
