This translation was generated by a machine and has not been reviewed by a person yet. Speak this language? Review it.

Miele S8340 Repair

Last updated on Oct 12, 2026
Views: 6
View statistics:
- Past 24 Hours:
- 1
- Past 7 Days:
- 6
- Past 30 Days:
- 6
- All Time:
- 6
Comments: 5
5 comments on steps.
Completed: 0 1
No one has marked this guide "completed." Will you be the first?
1 person has marked this guide "completed." It's you — great job!
Favorites: 0 1
No one has favorited (and subscribed to) this guide. Will you be the first?
1 person has favorited (and subscribed to) this guide — and that's you!
Community-Contributed Guide
An awesome member of our community made this guide. It was not created by iFixit staff.
Introduction
Go to step 1 ↓The Miele S8340 was presented at a Repair Café with the current fault description: "Motor not running, MAX light permanently on."
What you need
Tools
-
Tx20 Torx Schraubendreher
Der iFixit-Bithalter ist nicht lang genug für eine der Schrauben
-

-
-
-
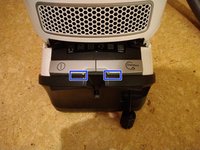
Slide a flat object (like a flat head screwdriver or the spudger) underneath the buttons to remove them.
-
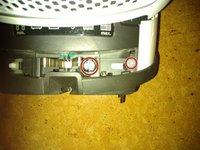
Remove the screws. For the left screw, you will need a screwdriver, an extension or something similar (the iFixit bit driver is not long enough).
-
-
-
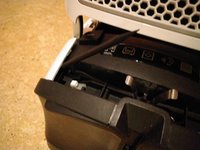
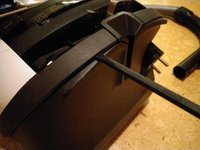
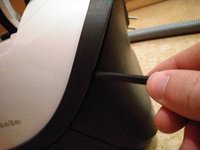
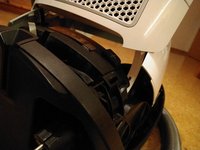
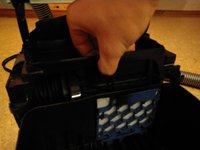
The white cover and the black "ribbon" are secured with clips. To remove them, you first insert a spudger between the cover and the vacuum itself (picture 1). Then you can insert a spudger between the ribbon and the vacuum and slide it around the whole vacuum to detach the ribbon from the machine.
-
-
-
The white cover should now also be detached from the black ribbon.
-
To remove the cover, you need to slightly bend it outwards and then slide it over the hinge.
-
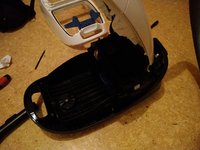
After that you can remove the black ribbon.
-
-
-
The remove the vacuum pipe hooks you can remove this screw on both sides.
-
-
-
-
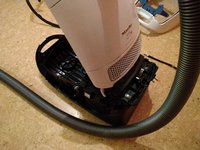
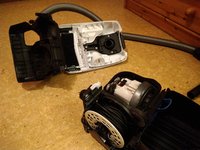
Now you can remove the whole rear part of the vacuum, together with the flap. You might need to pull on multiple places and use a bit of force.
-
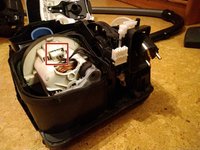
Now you can remove the plug from the motor and subsequently simply pull out the motor and the cable spool upwards. Make sure that you don't rip off any cables or connectors!
-
-
-
Then you can simply remove the black cover from the rear part of the vacuum by sliding it downwards.
-
-
-
Open this (and possibly further) clip on the rear part of the vacuum.
-
Then you can detach the part that contains the electronics from the flap.
-
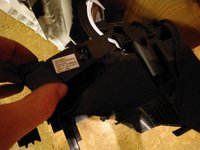
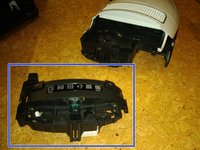
This part houses the electronics. If you flip it around you can remove the circuit board easily.
-


 Ask FixBot










The usual fault with stuck carbon brushes was not the cause in this case.
The next suspect, the triac, was also measured and found to be in working order.
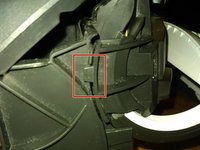
In fact, one of the connection legs of the Klixon bimetal switch was broken.
Until a replacement part became available, the leg was replaced and soldered.
Repair successful.

