
Microtek ScanMaker 5900 Stepper Motor Replacement

Steven Shaginyan and 3 other contributors
Last updated on May 7, 2024
Views: 2.2K
View statistics:
- Past 24 Hours:
- 1
- Past 7 Days:
- 14
- Past 30 Days:
- 51
- All Time:
- 2,213
Comments: 0
No one has left comments on this guide. Will you be first?
Go to guide commentsCompleted: 1 2
1 person has marked this guide "completed." Will you be next?
2 people have marked this guide "completed." Including you — great job!
Favorites: 2 3
2 people have favorited (and subscribed to) this guide. Will you be next?
3 people have favorited (and subscribed to) this guide — including you!
Needs Better Images
Better photos will improve this guide. Help out by taking, editing, or uploading new ones!
Introduction
Go to step 1 ↓This guide will show you how to replace the scanners stepper motor.
What you need
Tools


-
-
-
Loosen the screws on the serial port by turning them counter clockwise by hand.
-
After loosening the screws, pull the serial port out.
 Ask FixBot
-
-
-
Lift lid to its vertical position.
-
Pull lid straight up to remove it from the scanner.
-
-
-
-
-
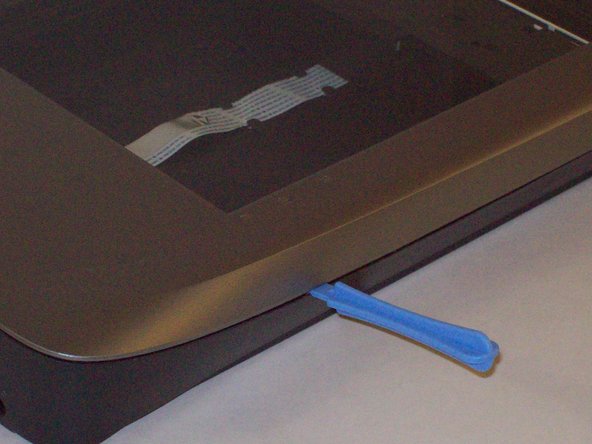
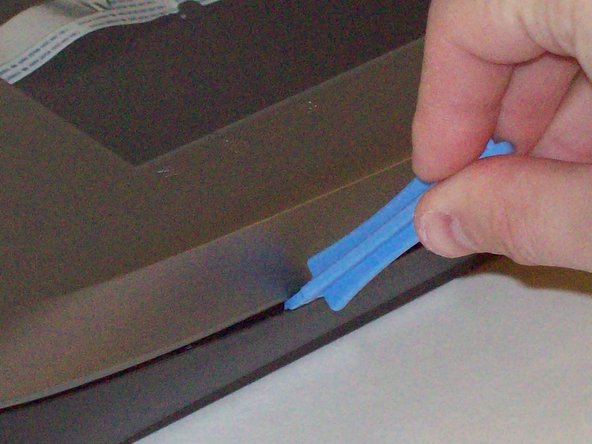
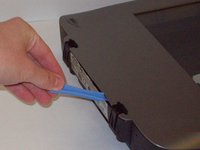
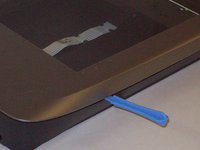
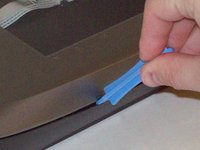
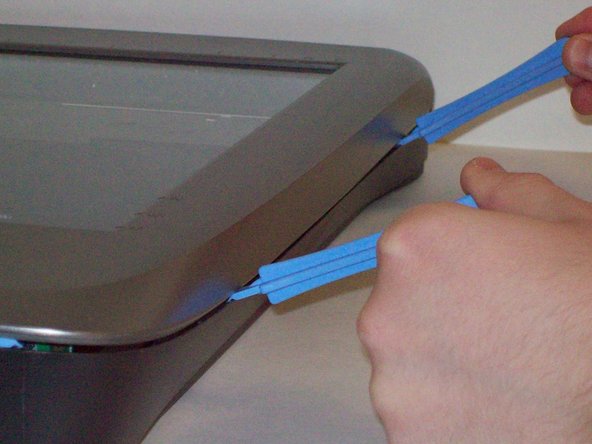
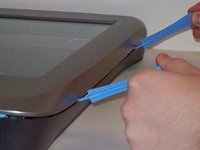
Push the plastic opening tools into the crack between the top and the bottom of the chassis.
-
-
-
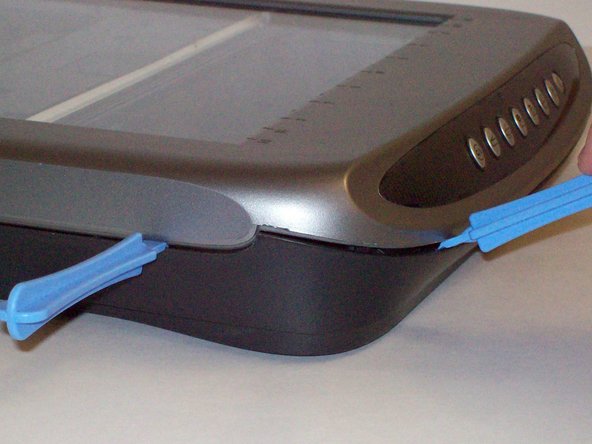
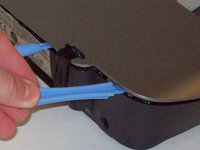
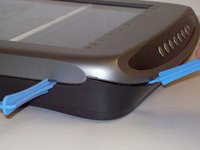
After placing one plastic opening tool into the slit, slide other plastic opening tools along the slit to detach the top from the bottom of the chassis.
-
Go all the way along the chassis until you can lift the upper lid.
-
-
-
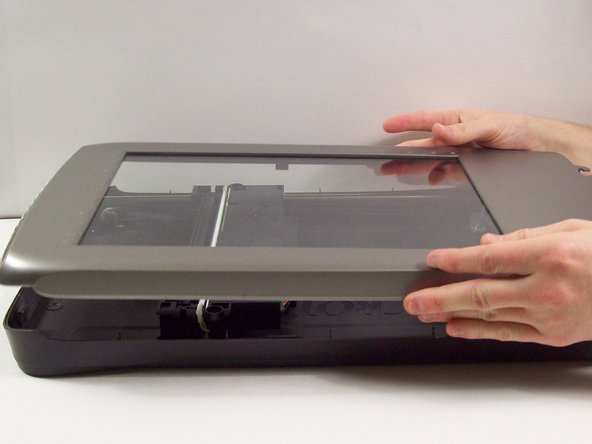
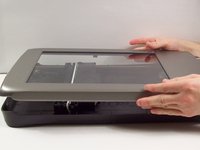
Do this by grabbing the upper lid from the sides and rotating it ninety degrees so it is perpendicular to the bottom lid.
-
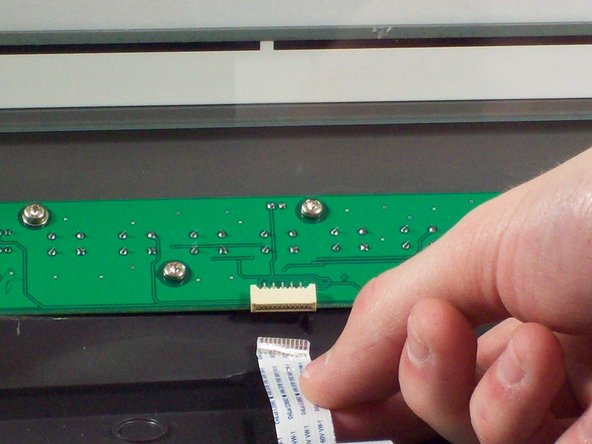
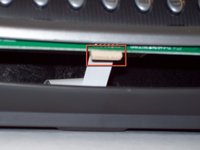
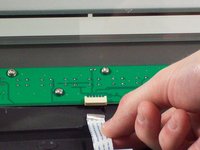
Grab the ribbon cable and gently pull it out of its slot with your fingers.
-
The upper lid can now safely be removed from the bottom lid.
-
-
-
-
-
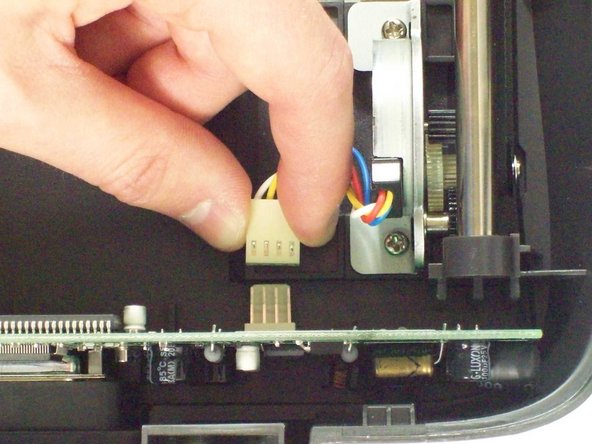
Locate the stepper motor. With the front of the scanner facing you, the motor is located at the top left.
-
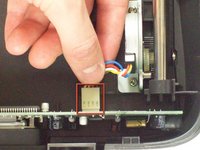
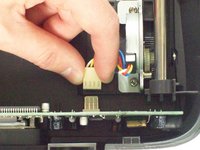
Disconnect the white connector from the vertical standing circuit board.
-
-
-
-
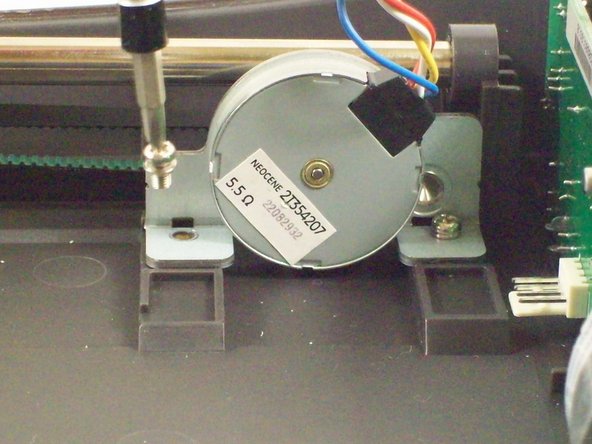
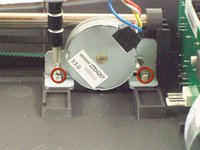
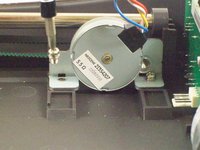
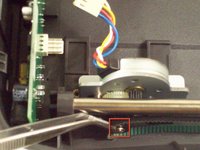
Using a #2 Philips Screwdriver, unscrew the two 7.7mm screws holding the stepper motor in place.
-
The stepper motor will become loose, but not completely free.
-
-
Tool used on this step:Tweezers$4.99
-
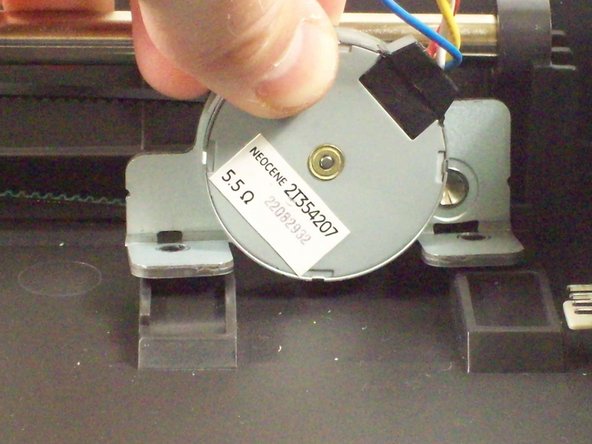
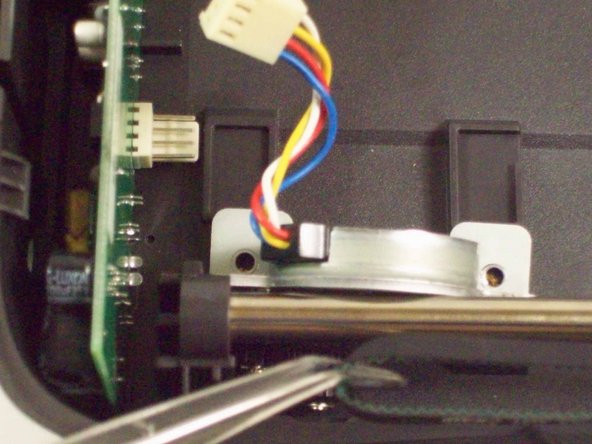
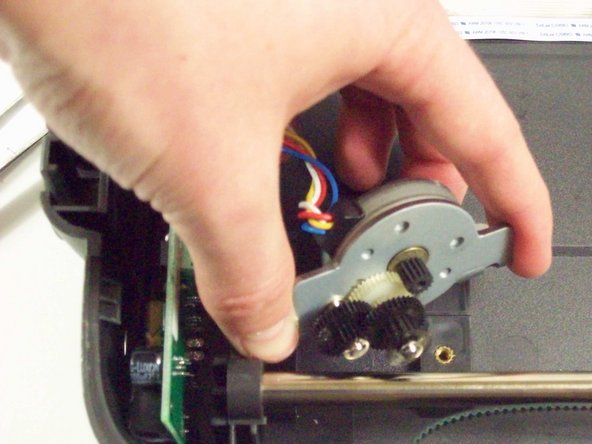
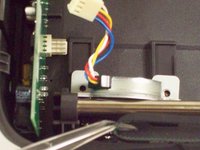
Using tweezers gently remove the tread from the black gear on the stepper motor.
-
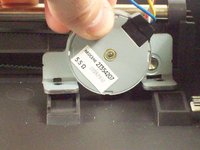
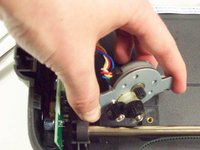
The stepper motor will become completely free.
-
-








To reassemble your device, follow these instructions in reverse order.
Cancel: I did not complete this guide.
One other person completed this guide.

Team

Cal Poly, Team 6-9, Regan Fall 2011 Member of Cal Poly, Team 6-9, Regan Fall 2011
CPSU-REGAN-F11S6G9
2 Members
132 Guides authored
