Free Shipping on Domestic Orders $75+

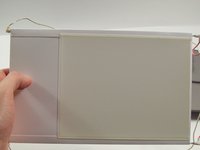
Microtek ScanMaker 5900 New Upper Lid Bulbs Replacement

What you need

  1. Microtek ScanMaker 5900 New Upper Lid Bulbs Replacement, Remove serial port connection: step 1, image 1 of 3 Microtek ScanMaker 5900 New Upper Lid Bulbs Replacement, Remove serial port connection: step 1, image 2 of 3 Microtek ScanMaker 5900 New Upper Lid Bulbs Replacement, Remove serial port connection: step 1, image 3 of 3
    • Loosen the screws on the serial port by turning them counter clockwise by hand.

    • After loosening the screws, pull the serial port out.

    Ask FixBot

    Add Comment

  2. Microtek ScanMaker 5900 New Upper Lid Bulbs Replacement, Remove Lid: step 2, image 1 of 3 Microtek ScanMaker 5900 New Upper Lid Bulbs Replacement, Remove Lid: step 2, image 2 of 3 Microtek ScanMaker 5900 New Upper Lid Bulbs Replacement, Remove Lid: step 2, image 3 of 3
    • Lift lid to its vertical position.

    • Pull lid straight up to remove it from the scanner.

    Ask FixBot

    Add Comment

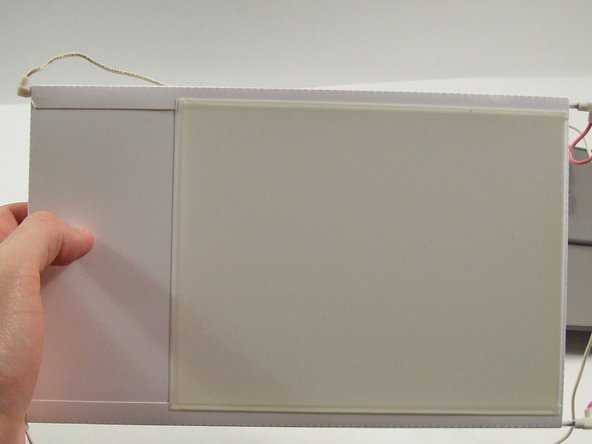
  3. Microtek ScanMaker 5900 New Upper Lid Bulbs Replacement, Remove the protective plastic covering: step 3, image 1 of 3 Microtek ScanMaker 5900 New Upper Lid Bulbs Replacement, Remove the protective plastic covering: step 3, image 2 of 3 Microtek ScanMaker 5900 New Upper Lid Bulbs Replacement, Remove the protective plastic covering: step 3, image 3 of 3
    Tool used on this step:
    Tweezers
    $4.99
    Buy
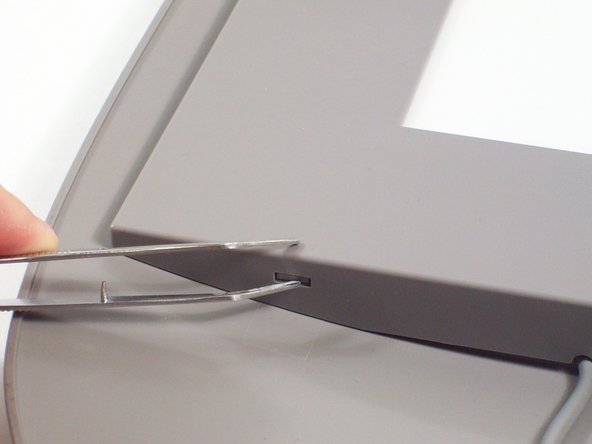
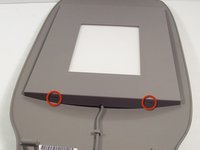
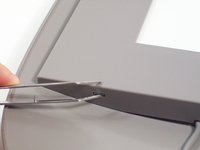
    • Notice that there are two plastic tabs that need to be pushed in to remove the plastic covering.

    • Use tweezers to push these tabs in.

    • Gently pull the plastic covering off of the upper lid.

    Ask FixBot

    Add Comment

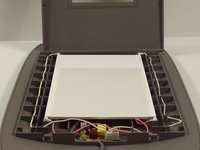
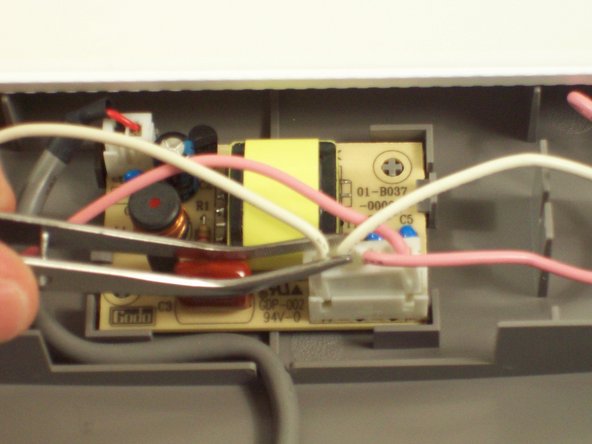
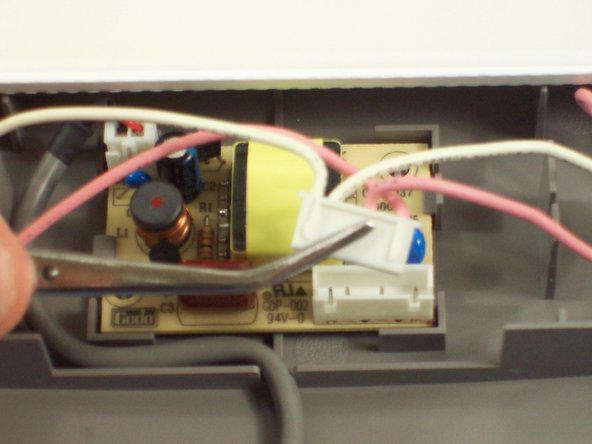
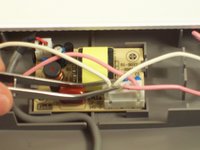
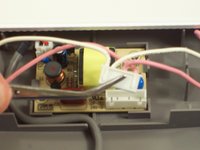
  4. Microtek ScanMaker 5900 New Upper Lid Bulbs Replacement, Remove wires from circuit board: step 4, image 1 of 3 Microtek ScanMaker 5900 New Upper Lid Bulbs Replacement, Remove wires from circuit board: step 4, image 2 of 3 Microtek ScanMaker 5900 New Upper Lid Bulbs Replacement, Remove wires from circuit board: step 4, image 3 of 3
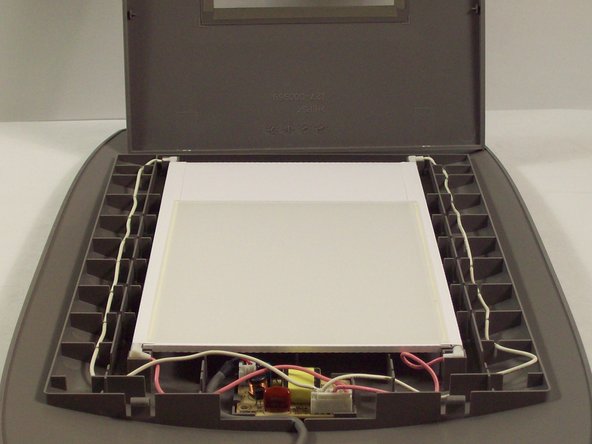
    • Grab the plastic wire housing near the serial port.

    • Gently pull and jiggle the wire housing until it comes free from the circuit board.

    Ask FixBot

    Add Comment

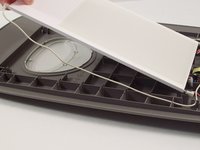
  5. Microtek ScanMaker 5900 New Upper Lid Bulbs Replacement, Remove the bulbs: step 5, image 1 of 2 Microtek ScanMaker 5900 New Upper Lid Bulbs Replacement, Remove the bulbs: step 5, image 2 of 2
    • Gently lift up the bulbs and remove the wires from the plastic.

    • After completely freeing the bulbs, buy new ones and replace.

    Ask FixBot

    Add Comment

Conclusion

To reassemble your device, follow these instructions in reverse order.

Cancel: I did not complete this guide.

Taylor Nesheim

Member since: 10/11/11

59 Reputation

7 Guides authored

Team

Cal Poly, Team 6-9, Regan Fall 2011 Member of Cal Poly, Team 6-9, Regan Fall 2011

CPSU-REGAN-F11S6G9

2 Members

22 Guides authored

0 Guide Comments

Add Comment

View Statistics:

Past 24 Hours: 1

Past 7 Days: 7

Past 30 Days: 31

All Time: 1,516