Free Shipping on Domestic Orders $75+

Microtek ScanMaker 5900 Motor Tread Replacement

What you need

  1. Microtek ScanMaker 5900 Motor Tread Replacement, Remove serial port connection: step 1, image 1 of 3 Microtek ScanMaker 5900 Motor Tread Replacement, Remove serial port connection: step 1, image 2 of 3 Microtek ScanMaker 5900 Motor Tread Replacement, Remove serial port connection: step 1, image 3 of 3
    • Loosen the screws on the serial port by turning them counter clockwise by hand.

    • After loosening the screws, pull the serial port out.

    Ask FixBot

    Add Comment

  2. Microtek ScanMaker 5900 Motor Tread Replacement, Remove Lid: step 2, image 1 of 3 Microtek ScanMaker 5900 Motor Tread Replacement, Remove Lid: step 2, image 2 of 3 Microtek ScanMaker 5900 Motor Tread Replacement, Remove Lid: step 2, image 3 of 3
    • Lift lid to its vertical position.

    • Pull lid straight up to remove it from the scanner.

    Ask FixBot

    Add Comment

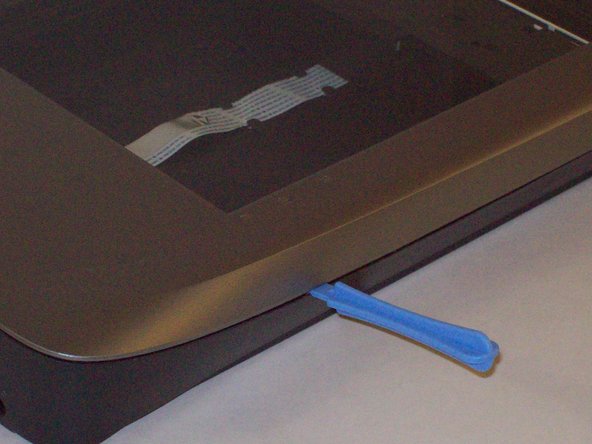
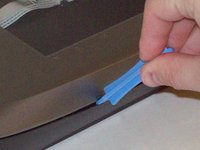
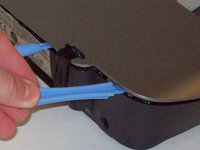
  3. Microtek ScanMaker 5900 Motor Tread Replacement, Detach plastic latches: step 3, image 1 of 3 Microtek ScanMaker 5900 Motor Tread Replacement, Detach plastic latches: step 3, image 2 of 3 Microtek ScanMaker 5900 Motor Tread Replacement, Detach plastic latches: step 3, image 3 of 3
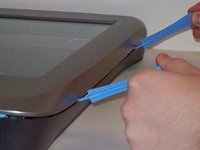
    • Push the plastic opening tools into the crack between the top and the bottom of the chassis.

    Ask FixBot

    Add Comment

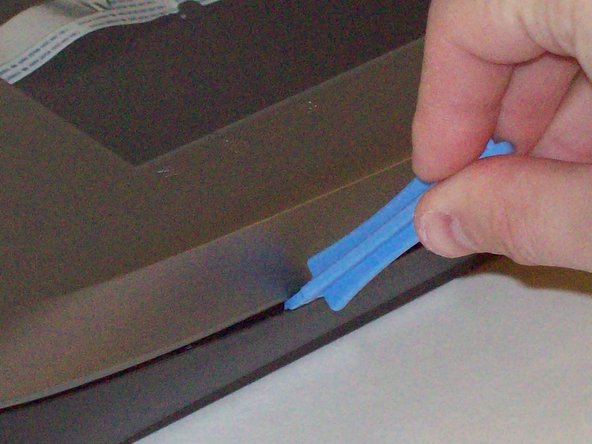
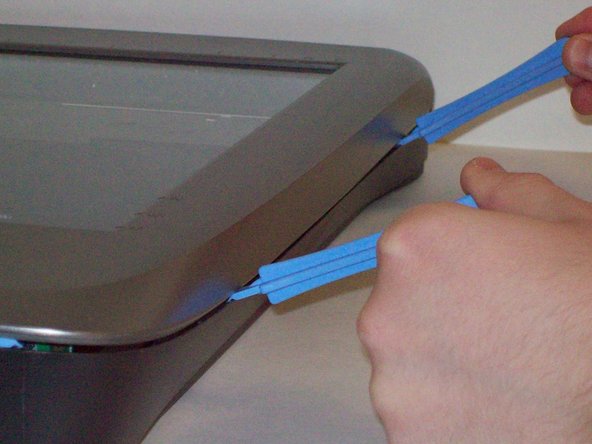
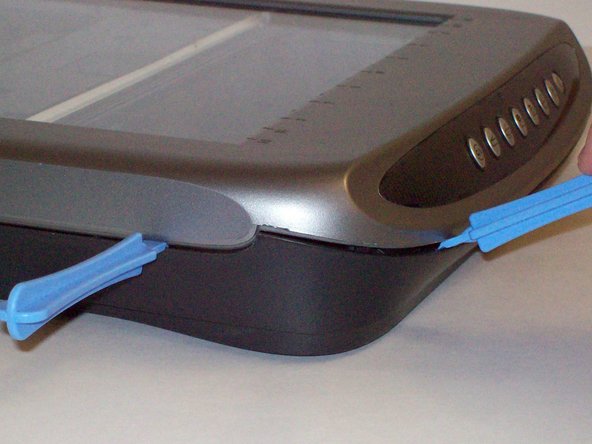
  4. Microtek ScanMaker 5900 Motor Tread Replacement, Continue latch detachment: step 4, image 1 of 3 Microtek ScanMaker 5900 Motor Tread Replacement, Continue latch detachment: step 4, image 2 of 3 Microtek ScanMaker 5900 Motor Tread Replacement, Continue latch detachment: step 4, image 3 of 3
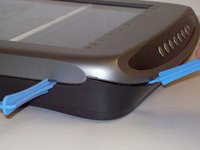
    • After placing one plastic opening tool into the slit, slide other plastic opening tools along the slit to detach the top from the bottom of the chassis.

    • Go all the way along the chassis until you can lift the upper lid.

    Ask FixBot

    Add Comment

  5. Microtek ScanMaker 5900 Motor Tread Replacement, Fully remove the upper lid: step 5, image 1 of 3 Microtek ScanMaker 5900 Motor Tread Replacement, Fully remove the upper lid: step 5, image 2 of 3 Microtek ScanMaker 5900 Motor Tread Replacement, Fully remove the upper lid: step 5, image 3 of 3
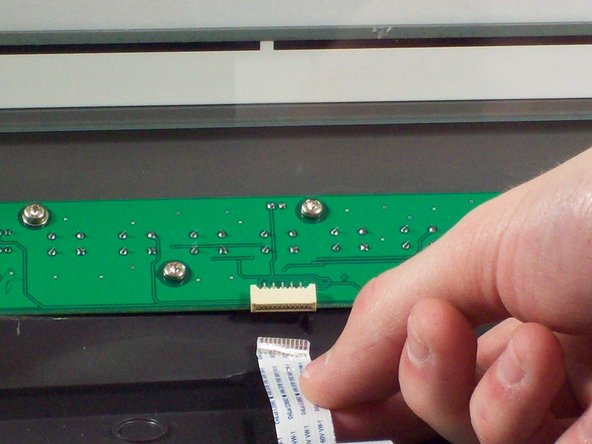
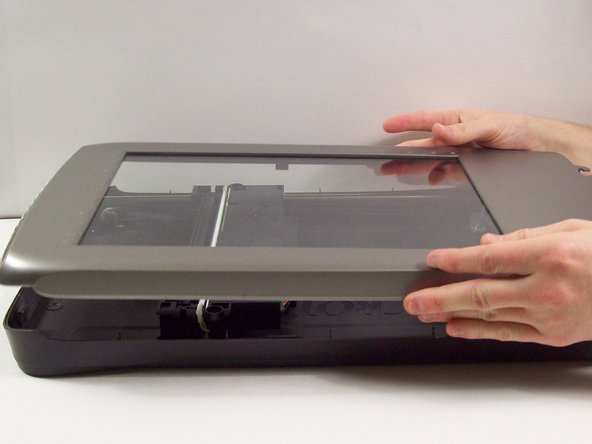
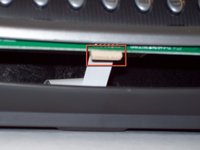
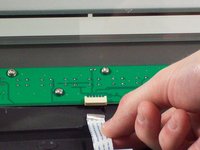
    • Do not fully remove the lid until you remove the ribbon cable attached to the front of the upper lid.

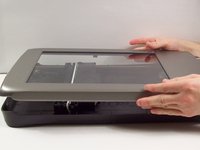
    • Do this by grabbing the upper lid from the sides and rotating it ninety degrees so it is perpendicular to the bottom lid.

    • Grab the ribbon cable and gently pull it out of its slot with your fingers.

    • The upper lid can now safely be removed from the bottom lid.

    Ask FixBot

    Add Comment

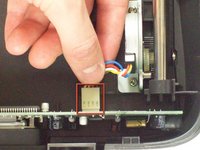
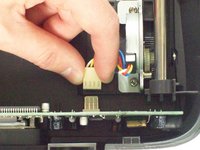
  6. Microtek ScanMaker 5900 Motor Tread Replacement, Stepper Motor: step 6, image 1 of 2 Microtek ScanMaker 5900 Motor Tread Replacement, Stepper Motor: step 6, image 2 of 2
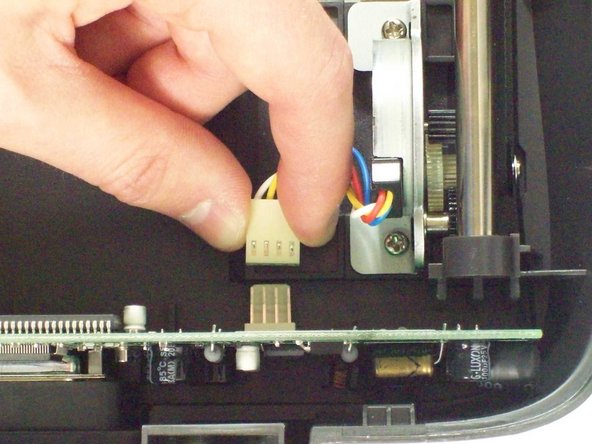
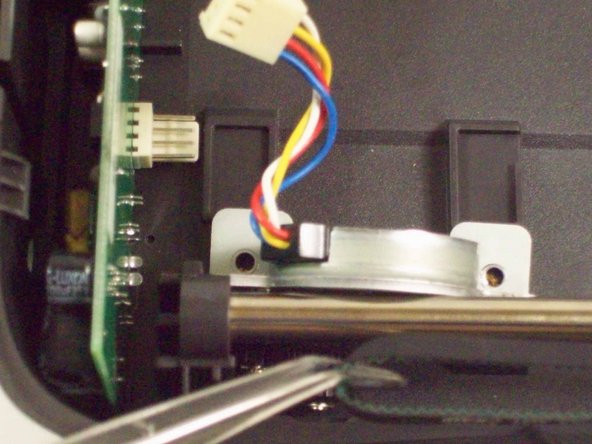
    • Locate the stepper motor. With the front of the scanner facing you, the motor is located at the top left.

    • Disconnect the white connector from the vertical standing circuit board.

    Ask FixBot

    Add Comment

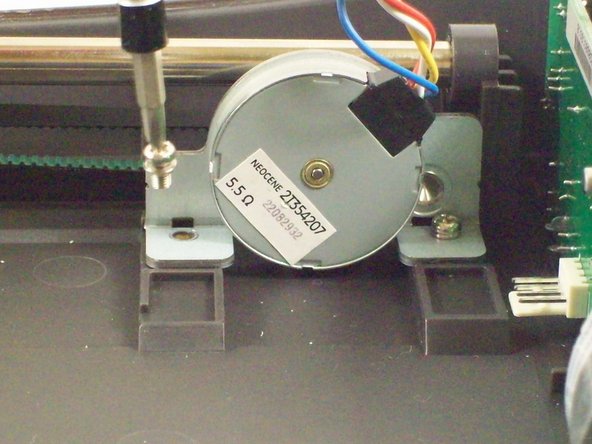
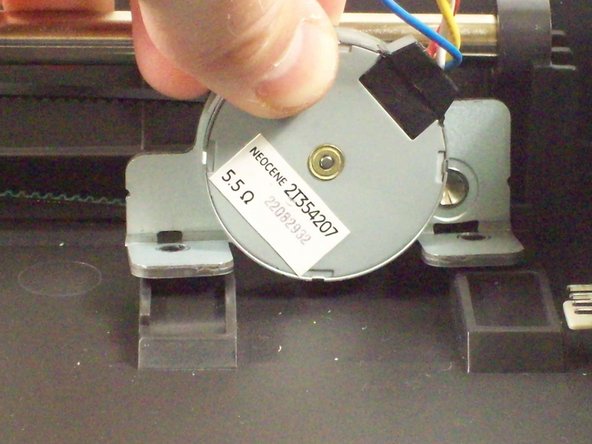
  7. Microtek ScanMaker 5900 Motor Tread Replacement: step 7, image 1 of 3 Microtek ScanMaker 5900 Motor Tread Replacement: step 7, image 2 of 3 Microtek ScanMaker 5900 Motor Tread Replacement: step 7, image 3 of 3
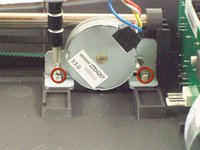
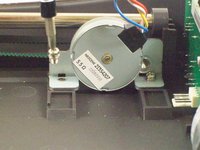
    • Using a #2 Philips Screwdriver, unscrew the two 7.7mm screws holding the stepper motor in place.

    • The stepper motor will become loose, but not completely free.

    Ask FixBot

    Add Comment

  8. Microtek ScanMaker 5900 Motor Tread Replacement: step 8, image 1 of 3 Microtek ScanMaker 5900 Motor Tread Replacement: step 8, image 2 of 3 Microtek ScanMaker 5900 Motor Tread Replacement: step 8, image 3 of 3
    Tool used on this step:
    Tweezers
    $4.99
    Buy
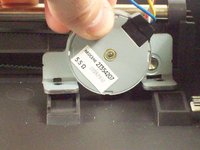
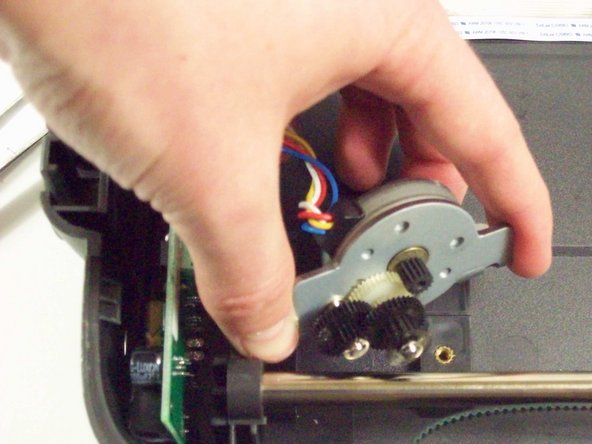
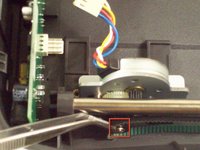
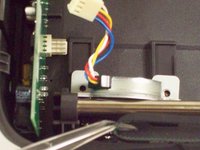
    • Using tweezers gently remove the tread from the black gear on the stepper motor.

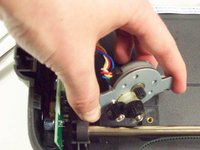
    • The stepper motor will become completely free.

    Ask FixBot

    Add Comment

  9. Microtek ScanMaker 5900 Motor Tread Replacement, Motor Tread: step 9, image 1 of 2 Microtek ScanMaker 5900 Motor Tread Replacement, Motor Tread: step 9, image 2 of 2
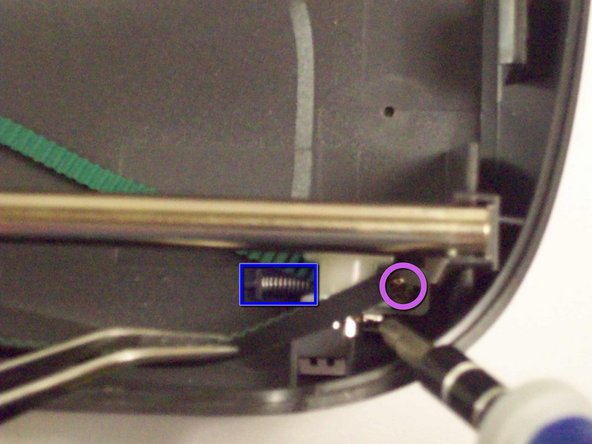
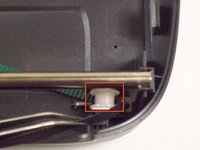
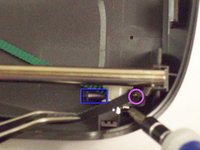
    • Facing the front of the scanner you will see a white plastic wheel holding the other end of the tread.

    • Pull the spring towards you until it snaps off the side wall releasing the tension in the spring.

    • Using a #2 Philips Screwdriver, unscrew the single 5.88mm screw holding the mount of the plastic wheel in place.

    Ask FixBot

    Add Comment

  10. Microtek ScanMaker 5900 Motor Tread Replacement: step 10, image 1 of 1
    • The plastic wheel and it's mount will be loose.

    • Remove the shaft holding the plastic wheel and the mount together

    • The tread will be completely loose.

    Ask FixBot

    Add Comment

Conclusion

To reassemble your device, follow these instructions in reverse order.

Cancel: I did not complete this guide.

Steven Shaginyan

Member since: 10/12/11

39 Reputation

4 Guides authored

Team

Cal Poly, Team 6-9, Regan Fall 2011 Member of Cal Poly, Team 6-9, Regan Fall 2011

CPSU-REGAN-F11S6G9

2 Members

22 Guides authored

0 Guide Comments

Add Comment

View Statistics:

Past 24 Hours: 0

Past 7 Days: 9

Past 30 Days: 45

All Time: 1,777