Introduction
Use this guide to replace the fans in your Microsoft Surface Pro 2.
This guide is for a Microsoft Surface Pro 2 (Model Number: 6CX-00001RB ) if it is overheating or making loud grinding noises. If you are having these issues with your device the Microsoft Surface Pro 2 Fans (P/N: KDB04105HB CK91 DF43) may need to be replaced. These issues may occur through extended use of the device or other possible damage sources like dropping the device. Replacing this fans prevent further damage from the overheating of the device or from the grinding of the fans.
This guide will show you in detail how to replace these fans in a safe manner. However, this guide is above average in difficulty because you will need have proficiency with both a heat gun and an opening tool to remove the screen of the device. After replacing the fans, follow the guide in reverse order to reassemble the device.
What you need
-
-
-
Using a heating pad or heating gun, heat the edges of the screen to soften the glue. This area extends roughly one inch from the edge of the device.
-
-
-
Using a plastic opening tool and a suction cup as needed for leverage, gently insert one edge of the opening tool under the corner of the screen.
-
Slowly work the tool around the entire edge of the screen.
-
-
-
-
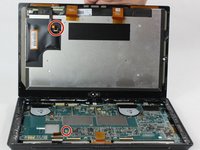
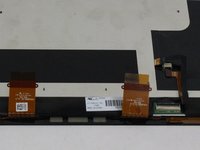
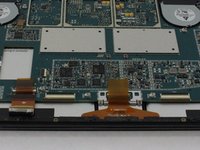
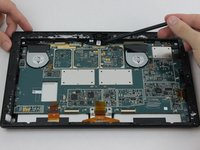
Detach the orange cables that connect the screen to the motherboard by pulling on the small tabs. Using the nylon spudger, release these cables.
-
Allow the glue to cool before letting it come into contact with any other surface.
-
-
-
-
Make sure that the front-facing camera is completely disconnected, and then remove the plastic bracket.
-
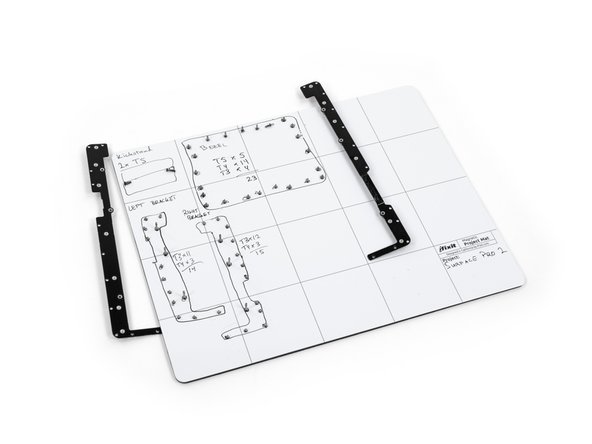
Remove the 22 screws on the bezel.
-
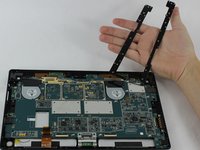
Remove the left and right brackets; the left has 16 screws and the right has 15 screws.
-
-
-
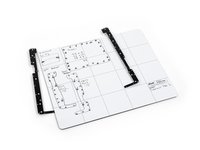
Once the brackets are removed, set them aside.
-
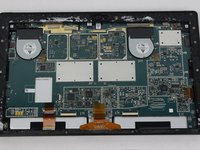
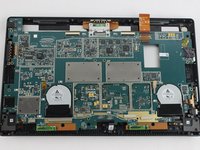
Remove the 25 screws of varying sizes that attach the motherboard to the back plate.
-
-
-
-
-
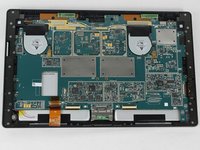
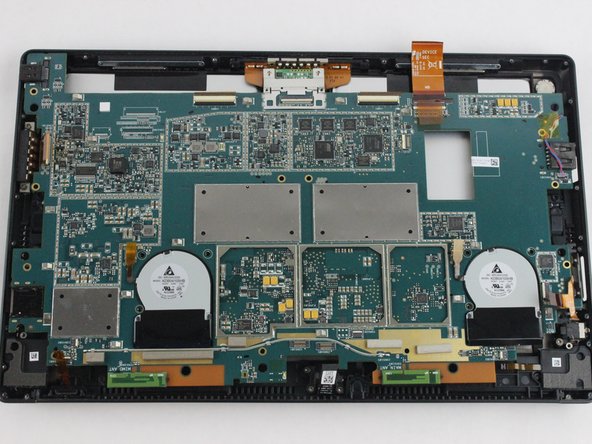
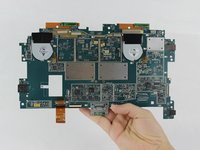
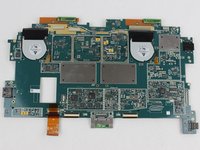
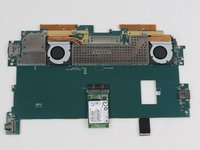
On the underside of the motherboard locate the heat shield which is located between the two fans near the top of the motherboard.
-
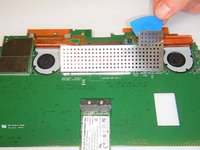
Remove the heat shield using an opening pick by lifting along the edges.
-
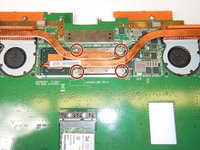
Remove all four Torx T5 screws located in each corner of the heat sink mounting frame.
-
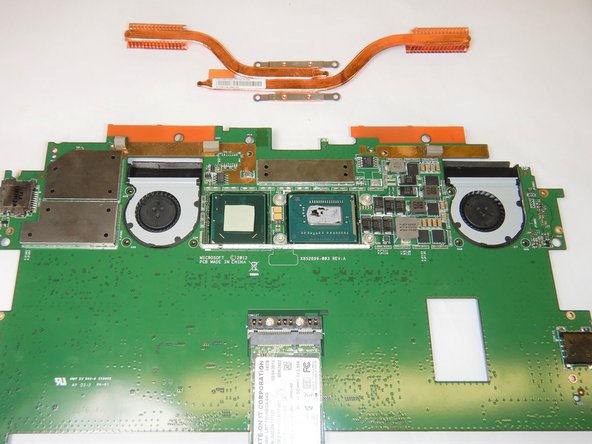
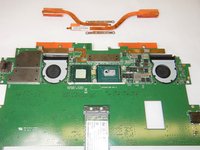
Carefully lift off the heat sinks from the motherboard.
-
-
-
-
-
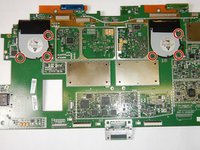
On the top side of the motherboard, remove the three Torx T5 screws that secure each of the two fans to the motherboard.
-
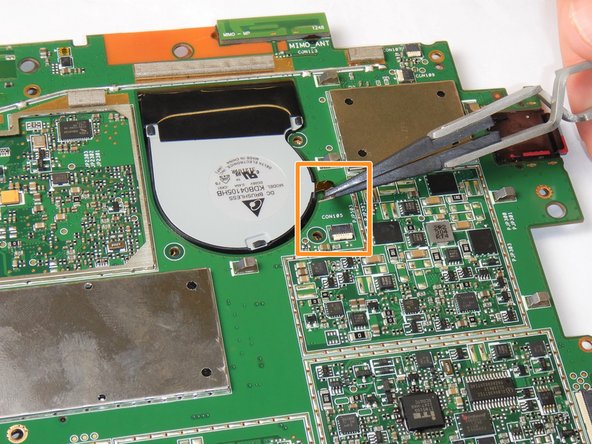
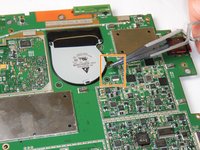
Remove the ribbon cables that connect the fans to the motherboard from their clamps.
-
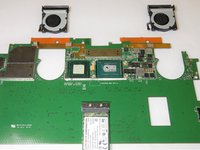
Remove the fans through the underside of the motherboard.
-
-


 Ask FixBot











To reassemble your device, follow these instructions in reverse order.
Cancel: I did not complete this guide.
3 other people completed this guide.

Team

The Citadel Military College of South Carolina, Team S3-G11, Eggleston Fall 2019 Member of The Citadel Military College of South Carolina, Team S3-G11, Eggleston Fall 2019
CMCSC-EGGLESTON-F19S3G11
3 Members
24 Guides authored
