Introduction
The Microsoft Surface Book 2 15'' is having a large amount of crashes and or shutting down. When you check the temperatures the are excessively high. The main hardware component that is responsible for this is the heat sink.
This is an easy part to replace only involving a few screws however it is recommended that you take a look Microsoft Surface Book 2 15 Troubleshooting at this page and try the solutions listed. A lot of the solutions are simple to follow and are all things that can be done through the software on the Microsoft Surface Book 1 15''. Meaning you will not have to disassemble the device which can help avoid any potential damage being done to the device.
-
-
-
Open the laptop, then orient it so the touchpad is on your left.
-
Starting at the hinge, count six holes up on the tablet portion of the laptop.
 Ask FixBot
-
-
-
Take a paper clip and unfold it.
-
Place the paper clip in the sixth hole and push until you hear a click.
-
Once you hear the click, lift up on the right side of the tablet from the base until it separates.
-
After the right side has been detached, lift up the left side as well.
-
-
-
Place the tablet on a flat surface.
-
Using a heat gun or iOpener, heat up the edges of the screen to soften up the adhesive.
-
-
-
-
Using a plastic pick, slice underneath the edge of the screen.
-
Slowly make your way around the screen, and carefully cut the adhesive that secures the screen to the frame.
-
-
-
Lift up the screen.
-
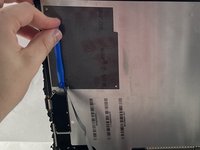
Detach the ribbon cables connecting the underside of the screen to the motherboard.
-
-
-
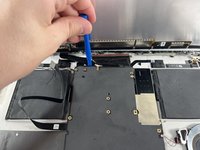
Use a T3 Torx screwdriver to remove eleven 4 mm screws from the motherboard.
-
Use a T3 Torx screwdriver to remove the ten 2.5 mm screws from the top bar.
-
-
-
Once the screws are removed from the top bar, gently lift up and remove it.
-
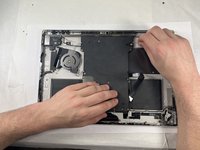
Gently lift up on the motherboard to remove it.
-
-
-
-
-
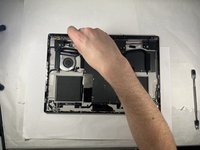
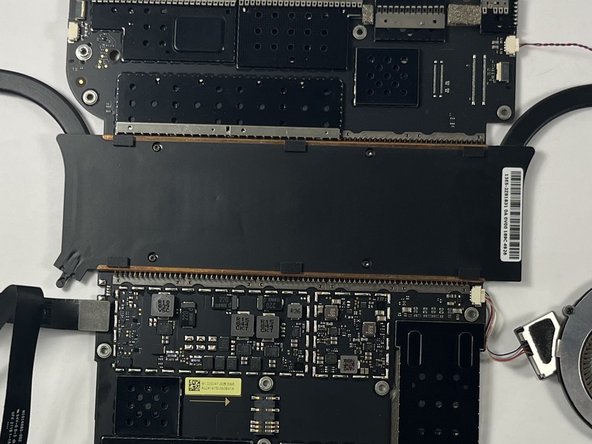
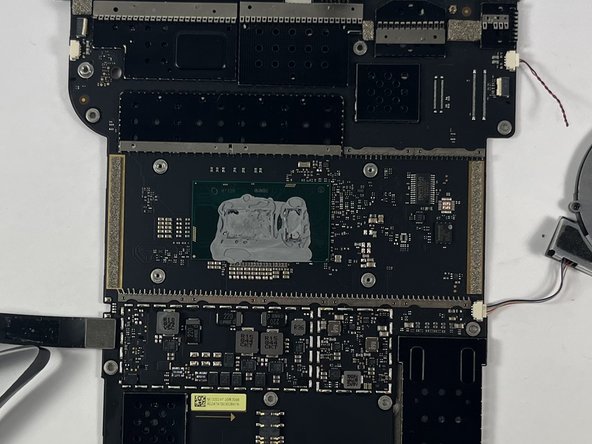
Remove the 4 torx 3 2.5mm screws holding in the heatsink.
-
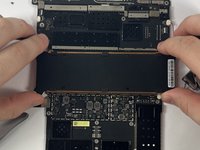
Lift up and remove the heatsink. This requires a small amount of force.
-









To reassemble your device, follow these instructions in reverse order.
Cancel: I did not complete this guide.
One other person completed this guide.

Team

UMass Dartmouth, Team 3-3, Petersen Spring 2023 Member of UMass Dartmouth, Team 3-3, Petersen Spring 2023
UMASSD-PETERSEN-S23S3G3
4 Members
72 Guides authored
