Free Shipping on Domestic Orders $75+

Miadore Classic N64 Controller Buttons Replacement

What you need

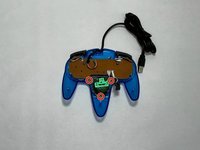
    1. Miadore Classic N64 Controller Buttons Replacement, Joystick: step 1, image 1 of 3 Miadore Classic N64 Controller Buttons Replacement, Joystick: step 1, image 2 of 3 Miadore Classic N64 Controller Buttons Replacement, Joystick: step 1, image 3 of 3
      • Use a Phillips #000 screwdriver to remove all nine 3.2 mm screws from the back of the controller.

      • Place the end of a spudger in the seam between the top and bottom of the controller to release the clips holding them together.

      • Separate the top and bottom cover of the controller.

      Ask FixBot

      Add Comment

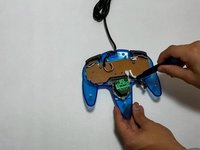
    2. Miadore Classic N64 Controller Buttons Replacement: step 2, image 1 of 2 Miadore Classic N64 Controller Buttons Replacement: step 2, image 2 of 2
      • Remove the three 3.2 mm Phillips #000 screws holding the motherboard in place.

      • The motherboard will still be in place after the screws are removed.

      Ask FixBot

      Add Comment

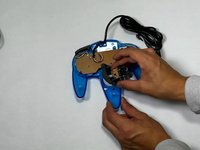
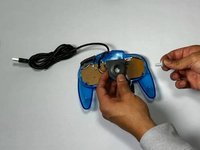
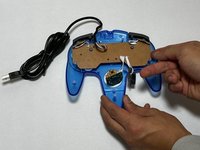
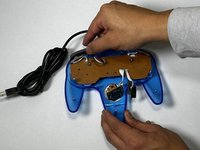
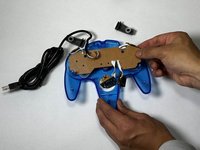
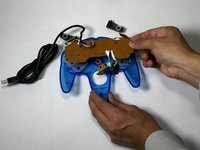
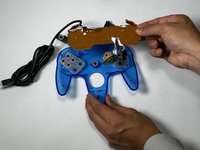
    3. Miadore Classic N64 Controller Buttons Replacement: step 3, image 1 of 3 Miadore Classic N64 Controller Buttons Replacement: step 3, image 2 of 3 Miadore Classic N64 Controller Buttons Replacement: step 3, image 3 of 3
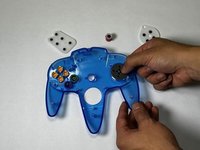
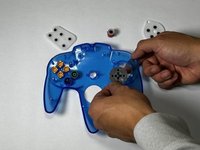
      • Remove the three 3.2 mm Phillips #000 screws holding the joystick module in place.

      • Remove the joystick module.

      Ask FixBot

      Add Comment

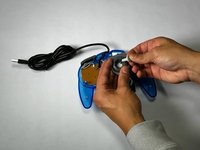
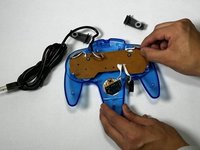
    4. Miadore Classic N64 Controller Buttons Replacement: step 4, image 1 of 2 Miadore Classic N64 Controller Buttons Replacement: step 4, image 2 of 2
      • Remove the joystick by pulling it away from the plastic needle-like object holding it in place.

      • Replace it with a new or custom joystick.

      Ask FixBot

      Add Comment

    1. Miadore Classic N64 Controller Buttons Replacement, Buttons: step 5, image 1 of 3 Miadore Classic N64 Controller Buttons Replacement, Buttons: step 5, image 2 of 3 Miadore Classic N64 Controller Buttons Replacement, Buttons: step 5, image 3 of 3
      • Remove the right and left bumper.

      • If the bumper buttons are the buttons that need to be replaced, you can stop here.

      Ask FixBot

      Add Comment

    2. Miadore Classic N64 Controller Buttons Replacement: step 6, image 1 of 3 Miadore Classic N64 Controller Buttons Replacement: step 6, image 2 of 3 Miadore Classic N64 Controller Buttons Replacement: step 6, image 3 of 3
      • Pull the motherboard up with even pressure on all sides.

      • Set the motherboard to the side.

      Ask FixBot

      Add Comment

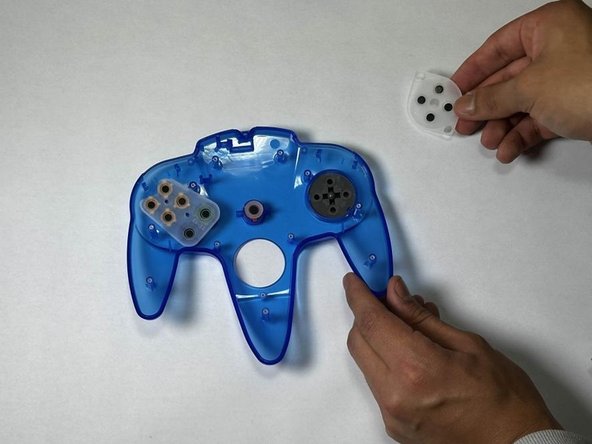
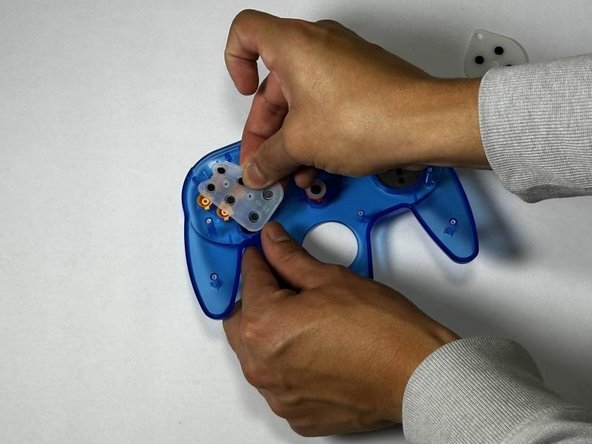
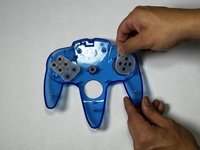
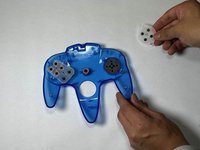
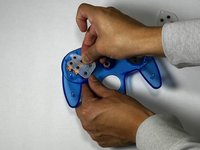
    3. Miadore Classic N64 Controller Buttons Replacement: step 7, image 1 of 3 Miadore Classic N64 Controller Buttons Replacement: step 7, image 2 of 3 Miadore Classic N64 Controller Buttons Replacement: step 7, image 3 of 3
      • Remove the rubber gaskets.

      • This will reveal the buttons underneath.

      Ask FixBot

      Add Comment

    4. Miadore Classic N64 Controller Buttons Replacement: step 8, image 1 of 2 Miadore Classic N64 Controller Buttons Replacement: step 8, image 2 of 2
      • Push up from the bottom of the controller to pop the buttons out.

      Ask FixBot

      Add Comment

Conclusion

To reassemble your device, follow these instructions in reverse order.

Cancel: I did not complete this guide.

3 other people completed this guide.

angel villagomez

Member since: 09/16/24

313 Reputation

1 Guide authored

Team

CSU Los Angeles, Team 5-3, Kershman Fall 2024 Member of CSU Los Angeles, Team 5-3, Kershman Fall 2024

CSULA-KERSHMAN-F24S5G3

5 Members

24 Guides authored

0 Guide Comments

Add Comment

View Statistics:

Past 24 Hours: 2

Past 7 Days: 5

Past 30 Days: 25

All Time: 421