Free Shipping on Domestic Orders $75+

Meta Quest 2 Eyepiece Trim Replacement

What you need

  1. Meta Quest 2 Eyepiece Trim Replacement, Power off your Meta Quest 2: step 1, image 1 of 1
    • Hold the power button for three seconds to fully turn off your headset.

    • You'll hear a power down chime, and the LED next to the power button will turn off.

    Ask FixBot

    Add Comment

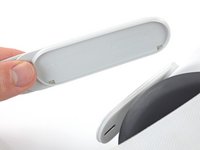
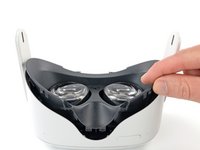
  2. Meta Quest 2 Eyepiece Trim Replacement, Remove the facial interface: step 2, image 1 of 2 Meta Quest 2 Eyepiece Trim Replacement, Remove the facial interface: step 2, image 2 of 2
    • Grasp and pull on the nose section of the facial interface to unclip it from the headset.

    Ask FixBot

    Add Comment

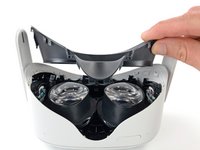
  3. Meta Quest 2 Eyepiece Trim Replacement: step 3, image 1 of 2 Meta Quest 2 Eyepiece Trim Replacement: step 3, image 2 of 2
    • Grasp and pull on the top section of the facial interface to unclip it from the headset.

    Ask FixBot

    Add Comment

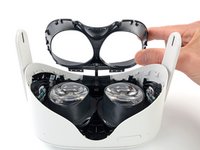
  4. Meta Quest 2 Eyepiece Trim Replacement: step 4, image 1 of 1
    • Remove the facial interface.

    • During reassembly, align the facial interface to the headset and use your fingers to press along the perimeter to clip it back in.

    Ask FixBot

    Add Comment

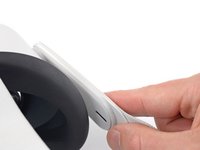
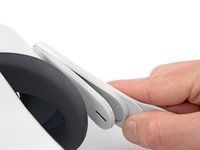
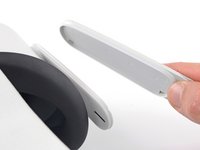
  5. Meta Quest 2 Eyepiece Trim Replacement, Unclip the side straps: step 5, image 1 of 3 Meta Quest 2 Eyepiece Trim Replacement, Unclip the side straps: step 5, image 2 of 3 Meta Quest 2 Eyepiece Trim Replacement, Unclip the side straps: step 5, image 3 of 3
    • Use your fingers to grasp the right strap near the headset.

    • Peel the right strap away from the headset arm to unclip it.

    Ask FixBot

    Add Comment

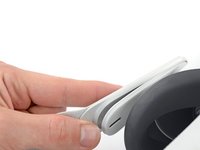
  6. Meta Quest 2 Eyepiece Trim Replacement: step 6, image 1 of 2 Meta Quest 2 Eyepiece Trim Replacement: step 6, image 2 of 2
    • Repeat the procedure to peel the left strap away from the arm to unclip it.

    Ask FixBot

    Add Comment

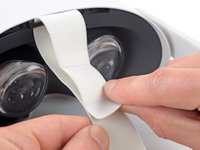
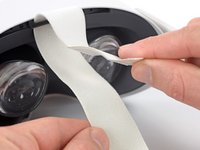
  7. Meta Quest 2 Eyepiece Trim Replacement, Remove the top strap: step 7, image 1 of 2 Meta Quest 2 Eyepiece Trim Replacement, Remove the top strap: step 7, image 2 of 2
    • Separate the hook and loop strip on the top strap.

    Ask FixBot

    Add Comment

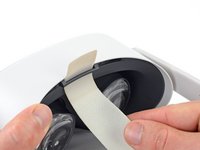
  8. Meta Quest 2 Eyepiece Trim Replacement, Remove the head strap: step 8, image 1 of 2 Meta Quest 2 Eyepiece Trim Replacement, Remove the head strap: step 8, image 2 of 2
    • Unthread the top strap from its bracket.

    • Remove the head strap.

    Ask FixBot

    Add Comment

  9. Meta Quest 2 Eyepiece Trim Replacement, Remove the eyepiece trim screws: step 9, image 1 of 2 Meta Quest 2 Eyepiece Trim Replacement, Remove the eyepiece trim screws: step 9, image 2 of 2
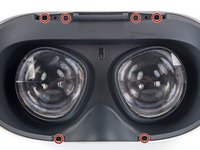
    • Use a Torx T2 driver to remove the six 3.5 mm‑long screws securing the eyepiece trim.

    Ask FixBot

    Add Comment

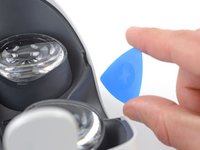
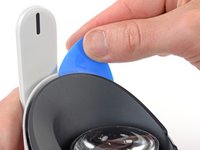
  10. Meta Quest 2 Eyepiece Trim Replacement, Release the eyepiece trim clips: step 10, image 1 of 2 Meta Quest 2 Eyepiece Trim Replacement, Release the eyepiece trim clips: step 10, image 2 of 2
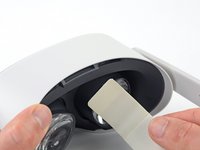
    • Insert an opening pick into the seam between the eyepiece trim and white outer shell, near the nose cutout.

    Ask FixBot

    Add Comment

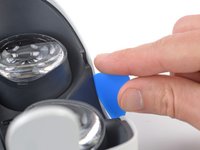
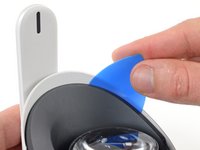
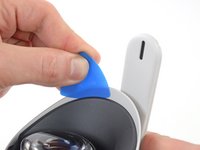
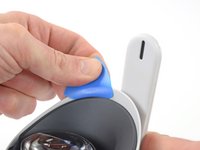
  11. Meta Quest 2 Eyepiece Trim Replacement: step 11, image 1 of 3 Meta Quest 2 Eyepiece Trim Replacement: step 11, image 2 of 3 Meta Quest 2 Eyepiece Trim Replacement: step 11, image 3 of 3
    • Slide the opening pick to the right along the seam to release the clips securing the eyepiece trim.

    • Pry with the opening pick to release the clips securing the right side of the eyepiece trim.

    • Leave the opening pick in the seam to prevent the clips from reengaging.

    Ask FixBot

    Add Comment

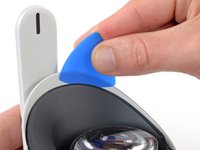
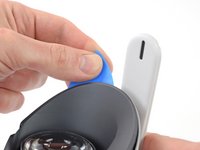
  12. Meta Quest 2 Eyepiece Trim Replacement: step 12, image 1 of 3 Meta Quest 2 Eyepiece Trim Replacement: step 12, image 2 of 3 Meta Quest 2 Eyepiece Trim Replacement: step 12, image 3 of 3
    • Repeat the prying procedure along the left edge to release the clips securing the eyepiece trim.

    • During reassembly, press your fingers along the perimeter of the eyepiece trim to clip it back in place.

    Ask FixBot

    Add Comment

  13. Meta Quest 2 Eyepiece Trim Replacement, Reposition the eyepiece trim: step 13, image 1 of 3 Meta Quest 2 Eyepiece Trim Replacement, Reposition the eyepiece trim: step 13, image 2 of 3 Meta Quest 2 Eyepiece Trim Replacement, Reposition the eyepiece trim: step 13, image 3 of 3
    • Don’t try to fully remove the eyepiece trim in this step. It’s still connected to the headset by a short cable.

    • Lift the eyepiece trim slightly and tilt it towards the top edge of the headset.

    • Set the trim down on your work surface, making sure not to strain the cable.

    Ask FixBot

    Add Comment

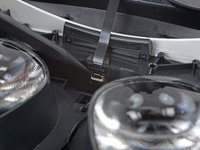
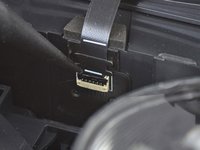
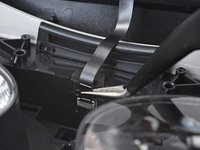
  14. Meta Quest 2 Eyepiece Trim Replacement, Disconnect the face sensor: step 14, image 1 of 3 Meta Quest 2 Eyepiece Trim Replacement, Disconnect the face sensor: step 14, image 2 of 3 Meta Quest 2 Eyepiece Trim Replacement, Disconnect the face sensor: step 14, image 3 of 3
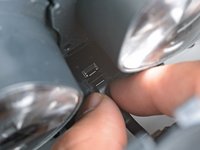
    • Use the point of a spudger to flip open the black lock tab on the ZIF connector securing the face sensor cable.

    Ask FixBot

    Add Comment

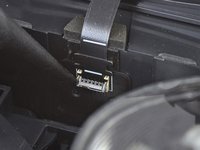
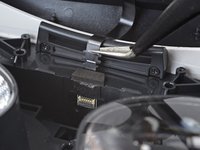
  15. Meta Quest 2 Eyepiece Trim Replacement: step 15, image 1 of 2 Meta Quest 2 Eyepiece Trim Replacement: step 15, image 2 of 2
    Tool used on this step:
    Tweezers
    $4.99
    Buy
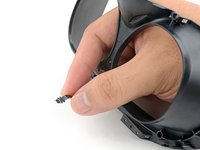
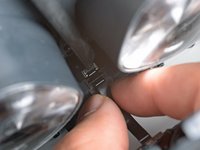
    • Use tweezers to pull the face sensor cable out of the ZIF connector.

    Ask FixBot

    Add Comment

  16. Meta Quest 2 Eyepiece Trim Replacement, Remove the eyepiece trim: step 16, image 1 of 1
    • Remove the eyepiece trim.

    Ask FixBot

    Add Comment

  17. Meta Quest 2 Eyepiece Trim Replacement, Reassembly note: step 17, image 1 of 2 Meta Quest 2 Eyepiece Trim Replacement, Reassembly note: step 17, image 2 of 2
    • During reassembly:

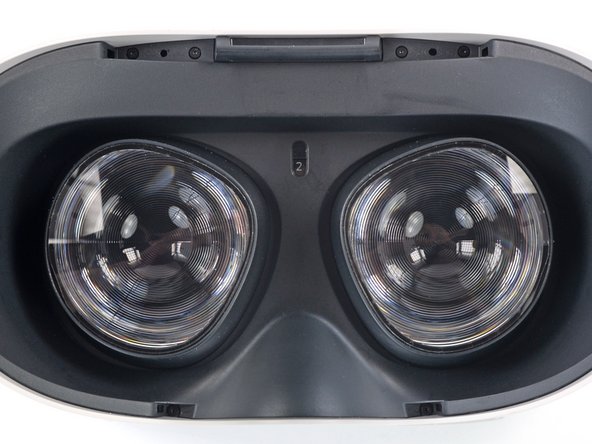
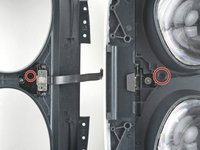
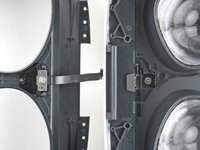
    • Make sure the lens spacing matches the spacing indicator. This allows the indicator peg to sit correctly in its notch.

    • If the lens spacing doesn't match the indicator, manually adjust the lens with your fingers.

    Ask FixBot

    Add Comment

  18. Meta Quest 2 Eyepiece Trim Replacement, Reassembly note: step 18, image 1 of 3 Meta Quest 2 Eyepiece Trim Replacement, Reassembly note: step 18, image 2 of 3 Meta Quest 2 Eyepiece Trim Replacement, Reassembly note: step 18, image 3 of 3
    • During reassembly, the face sensor cable can be tricky to connect. Follow these tips to connect the cable:

    • Thread your fingers through the eyepiece trim’s eyeholes and grasp the edges of the sensor cable.

    • Slide the sensor cable into the socket until the first set of tabs rests in the socket. This should flip the lock tab down partially.

    • Use a spudger to press the lock tab down towards the cable to lock it in place.

    Ask FixBot

    Add Comment

Conclusion

To reassemble your device, follow these instructions in reverse order.

Take your e-waste to an R2 or e-Stewards certified recycler.

Repair didn’t go as planned? Try some basic troubleshooting, or ask our Answers community for help.

Cancel: I did not complete this guide.

2 other people completed this guide.

Arthur Shi

Member since: 01/03/18

343,592 Reputation

915 Guides authored

Team

iFixit Member of iFixit

Staff

123 Members

27,624 Guides authored

0 Guide Comments

Add Comment

View Statistics:

Past 24 Hours: 4

Past 7 Days: 8

Past 30 Days: 66

All Time: 2,431