Free Shipping on Domestic Orders $75+

Meta Quest 2 Controller Thumbgrip Replacement

What you need

  1. Meta Quest 2 Controller Thumbgrip Replacement, Remove the battery cover: step 1, image 1 of 3 Meta Quest 2 Controller Thumbgrip Replacement, Remove the battery cover: step 1, image 2 of 3 Meta Quest 2 Controller Thumbgrip Replacement, Remove the battery cover: step 1, image 3 of 3
    • Use your fingers to slide the battery cover down towards the strap end of the controller.

    • Remove the battery cover.

    • If you're taking the controller apart for repairs, remove the batteries in the controller.

    Ask FixBot

    Add Comment

  2. Meta Quest 2 Controller Thumbgrip Replacement, Loosen the faceplate adhesive: step 2, image 1 of 1
    • Heat an iOpener and apply it to the bottom edge of the controller faceplate for a minute.

    Ask FixBot

    Add Comment

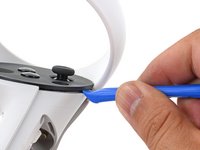
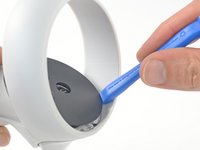
  3. Meta Quest 2 Controller Thumbgrip Replacement, Loosen the controller faceplate: step 3, image 1 of 3 Meta Quest 2 Controller Thumbgrip Replacement, Loosen the controller faceplate: step 3, image 2 of 3 Meta Quest 2 Controller Thumbgrip Replacement, Loosen the controller faceplate: step 3, image 3 of 3
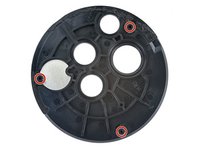
    • The controller faceplate is secured with adhesive and three friction pegs.

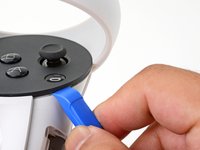
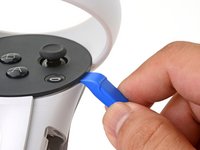
    • Press the edge of an opening tool into the seam between the controller faceplate and shell, near the Oculus button.

    • If you can’t get the opening tool into the seam, heat the area with an iOpener for a minute and try again.

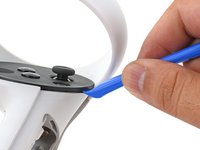
    • Slide the opening tool to the base of the ring shell to loosen the adhesive.

    Ask FixBot

    Add Comment

  4. Meta Quest 2 Controller Thumbgrip Replacement: step 4, image 1 of 2 Meta Quest 2 Controller Thumbgrip Replacement: step 4, image 2 of 2
    • Use an opening tool to pry up on the seam to loosen the first friction peg.

    Ask FixBot

    Add Comment

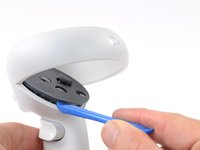
  5. Meta Quest 2 Controller Thumbgrip Replacement: step 5, image 1 of 2 Meta Quest 2 Controller Thumbgrip Replacement: step 5, image 2 of 2
    • Continue prying around the entire faceplate to separate the remaining friction pegs and adhesive.

    • If you're having trouble, apply a heated iOpener to the faceplate for a minute and try again.

    Ask FixBot

    Add Comment

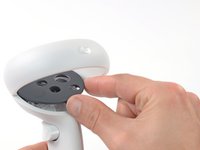
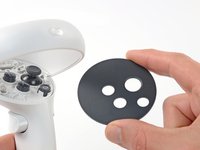
  6. Meta Quest 2 Controller Thumbgrip Replacement, Remove the faceplate: step 6, image 1 of 3 Meta Quest 2 Controller Thumbgrip Replacement, Remove the faceplate: step 6, image 2 of 3 Meta Quest 2 Controller Thumbgrip Replacement, Remove the faceplate: step 6, image 3 of 3
    • Remove the controller faceplate.

    • The three friction pegs should hold the faceplate securely, so you don’t need to replace the adhesive during reassembly. Be sure to firmly press the faceplate onto the controller so that all friction pegs fully engage.

    Ask FixBot

    Add Comment

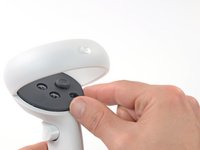
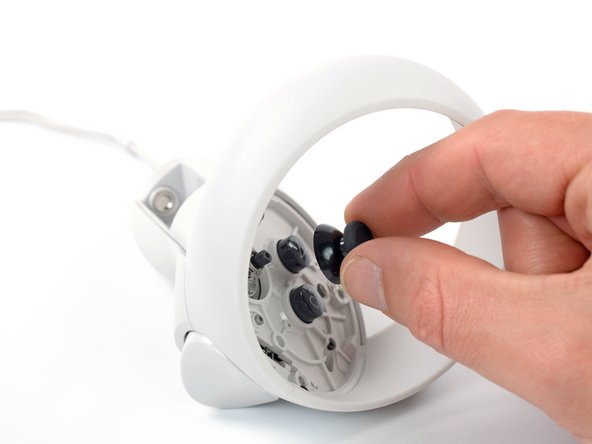
  7. Meta Quest 2 Controller Thumbgrip Replacement, Remove the thumbgrip: step 7, image 1 of 2 Meta Quest 2 Controller Thumbgrip Replacement, Remove the thumbgrip: step 7, image 2 of 2
    • Use your fingers to pull the thumbgrip straight off of the thumbstick and remove it.

    Ask FixBot

    Add Comment

Conclusion

To reassemble your device, follow these instructions in reverse order.

Repair didn’t go as planned? Try some basic troubleshooting, or ask our Answers community for help.

Cancel: I did not complete this guide.

2 other people completed this guide.

Arthur Shi

Member since: 01/03/18

343,138 Reputation

914 Guides authored

Team

iFixit Member of iFixit

Staff

122 Members

27,540 Guides authored

0 Guide Comments

Add Comment

View Statistics:

Past 24 Hours: 2

Past 7 Days: 21

Past 30 Days: 113

All Time: 2,574