
Merch Source Projector Entertainment II Light Bulb Replacement

Stephanie and 8 other contributors
Last updated on Jul 26, 2024
Views: 2.9K
View statistics:
- Past 24 Hours:
- 1
- Past 7 Days:
- 25
- Past 30 Days:
- 118
- All Time:
- 2,854
Comments: 2
1 comment on steps, 1 guide comment.
Go to guide commentsCompleted: 1 2
1 person has marked this guide "completed." Will you be next?
2 people have marked this guide "completed." Including you — great job!
Favorites: 0 1
No one has favorited (and subscribed to) this guide. Will you be the first?
1 person has favorited (and subscribed to) this guide — and that's you!
Inconsistent Images
Updating the images on this guide to be more consistent with the prerequisites would increase its awesomeness.
Mismatched Prerequisites
This guide does not have a proper prerequisite guide. Help match it to its ideal partner by finding it or writing one!
Introduction
Go to step 1 ↓Dim picture? No display? Discolored output? No problem! Use this guide to replace the burnt light bulb with a new one. To complete this replacement, you will need the following parts ready:
What you need
Tools

-
-
-
Flip the projector onto its back and unscrew the nine 15mm screws using the Phillips #0 screw driver.
 Ask FixBot
-
-
-
Flip the projector right side up and unscrew the two 12mm screws on the light bulb panel located at the rear of the projector with a Phillips #0 screw head.
-
-
-
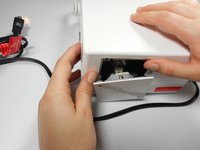
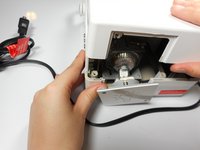
Using your hands, gently pry the top and bottom of the projector casing apart.
-
-
-
-
-
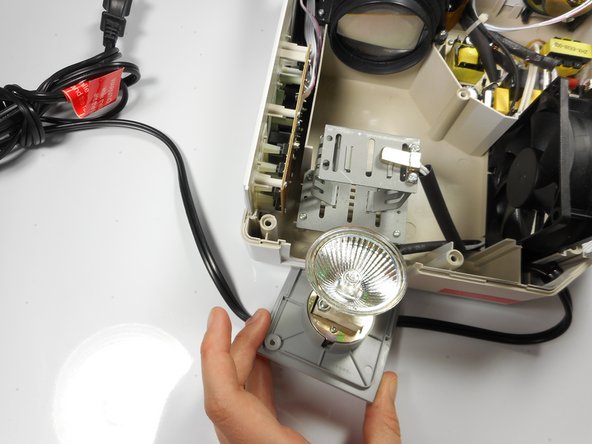
Remove the light bulb from its housing unit.
-
-
-
-
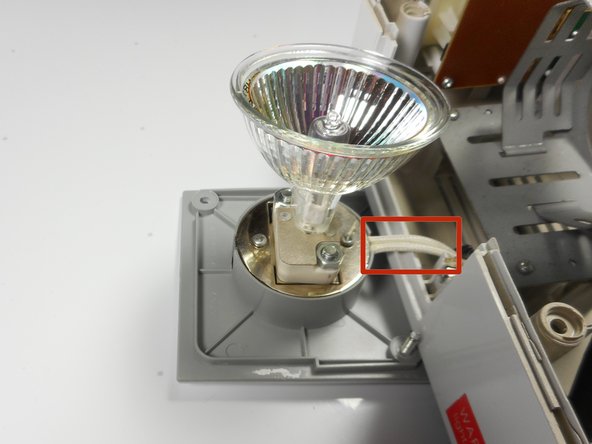
Remove the light bulb from the door panel by gently wiggling it back and forth. Do not twist the light bulb.
-
-



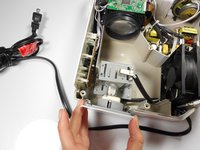
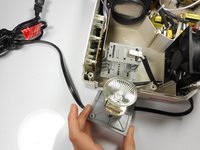
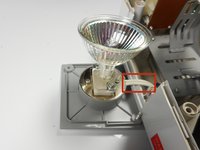


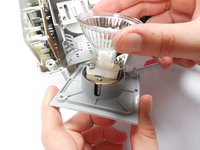
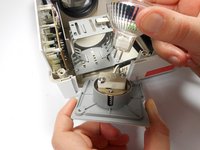
To reassemble your device, follow these instructions in reverse order.
Cancel: I did not complete this guide.
One other person completed this guide.

Team

Cal Poly, Team 18-3, Maness Winter 2015 Member of Cal Poly, Team 18-3, Maness Winter 2015
CPSU-MANESS-W15S18G3
3 Members
48 Guides authored
1 Guide Comment
Mi nuevo proyector no prende la luz ni el ventilador al conectarlo al tomacorriente y encenderlo.
