
Mercedes W123 Brake/Tail/Reverse/Turn Bulb Replacement

Last updated on Jan 24, 2014
Views: 15K
View statistics:
- Past 24 Hours:
- 9
- Past 7 Days:
- 33
- Past 30 Days:
- 163
- All Time:
- 15,024
Comments: 2
2 guide comments.
Go to guide commentsCompleted: 10 11
10 people have marked this guide "completed." Will you be next?
11 people have marked this guide "completed." Including you — great job!
Favorites: 4 5
4 people have favorited (and subscribed to) this guide. Will you be next?
5 people have favorited (and subscribed to) this guide — including you!
Community-Contributed Guide
An awesome member of our community made this guide. It was not created by iFixit staff.
What you need
Parts
-
×2
-
×6
-
×2


Tools

-
-
-
The access panel for all of these lights is on the inside of the trunk. There's one on each side. This guide will cover one side; simply repeat on the other to complete the job.
 Ask FixBot
-
-
-
Pull the panel out and away from the back of the car, being careful not to force the bulbs out of the holes.
-
-
-
There are five bulbs in each tail light housing. They are as follows:
-
Brake light
-
Reverse light
-
Tail light
-
Turn signal
-
Side marker
-
-
-
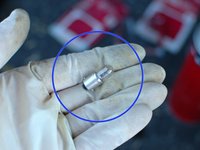
To remove any of the bulbs simply turn them counter clockwise approximately a half turn and then pull them out of their socket.
-
-
-
-
Before installing the new bulb consider cleaning the socket with a soft metal wire brush such as the brass brush shown to help remove any corrosion.
-
Then install the new bulb, reassemble the device, and finally, be sure to test that all of your rear lights are working before going for a drive.
-
-


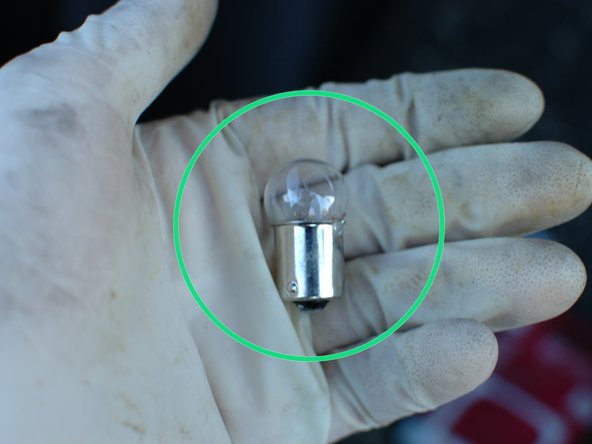
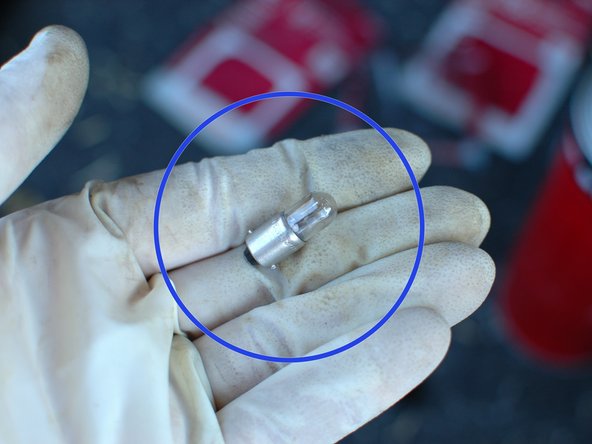

To reassemble your device, follow these instructions in reverse order.
Cancel: I did not complete this guide.
10 other people completed this guide.


