
Mercedes Sprinter Door Magnets Replacement

Charlie Vanstone and one other contributor
Last updated on Jul 10, 2026
Views: 223
View statistics:
- Past 24 Hours:
- 2
- Past 7 Days:
- 11
- Past 30 Days:
- 83
- All Time:
- 223
Comments: 0
No one has left comments on this guide. Will you be first?
Go to guide commentsCompleted: 1 2
1 person has marked this guide "completed." Will you be next?
2 people have marked this guide "completed." Including you — great job!
Favorites: 0 1
No one has favorited (and subscribed to) this guide. Will you be the first?
1 person has favorited (and subscribed to) this guide — and that's you!
Community-Contributed Guide
An awesome member of our community made this guide. It was not created by iFixit staff.
Introduction
Go to step 1 ↓Hey everyone, very simple guide here for you.
The old magnets that keep the doors fully open had disintegrated over the years. I bought brand new ones to replace them.
It was as simple as removing the old ones with a grip tool due to how bad they had got. Normally you would use a larger grip tool or your hands if you're strong enough.
What you can also do is go to the inside and release the tension on the screws to make this easier.
Once this is off, simply clean around the area and inside the hole and remove and residue.
You can now attach the new magnet by screwing it in place and then tightening the screws on the inside.
What you need
Video Overview
-
-
-
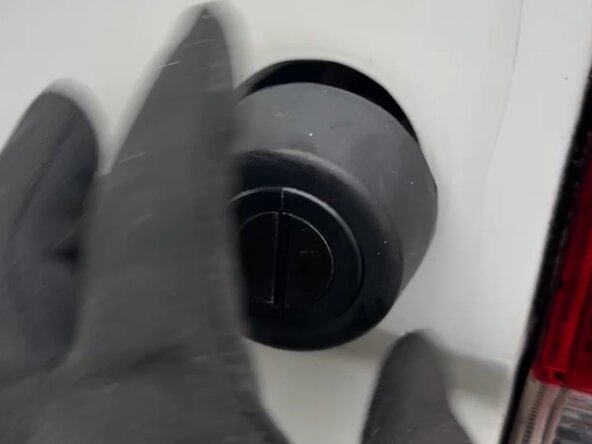
Remove the old Magnet using some grips or your hands. Please wear suitable PPE.
 Ask FixBot
-
-
-
Clean the hole. Ensure there is no residue left over. You can do this with simple cleaning products, but if the residue is more difficult, you can use Panel Wipe. You can also use DPF, but use that at your own risk as it can damage your paint. Always test patch before using chemicals.
-
-
-
Go to attach your new door magnet into the hole, ensuring the screw hole lines up properly. Do not force it in otherwise you may thread the hole.
-
-
-
Begin to tighten to the magnet, this will squeak a lot and seem like it is tight due to the rubber against the metal, but it is not. But do not over tighten this.
-
-
-
-
Once this is complete, you should see a nice seal all around the rubber, this will ensure no water can get inside the vehicle, this is very important.
-
-
-
Ensure you have done a test of everything to make sure it is all in working order and there you have it!
-
-




To reassemble your device, follow these instructions in reverse order.
Cancel: I did not complete this guide.
One other person completed this guide.

