This translation was generated by a machine and has not been reviewed by a person yet. Speak this language? Review it.

Melitta Caffeo CI Ceramic Valve Replacement

Last updated on Sep 2, 2026
Views: 205
View statistics:
- Past 24 Hours:
- 5
- Past 7 Days:
- 44
- Past 30 Days:
- 135
- All Time:
- 205
Comments: 1
1 comment on steps.
Completed: 0 1
No one has marked this guide "completed." Will you be the first?
1 person has marked this guide "completed." It's you — great job!
Favorites: 0 1
No one has favorited (and subscribed to) this guide. Will you be the first?
1 person has favorited (and subscribed to) this guide — and that's you!
Community-Contributed Guide
An awesome member of our community made this guide. It was not created by iFixit staff.
Introduction
Go to step 1 ↓There are various failure symptoms for the ceramic valve. You can try to repair or replace it. The ceramic valve is very similar in design to the one from Jura; compare it with the corresponding repair guide. Possible errors include
- (Micro) cracks in the distributor head
- Limescale, especially on the ceramic discs/seals
- Defective microswitches
- Internal drive dog worn down
- Motor defective
Repair is not always successful. But since the replacement part is quite expensive, it is worth a try. In particular, replacing defective microswitches is quite easy.
Depending on your needs, various replacement parts are available: the distributor head, the microswitches, and seals - or the complete valve.
Note: If you do not need to perform any further repairs, there is no need to open the side with the service door.
What you need
Tools
-
-
-
Disconnect the machine from the main power supply.
-
Remove all parts that are normally removed for cleaning the machine.
-
Remove the drip tray. (Not shown in the photos).
-
Remove the water tank.
-
Remove as many coffee beans as possible with a spoon.
-
Remove the right side cover, behind which the brewing unit is located. If the brewing unit can be removed, it can also be removed.
 Ask FixBot
-
-
-
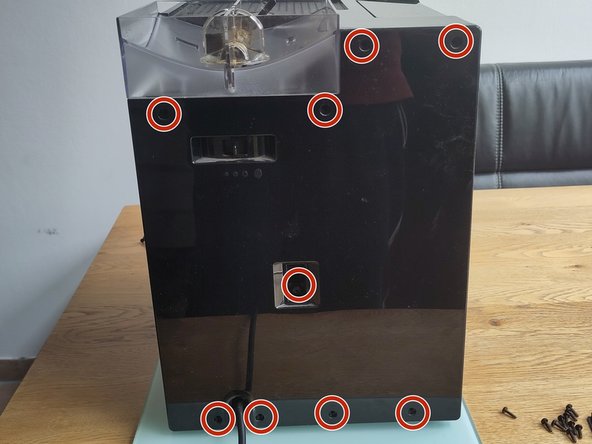
Remove the 9 Tx10 screws on the back. A small plastic plate will also come off with the middle screw.
-
The back panel can be pulled off; there are clips or hooks.
-
-
-
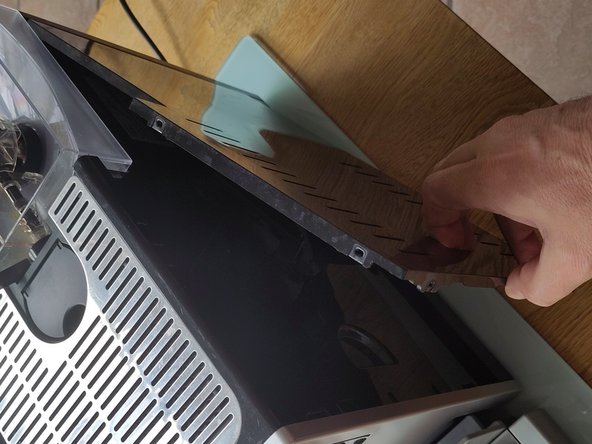
Remove the loose metal grille. Remove the two Tx10 screws underneath.
-
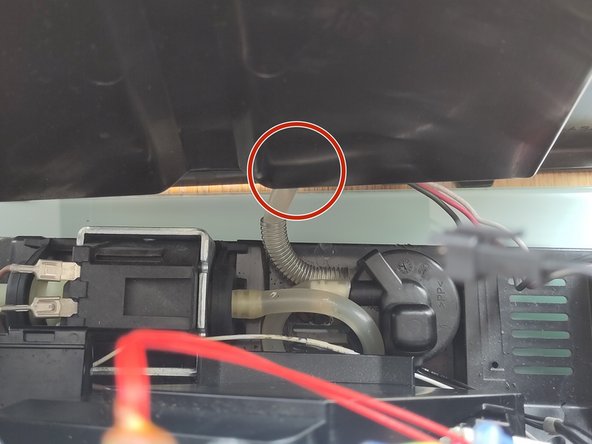
The cover cannot be removed yet; there are a total of 5 clips. Please proceed to the next step.
-
-
-
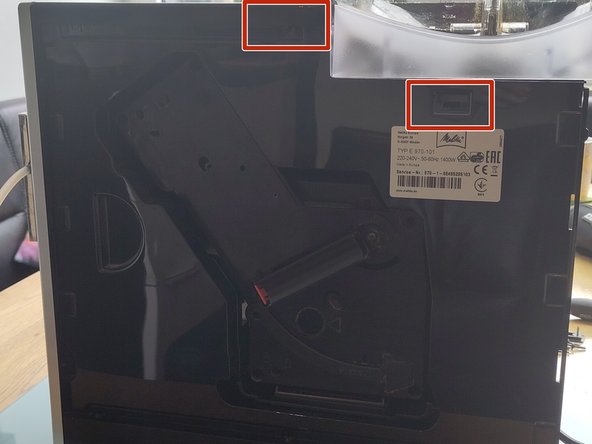
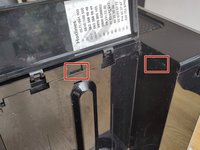
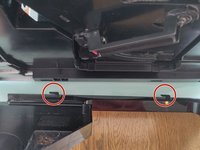
There are three clips on the side of the water tank. Two of them are marked in the first picture. The third clip is to the left of the two clips.
-
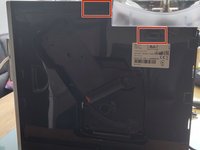
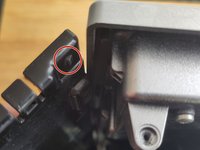
There are two clips on the other side. See the second picture.
-
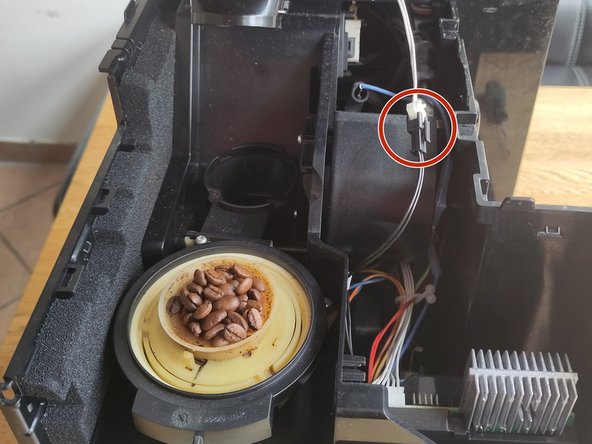
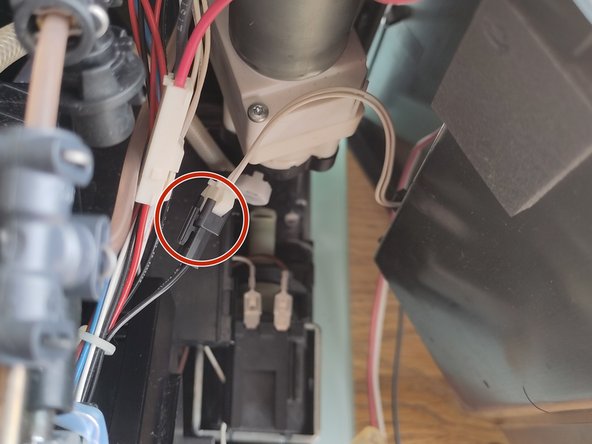
Disconnect the cable plug and remove the cover completely. The plug has a small lock; press the hook down.
-
Remove as many of the remaining coffee beans as possible. The rubber funnel can be removed or left on the machine.
-
-
-
First remove the right side panel, as is has no other cables or hoses connected to it.
-
There are tabs at the bottom of the side panel, so you have to pull the side panel backwards. You cannot pry it off.
-
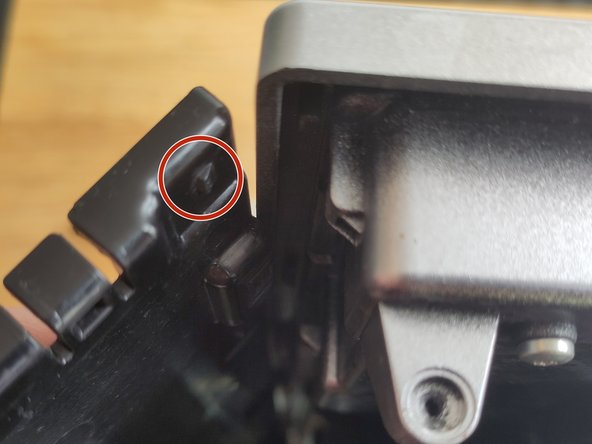
There are smaller tabs on the front. The upper one can be released with a small flat screwdriver. This may make it easier to remove the side panel.
-
Pull the side panel firmly but carefully toward the rear. It can then be removed completely.
-
-
-
The same procedure applies as for the other side panel. Here, you just need to make sure that there are still two cable connections and one hose connection. Detach the side panel as described above, but leave it close to the housing.
-
Unplug the connector with the red, white, and black cables from the PCB. It has a small hook that you have to press in.
-
Disconnect the water hose at the end that is attached to the side panel.
-
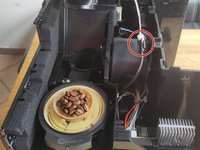
Disconnect the black and white plug; is has a small lock.
-
The side panel can now be completely removed.
-
-
-
-
-
First, disconnect all hose connections from the distribution head at the bottom end of the valve.
-
-
-
-
The valve is held by a support plate. The plate is secured with two Torx T10 screws.
-
The first screw is clearly visible on the right side of the plate.
-
The second screw is somewhat hidden on the left side of the plate, see image 2.
-
-
-
Unscrew the two Torx T10 screws on the back of the support plate.
-
Slide the valve off the plate.
-
If you want to replace the valve, follow the connecting cables and disconnect the corresponding connectors.
-








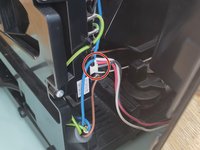
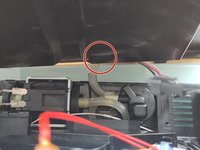
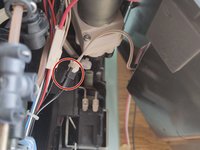


Follow the steps in reverse order to reassemble your device.

