
Mechanical Pencil Spring Replacement

Cassie Kohlhepp and 3 other contributors
Last updated on Jun 24, 2020
Views: 15K
View statistics:
- Past 24 Hours:
- 10
- Past 7 Days:
- 108
- Past 30 Days:
- 387
- All Time:
- 14,711
Comments: 1
1 comment on steps.
Completed: 5 6
5 people have marked this guide "completed." Will you be next?
6 people have marked this guide "completed." Including you — great job!
Favorites: 0 1
No one has favorited (and subscribed to) this guide. Will you be the first?
1 person has favorited (and subscribed to) this guide — and that's you!
Introduction
Go to step 1 ↓If your mechanical pencil no longer produces lead - either no lead is produced from pressing the dispenser, or the dispenser cannot be compressed - this guide can help you restore function. An Xtra Strong Mechanical Pencil is used in this guide, although the process is similar for other brands. This fix targets the replacement of broken or jammed springs, which anyone of any technical skill level can accomplish. Your mechanical pencil will need to be disassembled, the old spring removed and replaced, and then reassembled. No special considerations or tools are required.
What you need

-
-
-
While keeping the shaft depressed, slide the gold dispenser ring back into the sleeve to expose the dispenser.
-
-
-
Use pliers to grasp the dispenser perpendicular to the open split.
-
Apply pressure and pull the dispenser straight out from the shaft and sleeve. This may be difficult.
-
-
-
-
Place the dispenser and dispenser ring into the sleeve in the order it was removed.
-
-
-
Place the new spring and old shaft into the sleeve in the order it was taken out.
-
-
-
Using your thumb or a hard surface pressed against the dispenser, push the shaft into the dispenser.
-


 Ask FixBot


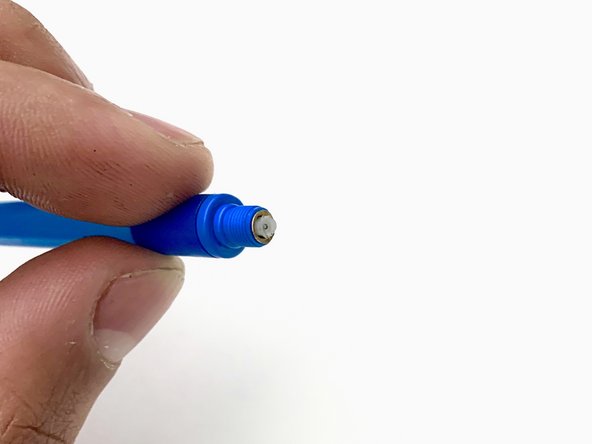


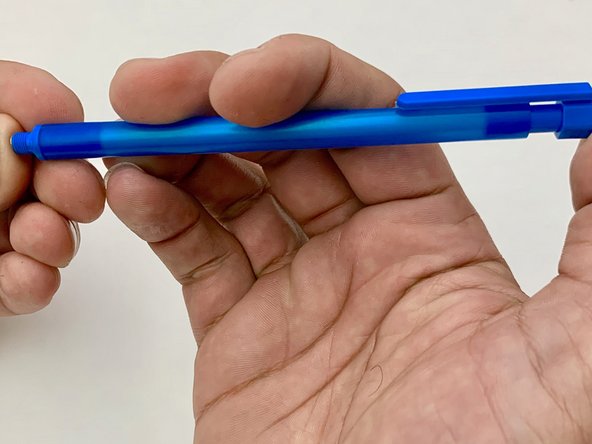


To reassemble your device, follow steps 1 - 3 of these instructions in reverse order.
Cancel: I did not complete this guide.
5 other people completed this guide.

Team

Embry-Riddle Aeronautical University, Team S10-G7, Salas Spring 2020 Member of Embry-Riddle Aeronautical University, Team S10-G7, Salas Spring 2020
ERAU-SALAS-S20S10G7
3 Members
12 Guides authored
