
Meaco Arete One Display Replacement

Alex Sadler and 3 other contributors
Last updated on Jul 1, 2026
Views: 13K
View statistics:
- Past 24 Hours:
- 31
- Past 7 Days:
- 224
- Past 30 Days:
- 810
- All Time:
- 13,215
Comments: 37
17 comments on steps, 20 guide comments.
Go to guide commentsCompleted: 10 11
10 people have marked this guide "completed." Will you be next?
11 people have marked this guide "completed." Including you — great job!
Favorites: 3 4
3 people have favorited (and subscribed to) this guide. Will you be next?
4 people have favorited (and subscribed to) this guide — including you!
Community-Contributed Guide
An awesome member of our community made this guide. It was not created by iFixit staff.
Introduction
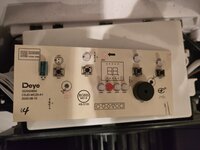
Go to step 1 ↓A common fault with the Arete One is for the display to stop working but showing nonsense symbols or in some cases not showing anything at all, but still responding to button presses with beeps. This seems to be caused by the two digit display component which is a very cheap component.
This issue can be diagnosed by the device not performing any of the normal functions of air purification or dehumidification, and the buttons do appear to cause beeps and changes on the display but the normal modes of operation don't cycle while pressing the buttons.
In my case, the device would beep when power was supplied, with a blank display. If I pressed the power button then as long as I held it, the display would show "L!".
I think this was a red herring as there wasn't a particular device fault code in the manual corresponding to that.
Looking at this reddit thread, there are many people experiencing issues relating to the display.
Here's my sources for how I figured this guide out: thanks to these people!
What you need
Parts
Tools


Video Overview
-
-
-
4x in the vent
-
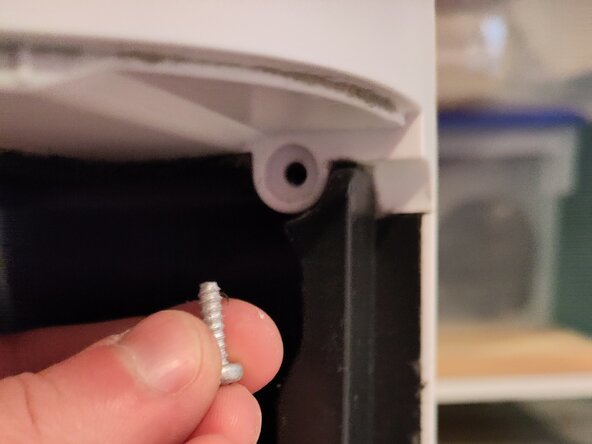
4x after removing the water tank (2 at the top and 2 at the bottom (bottom screws not pictured)
 Ask FixBot
-
-
-
It's difficult to remove but you just have to pull it. This video is handy to see the full dismantle process: https://youtu.be/Oc8chhGgatQ
-
-
-
Approx 6-8 screws to remove. Objective is to be able to partially pull off white cover on the other side and lift off display cover from top.
-
-
-
Just enough to detach it from the display cover on the top
-
-
-
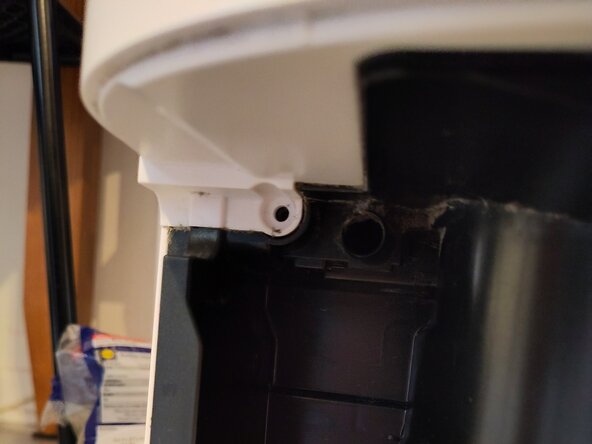
Depending on which size of unit you have, you may have a plastic clip or a screw here. The clip is difficult to unclip, but a flathead screwdriver can be used to push it in, hard, with one hand while lifting the display cover up with the other
-
-
-
Detach the two connectors by squeezing the clamps and pulling them off.
-
The whole top of the unit should now be completely detached
-
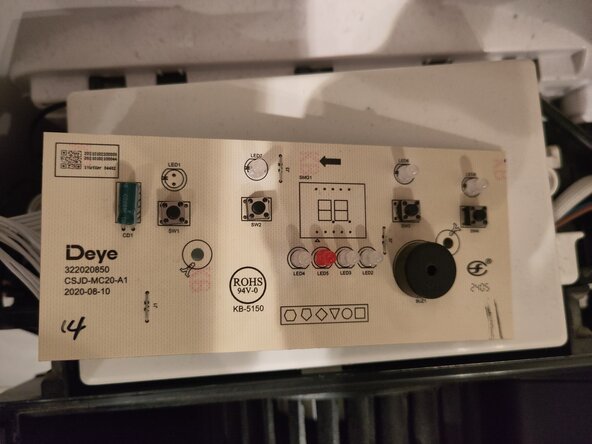
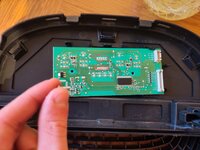
Unscrew the two Phillips screws holding the circuit board to the cover
-
Carefully unclip the circuit board
-
-
-
-
The highlighted 10 pins hold the display on
-
Once you've desoldered the pins, use a pair of pliers to grip the 2 digit display and pull it off the circuit board
-
-
-
If you connect the circuit board carefully and try to only touch the power button you can see if the device works - it should be working without a screen.
-
-
-
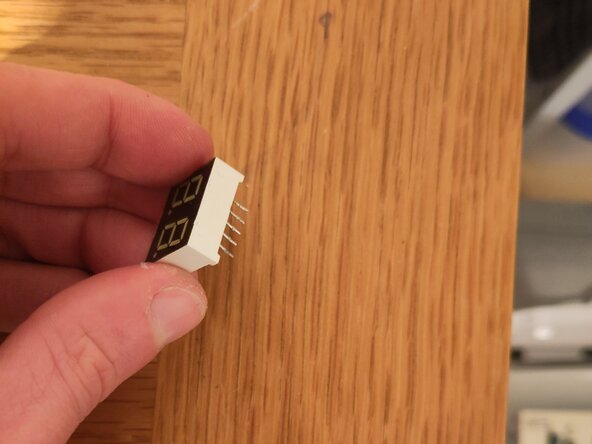
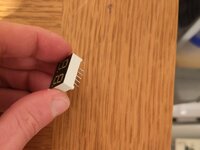
There are many replacement screens available. You need to find a common cathode two digit (sometimes called two bit) 7 segment 0.4 inch display with white LEDs (LED colour is probably not important)
-
0.4 inches refers to the short edge of the display
-
I found this one: https://www.aliexpress.com/item/10050085...
-
Which is ~£1 for 5 of them
-
Make sure it's got 10 pins - 5 on each side
-
-



To reassemble your device, follow these instructions in reverse order.
Cancel: I did not complete this guide.
10 other people completed this guide.

20 Guide Comments
Great walk-through! Step 2 is the tricky part, the pulling force that is needed to remove the cover feels like things are going to break but all stayed in one piece. I managed to fix my Meaco Arete One which failed with exactly the same symptoms as described above. Only 1 year old and still under warranty but I decided to give it a try anyway (since the summer moist is arriving I didn't want to go through all the trouble of returning it and waiting for an unknown amount of time). It's running without display for the moment, waiting for the replacement part to arrive. Thanks again, great job!
my display arrived today and ive taken the circuit board out from the top with allot of pulling , my friend will give me his solder iron tomorrow and then ill update you all
