Free Shipping on Domestic Orders $75+

Master and Dynamic MW50 Motherboard Replacement

What you need

  1. Master and Dynamic MW50 Motherboard Replacement, Master and Dynamic MW50 Disassembly: step 1, image 1 of 3 Master and Dynamic MW50 Motherboard Replacement, Master and Dynamic MW50 Disassembly: step 1, image 2 of 3 Master and Dynamic MW50 Motherboard Replacement, Master and Dynamic MW50 Disassembly: step 1, image 3 of 3
    • Pull the cushion off of the desired side by gripping the top of the headphones and pulling the cushion off.

    Ask FixBot

    Add Comment

  2. Master and Dynamic MW50 Motherboard Replacement: step 2, image 1 of 1
    • Remove the four 5mm screws from the earpiece with a Y1 Triwing screwdriver.

    Ask FixBot

    Add Comment

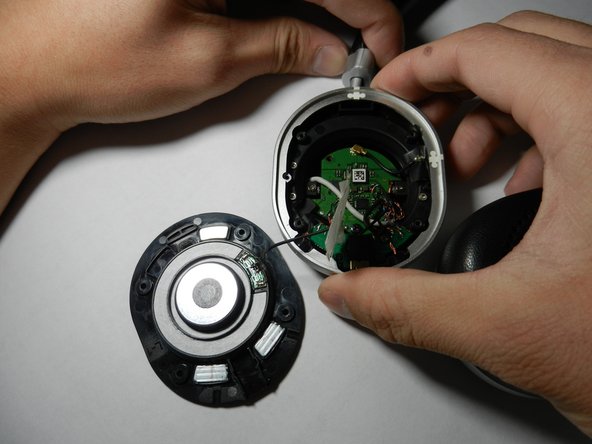
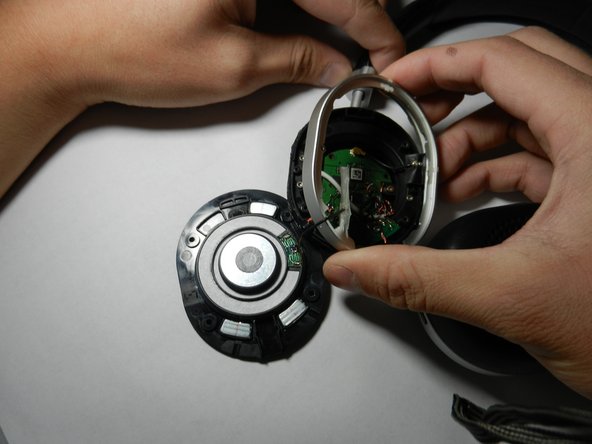
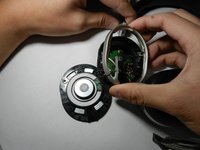
  3. Master and Dynamic MW50 Motherboard Replacement: step 3, image 1 of 1
    • Use the Jimmy to lift up the black cover to get inside the device.

    Ask FixBot

    Add Comment

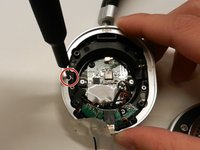
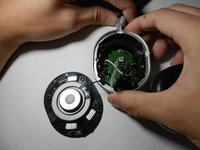
  4. Master and Dynamic MW50 Motherboard Replacement, Motherboard: step 4, image 1 of 3 Master and Dynamic MW50 Motherboard Replacement, Motherboard: step 4, image 2 of 3 Master and Dynamic MW50 Motherboard Replacement, Motherboard: step 4, image 3 of 3
    • Remove the 2mm screw holding the side cover plate in place with a JIS #00 screwdriver.

    • Move the side cover off to the side.

    • The black cable connected to the motherboard from the side cover can be gently pulled off from the motherboard side. It isn't soldered on.

    Ask FixBot

    Add Comment

  5. Master and Dynamic MW50 Motherboard Replacement: step 5, image 1 of 1
    • Desolder all the wires connected to the motherboard.

    • Refer to this picture for soldering the wires on the new motherboard.

    Ask FixBot

    Add Comment

  6. Master and Dynamic MW50 Motherboard Replacement: step 6, image 1 of 1
    • Remove the two 2mm screws holding the motherboard in place.

    Ask FixBot

    Add Comment

  7. Master and Dynamic MW50 Motherboard Replacement: step 7, image 1 of 1
    • Replace with new motherboard.

    Ask FixBot

    Add Comment

Conclusion

To reassemble your device, follow these instructions in reverse order. You may want to use the picture from Step 5 to correctly re-solder your device.

Cancel: I did not complete this guide.

One other person completed this guide.

Ryan Chan

Member since: 01/24/19

297 Reputation

2 Guides authored

Team

Cal Poly, Team S1-G4, White Winter 2019 Member of Cal Poly, Team S1-G4, White Winter 2019

CPSU-WHITE-W19S1G4

4 Members

12 Guides authored

0 Guide Comments

Add Comment

View Statistics:

Past 24 Hours: 0

Past 7 Days: 5

Past 30 Days: 36

All Time: 641