Introduction
If your massage gun won't start or quickly stops when you are using it the battery probably needs replacing. The majority of these guns are of a similar design so the replacement method shown here should work with most guns.
What you need
-
-
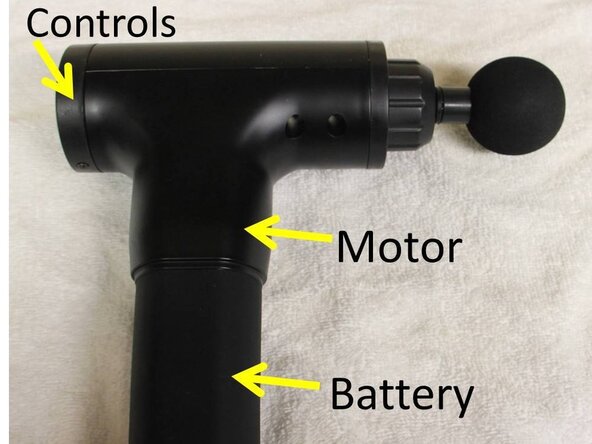
The rear part of the gun contains the controls.
-
Remove the screw that locks the controls lid to the gun.
-
Twist the lid to release the lid from the gun.
 Ask FixBot
-
-
-
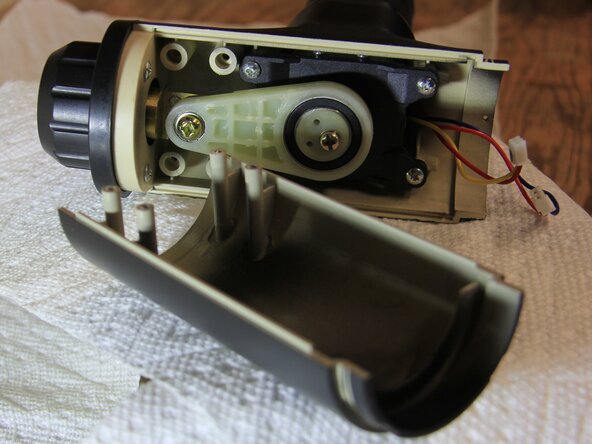
One or more sets of wires are usually connected to a circuit board.
-
I placed black marks on the male and female parts to indicate their proper location.
-
-
-
Remove the screws securing the body of the gun.
-
Separate the halves of the gun body.
-
-
-
-
Remove the bearing screw.
-
Remove the 4 screws that hold the motor to the gun.
-
Remove the motor from the gun.
-
-
-
The bottom of the gun has a label that must be removed.
-
Remove the screws to access the battery.
-
The battery cover can now be removed.
-
-
-
The battery and a sponge insert can now be removed from the gun.
-
The gun originally contained a Li-ion Battery Pack rated at 7.4 V - 2000mAh-14.8Wh.
-
I replaced it with a 7.4 V 2600mAh-19.24wh Li-ion Battery Pack. The 7.4V is the vital consideration. The other numbers indicate how much current the battery can supply and the total energy the battery can store. These batteries are used for RC cars, boats, toys, etc. and are easily obtained. Mine came from Amazon.
-
-
-
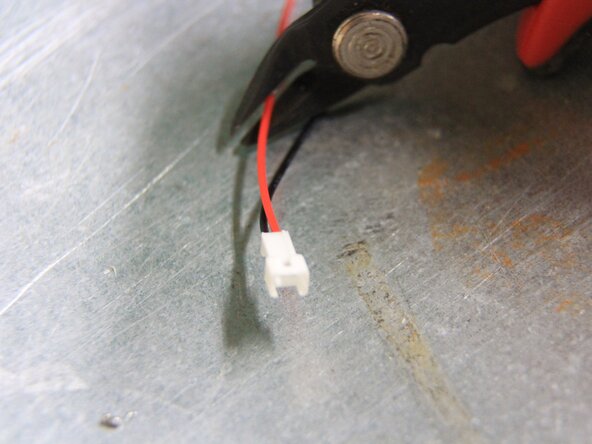
The leads from the old battery were longer than the new battery.
-
Cut the new battery wires and splice a length of the old connector wire to increase the length.
-
-
-
Solder the wires to increase the length.
-
Insulate the spliced wires.
-


To reassemble your device, follow these instructions in reverse order.
Cancel: I did not complete this guide.
2 other people completed this guide.
