Free Shipping on Domestic Orders $75+

Martian Victory LED Screen Replacement

Views: 575

View statistics:

Past 24 Hours:
2
Past 7 Days:
15
Past 30 Days:
91
All Time:
575
Comments: 1

1 comment on steps.

Completed: 0

No one has marked this guide "completed." Will you be the first?

Favorites: 0

No one has favorited (and subscribed to) this guide. Will you be the first?

Time Required: 45 minutes - 1 hour
Difficulty: Moderate
Markup Mishap

This guide needs better markups. Help out by correcting or making some markup annotations.

Martian Victory LED Screen Replacement

What you need

Tools

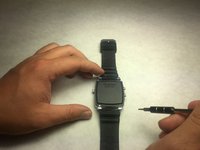
    1. Martian Victory LED Screen Replacement, Back Plate: step 1, image 1 of 2 Martian Victory LED Screen Replacement, Back Plate: step 1, image 2 of 2
      • Unscrew the four 3.4 mm flat head screws

      Ask FixBot

      Add Comment

    2. Martian Victory LED Screen Replacement: step 2, image 1 of 1
      • Carefully lift the back plate off the watch. You will notice a lithium battery and rubber gasket attached to the back plate.

      Ask FixBot

      Add Comment

    1. Martian Victory LED Screen Replacement, Lithium Battery: step 3, image 1 of 1
      • If not replacing lithium battery, skip down two steps.

      • Using the plastic removal tool, pry the battery from the backing plate. The battery is simply attached with glue.

      Ask FixBot

      Add Comment

    2. Martian Victory LED Screen Replacement: step 4, image 1 of 1
      • Desolder the battery connections from the motherboard. Learn how to solder components here!

      Ask FixBot

      Add Comment

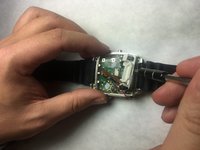
    1. Martian Victory LED Screen Replacement, LED Screen: step 5, image 1 of 1
      • Locate the ribbon connection, and use remove the clips holding the strip on each side using needle tool.

      Ask FixBot

      Add Comment

    2. Martian Victory LED Screen Replacement: step 6, image 1 of 1
      Tool used on this step:
      Tweezers
      $4.99
      Buy
      • With a pair of tweezers, carefully remove the ribbon strip connection.

      Ask FixBot

      Add Comment

    3. Martian Victory LED Screen Replacement: step 7, image 1 of 1
      • Remove the screw driver holding the LED screen and Speaker in place.

      Ask FixBot

      Add Comment

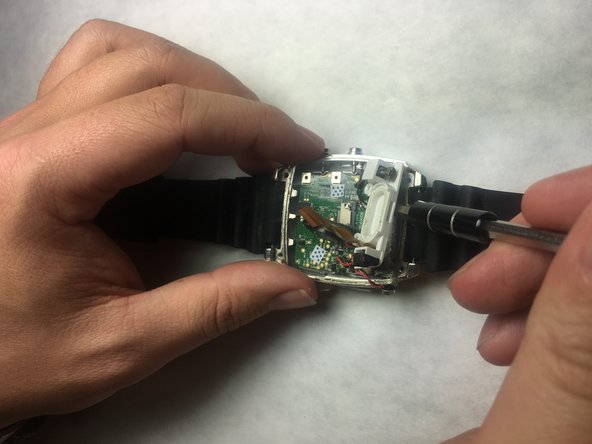
    4. Martian Victory LED Screen Replacement: step 8, image 1 of 1
      • Insert a small flat screw driver under the speaker in order to remove it.

      Ask FixBot

      Add Comment

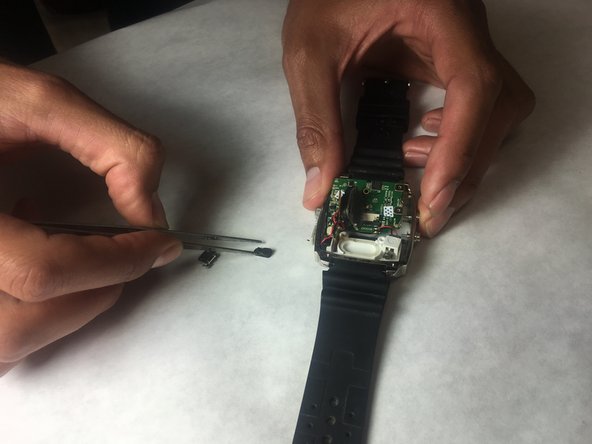
    5. Martian Victory LED Screen Replacement: step 9, image 1 of 2 Martian Victory LED Screen Replacement: step 9, image 2 of 2
      • Using tweezers, remove the speaker and move off to the side.

      Ask FixBot

      Add Comment

    6. Martian Victory LED Screen Replacement: step 10, image 1 of 2 Martian Victory LED Screen Replacement: step 10, image 2 of 2
      • Place a small flat head screwdriver under the LED screen, and carefully push it out of it's socket.

      Ask FixBot

      Add Comment

    7. Martian Victory LED Screen Replacement: step 11, image 1 of 1
      • Remove final connection to accelerometer. The LED screen is now separated from the device.

      Ask FixBot

      Add Comment

Conclusion

To reassemble your device, follow these instructions in reverse order.

Cancel: I did not complete this guide.

Robert Sanchez

Member since: 10/31/16

201 Reputation

2 Guides authored

Team

IUPUI, Team 3-3, Baechle Fall 2016 Member of IUPUI, Team 3-3, Baechle Fall 2016

IUPUI-BAECHLE-F16S3G3

4 Members

96 Guides authored

0 Guide Comments

Add Comment

View Statistics:

Past 24 Hours: 2

Past 7 Days: 15

Past 30 Days: 91

All Time: 575