
Marshall Uxbridge LED Board Replacement

Angie Delgado and 3 other contributors
Last updated on Jan 3, 2025
Views: 353
View statistics:
- Past 24 Hours:
- 1
- Past 7 Days:
- 8
- Past 30 Days:
- 52
- All Time:
- 353
Comments: 0
No one has left comments on this guide. Will you be first?
Go to guide commentsCompleted: 0 1
No one has marked this guide "completed." Will you be the first?
1 person has marked this guide "completed." It's you — great job!
Favorites: 0 1
No one has favorited (and subscribed to) this guide. Will you be the first?
1 person has favorited (and subscribed to) this guide — and that's you!
Introduction
Go to step 1 ↓If your Marshall Uxbridge speaker (model 1005605) LED lights are not working, use this guide to replace the LED board.
The LED board controls the lights on the front of the speaker. A faulty board will cause the lights to fade or completely stop working.
Before using this guide, check your speaker for debris or dust buildup. If present, remove dust and debris using the steps found here:
Before beginning, make sure to power off your speaker completely and unplug from the power source.
What you need
Tools


-
-
-
Orient your speaker so that the back is facing you.
-
Use a Phillips #2 screwdriver to remove the six 19mm screws from the back plate.
-
Use an iFixit opening pick to remove and lift the back plate to expose the connected wires.
 Ask FixBot
-
-
-
Detach the white connector from inside the bottom of the back panel.
-
Detach the small red and white connectors from the motherboard on the left side of the back panel.
-
-
-
Pull the blue ribbon cables from the motherboard.
-
Remove the back panel from the speaker base.
-
-
-
-
-
Orient the bottom of the speaker to face away from you.
-
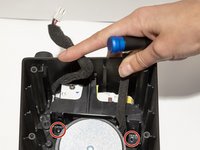
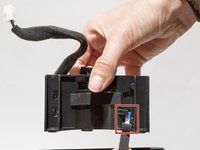
Use a Phillips #1 screwdriver to remove the two 12 mm screws holding the power relay in place.
-
-
-
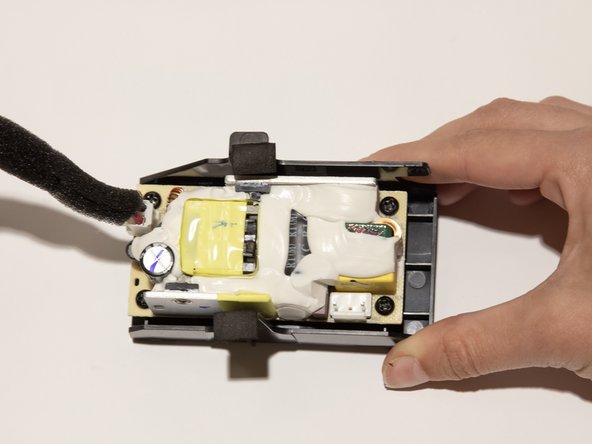
Separate the power relay from the speaker.
-
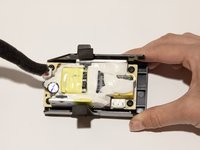
Slide out the blue ribbon cable from the power relay.
-
Put the power relay to the side.
-
-
-
-
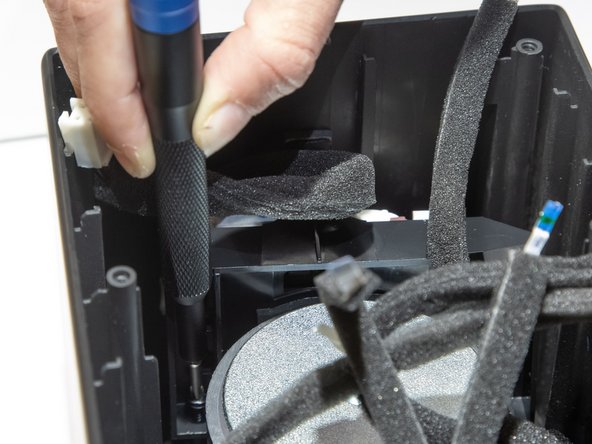
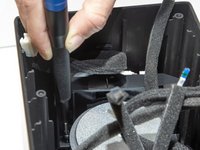
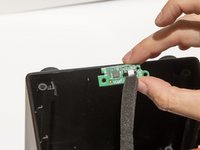
Remove the two 6 mm screws connected to the LED board using a TR9 Torx screwdriver.
-
-
-
Pull the blue ribbon cable to lift the LED board.
-
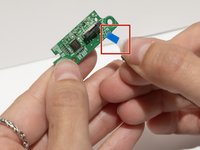
Pull the blue ribbon cable out of the LED board.
-
-





To reassemble your device, follow these instructions in reverse order.

Team

Western Carolina University, Team 1-1, Virtue Fall 2024 Member of Western Carolina University, Team 1-1, Virtue Fall 2024
WCU-VIRTUE-F24S1G1
4 Members
60 Guides authored
