Introduction
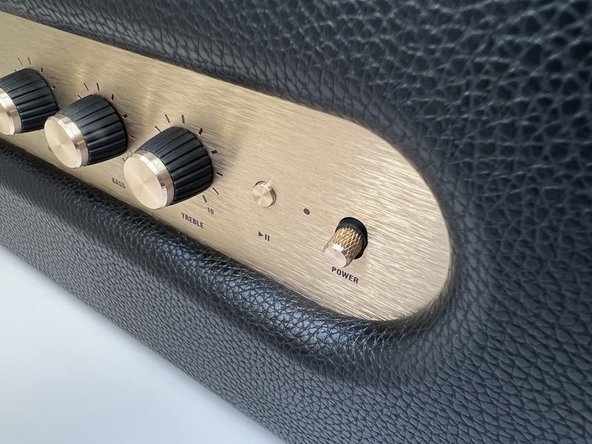
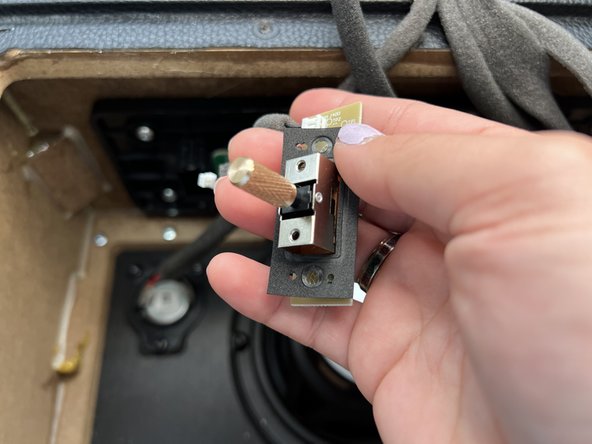
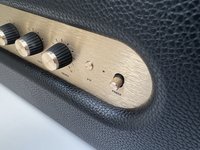
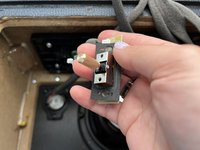
This guide is intended to replace the power switch assembly in the Marshall Stanmore II Bluetooth Speaker.
The power switch turns the speaker on or off while it is plugged into a wall outlet. Over time, the power switch may break or wear down after normal use. This renders the speaker inoperable.
Before using this guide, ensure the speaker is plugged into a working outlet. This can be verified by plugging another device and ensuring that it works as intended. After verifying the outlet, follow the "Failure to power on" section of the Marshall Stanmore II troubleshooting page.
What you need
-
-
-
Lay the speaker with the back panel facing up on a flat, stable work surface.
 Ask FixBot
-
-
-
Use a Phillips #2 screwdriver to remove the ten 20.5 mm screws that secure the rear panel to the chassis.
-
-
-
-
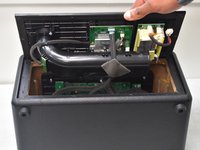
Carefully lift the rear panel and let it rest on an object, like a stack of books, to avoid straining the cables.
-
-
-
-
-
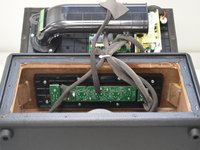
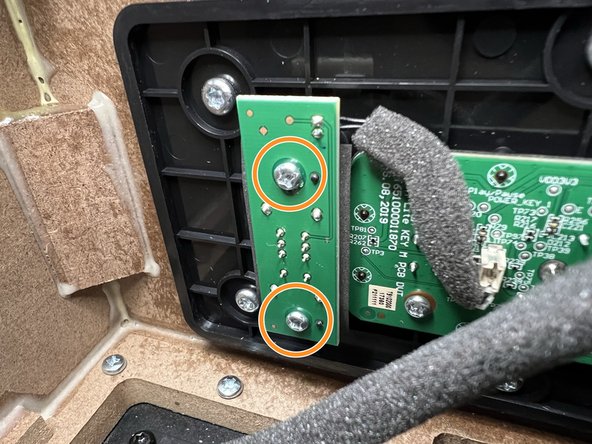
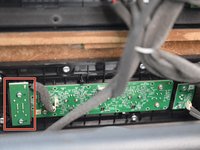
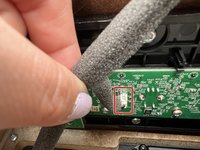
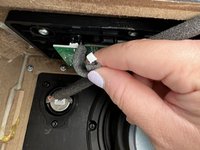
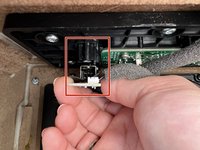
Locate the Power Switch PCB on the left-hand side above the subwoofer.
-
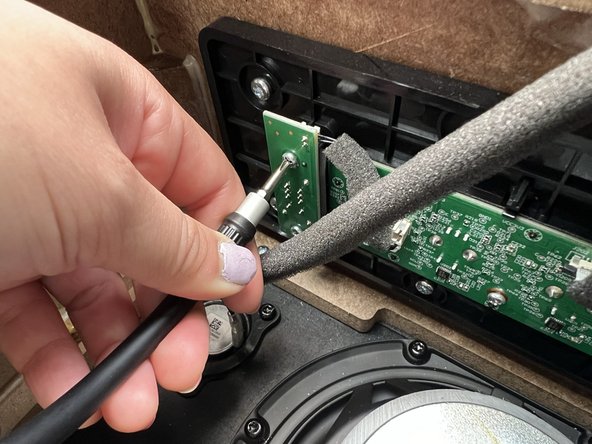
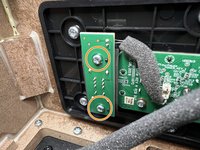
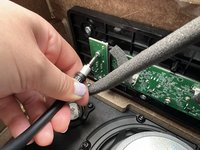
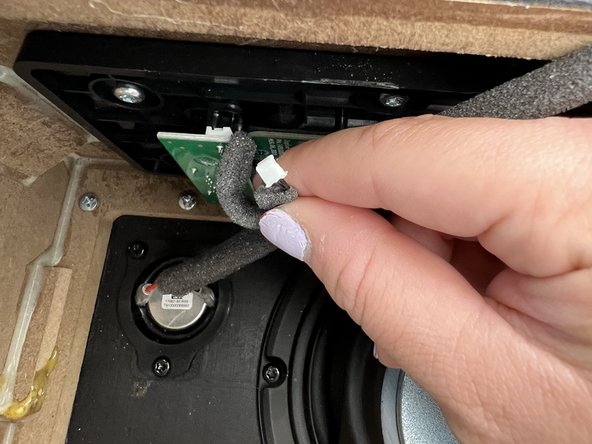
Use a Phillips #2 screwdriver to remove the two 10 mm screws that secure the PCB.
-
-





To reassemble your device, follow these instructions in reverse order.
Cancel: I did not complete this guide.
3 other people completed this guide.

Team

University of North Texas, Team 2-1, Kilpatrick Spring 2024 Member of University of North Texas, Team 2-1, Kilpatrick Spring 2024
UNT-KILPATRICK-S24S2G1
5 Members
72 Guides authored
