Introduction
This guide is intended to replace the internal power jack in the Marshall Stanmore II Bluetooth Speaker.
The power jack provides power from the external cable that is plugged into the outlet to the speaker's internal components. This allows the speaker to turn on and play audio from any Bluetooth-capable device. Since the speaker doesn't contain a battery, the power jack must function as intended for the speaker to power on.
Before using this guide, verify that you are not using a faulty power outlet. This can be checked by plugging in another device and making sure that it works as intended. Now, follow the Marshall Stanmore II Troubleshooting guide in case there is a simpler solution before disassembly.
What you need
-
-
Lay the speaker with the back panel facing up on a flat, stable work surface.
 Ask FixBot
-
-
-
Use a Phillips #2 screwdriver to remove the ten 20.5 mm screws that secure the rear panel to the chassis.
-
-
-
-
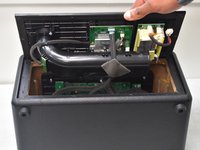
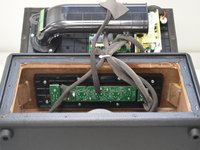
Carefully lift the rear panel and let it rest on an object, like a stack of books, to avoid straining the cables.
-
-
-
Set the panel back in place.
-
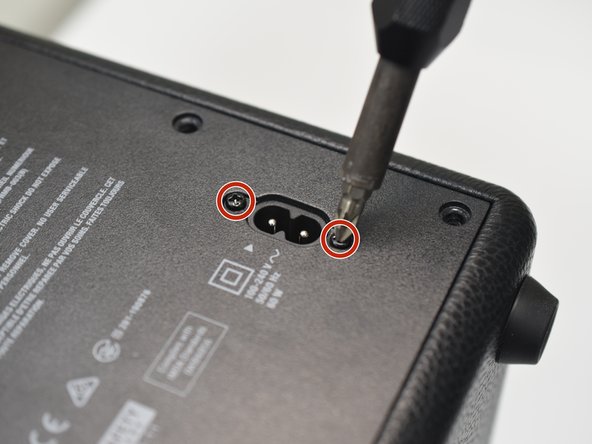
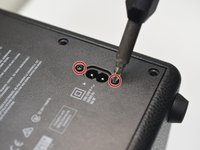
Use a #1 Phillips screwdriver to remove the two 11.7 mm screws that secure the power jack.
-
-
-
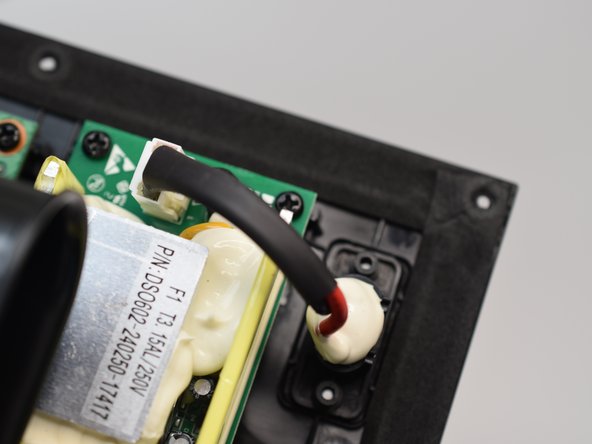
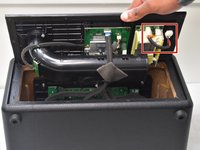
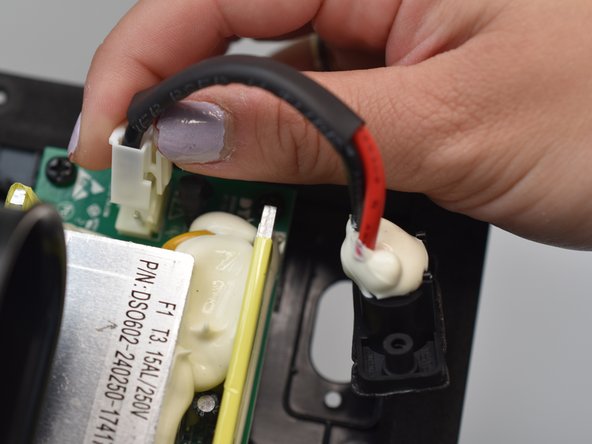
Find the power jack cable inside of the removable panel. It is located in the upper, right corner of the panel interior.
-
-
-
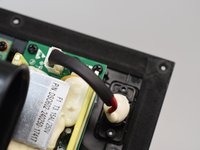
Depress the white plastic clip while pulling the connector up.
-
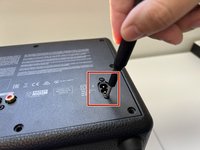
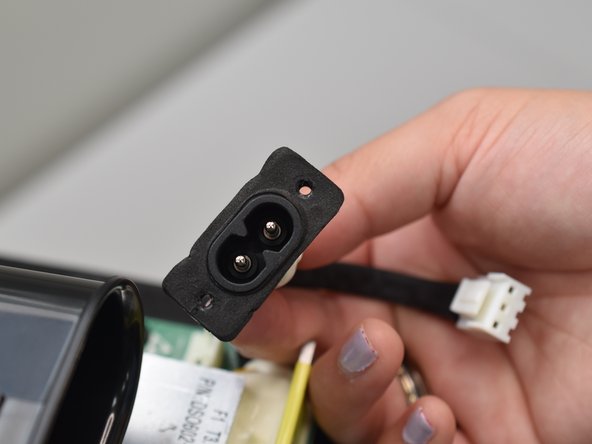
Remove the power jack.
-





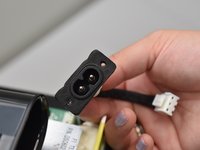
To reassemble your device, follow these instructions in reverse order.

Team

University of North Texas, Team 2-1, Kilpatrick Spring 2024 Member of University of North Texas, Team 2-1, Kilpatrick Spring 2024
UNT-KILPATRICK-S24S2G1
5 Members
6 Guides authored
