
Managing Texas Instruments TI-92 Keyboard

Daniel Maldonado and 6 other contributors
Last updated on May 7, 2024
Views: 3.2K
View statistics:
- Past 24 Hours:
- 0
- Past 7 Days:
- 10
- Past 30 Days:
- 98
- All Time:
- 3,215
Comments: 1
1 comment on steps.
Completed: 0 1
No one has marked this guide "completed." Will you be the first?
1 person has marked this guide "completed." It's you — great job!
Favorites: 0 1
No one has favorited (and subscribed to) this guide. Will you be the first?
1 person has favorited (and subscribed to) this guide — and that's you!
Inconsistent Images
Updating the images on this guide to be more consistent with the prerequisites would increase its awesomeness.
Missing Steps
Oops! This guide is currently missing one or more important steps.
Introduction
Go to step 1 ↓In this guide we will show you how to access the keyboard.
What you need
Tools


-
-
-
Grab the back of the calculator with one hand and the cover with the other.
-
Pull the cover off from one of the sides for easy removal.
 Ask FixBot
-
-
-
Orientate the calculator with the top facing towards you.
-
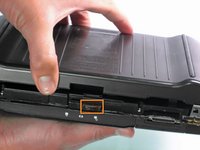
Slide the locking tab,found on the top part of the calculator, to the unlock position.
-
-
-
"Locking Tab"
-
To remove the back cover, slide the cover away from the locking tab towards the bottom of the calculator until the cover no longer slides.
-
Then with the front of the calculator facing down, pull up on the back cover.
-
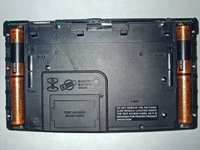
The calculator should now be orientated with the front facing down, as shown in picture 2.
-
-
-
-
-
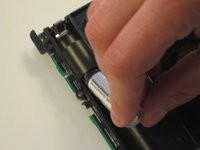
Remove the bottom batteries by pressing the battery towards you while pulling it out from the far end.
-
After the bottom battery has been removed push or slide the other(top) battery towards you until it is fully exposed in the battery slot.
-
Now simply remove the battery.
-
-
-
-
-
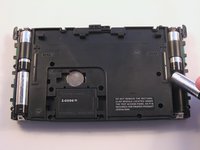
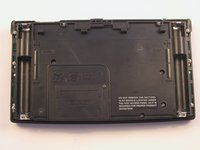
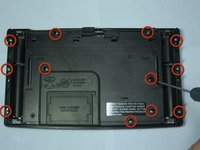
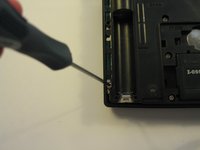
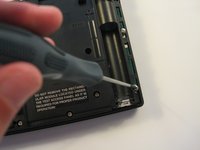
Using a Philips Screwdriver #00 unscrew the twelve 11.8mm screws shown in the picture and located on the back of the calculator.
-
-
-
Unscrew the 19mm screw located near center of the back of the calculator.
-
Remove the panel being held by the screw.
-
-
-
Using the same Phillips screwdriver, unscrew the remaining three 11.8mm screws.
-
-
-
Using the Ipod Opening Tool pull up on both sides of the rectangular module while keeping the rest of the calculator flat on a surface face down
-
-
-
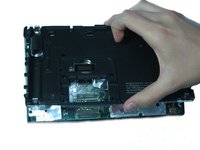
Now pull up on the back cover of the calculator while holding the rest of it flat on a surface.
-
-
-
-
-
-
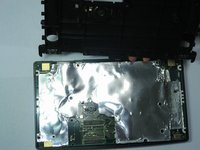
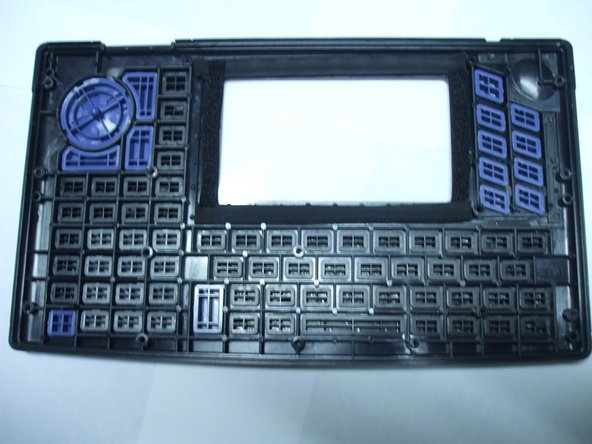
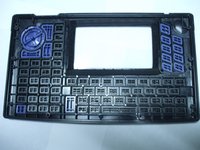
Here we will use the front panel, separate from the motherboard
-
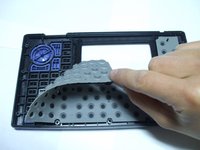
Remove the rubber contact lying on top of the keys.
-
-
Tool used on this step:Tweezers$4.99
-
With the rubber contact removed the keys can now be removed to be replaced, cleaned, or manipulated in other ways.
-
To aid the removal of individual keys you can use the Ipod Opening Tool or preferably a pair of tweezers.
-
-
-
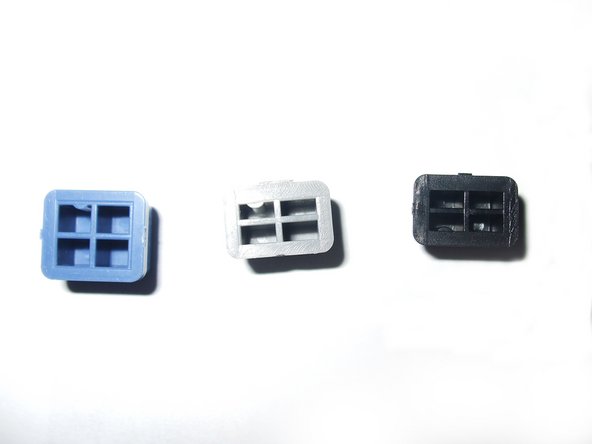
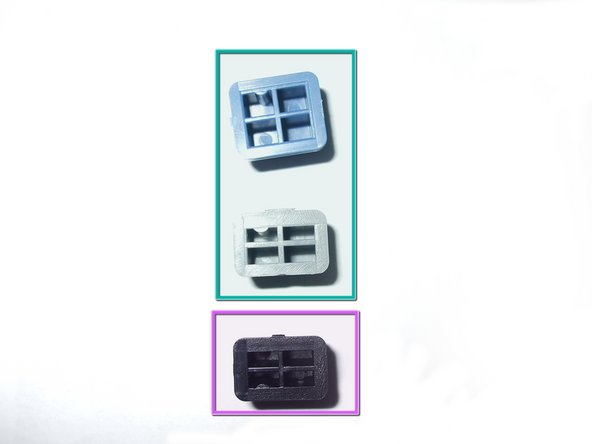
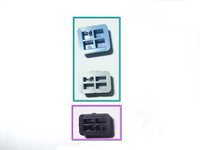
When placing the keys back into the faceplate you have to make sure that they are going in the right direction.
-
You can tell which way is up by a semicircular extrusion on the back of a key.
-
The gray and blue keys have the extrusion on the upper left hole looking at the back of the key.
-
The black keys on the other hand have the extrusions on the lower left hole looking at the back of the key.
-
-








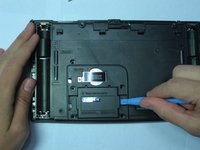
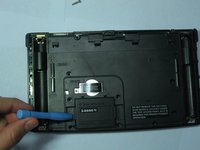


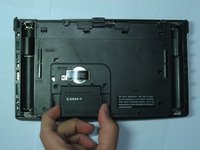
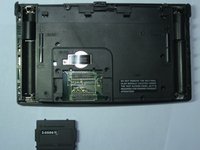








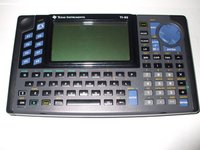
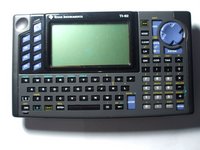
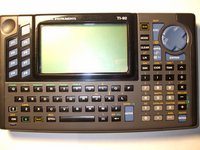
To reassemble your device, follow these instructions in reverse order.

Team

Cal Poly, Team 15-51, Garner Spring 2010 Member of Cal Poly, Team 15-51, Garner Spring 2010
CPSU-GARNER-S10S15G51
5 Members
108 Guides authored
