
Makita XPH01 LED Light Replacement

Eric Herwatt and 4 other contributors
Last updated on May 7, 2024
Views: 3.5K
View statistics:
- Past 24 Hours:
- 3
- Past 7 Days:
- 24
- Past 30 Days:
- 98
- All Time:
- 3,496
Comments: 2
1 comment on steps, 1 guide comment.
Go to guide commentsCompleted: 2 3
2 people have marked this guide "completed." Will you be next?
3 people have marked this guide "completed." Including you — great job!
Favorites: 0 1
No one has favorited (and subscribed to) this guide. Will you be the first?
1 person has favorited (and subscribed to) this guide — and that's you!
Introduction
Go to step 1 ↓This guide will show you the necessary steps to locate and replace the LED light. It shows how to remove the battery and the outer casing in order to locate the LED light on the drill.
What you need
Tools
-
Spudger4.9
-


-
-
-
Hold the drill upright.
-
Place your finger on the white battery-release button.
 Ask FixBot
-
-
-
Slide the battery forward while pressing down on the white battery-release button.
-
-
-
-
-
Hold the drill upright with the back panel facing you.
-
Unscrew the two 18 mm screws from the back panel using a Phillips PH2 screwdriver.
-
-
-
Apply slight pressure to the sides of the backplate and pull away from the drill.
-
-
-
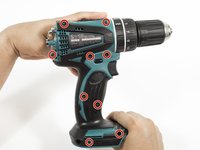
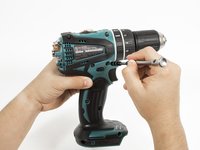
Unscrew the nine 18 mm screws from the outer casing using a Phillips PH2 screwdriver.
-
-
-
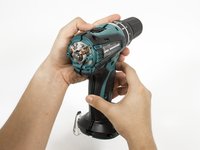
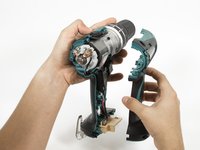
Apply slight pressure to the sides of the outer casing and pull away from the drill.
-
-
-
-
-
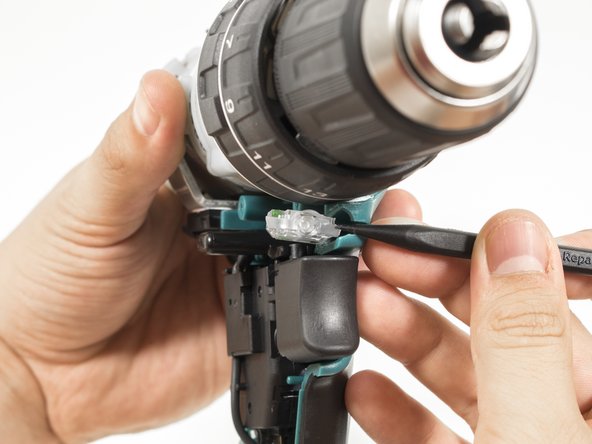
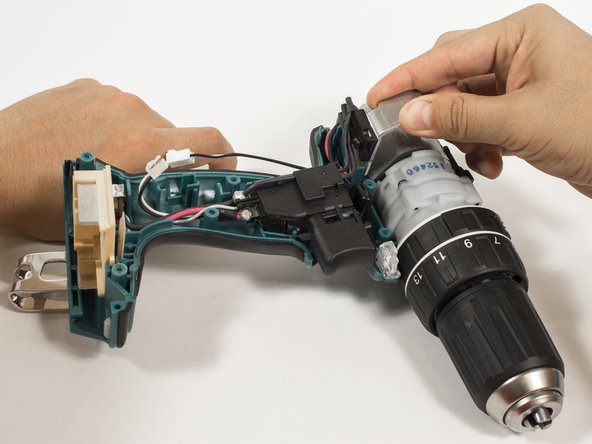
Use the pointed end of a plastic spudger to push the LED out of the drill.
-
-
-
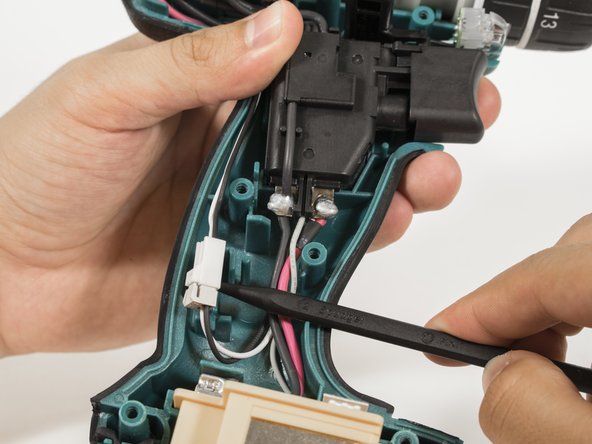
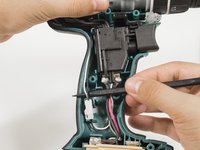
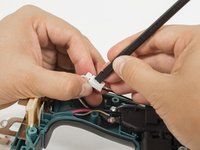
Use the pointed edge of a spudger to pull out the black and white wires located on the left hand side of the drill.
-
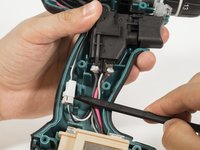
Use the pointed edge of a spudger to pull out the plastic connector.
-
-
-
-
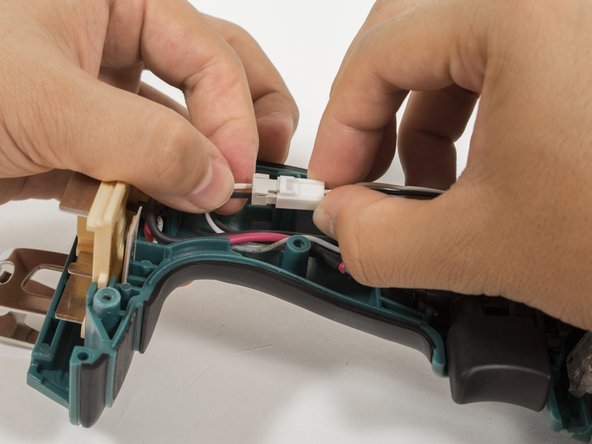
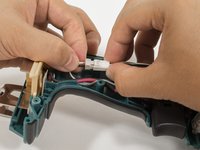
Use the flat end of the spudger to push in the clip on the plastic connector.
-
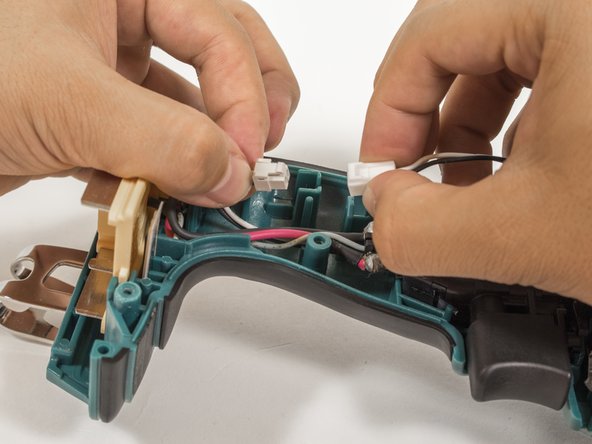
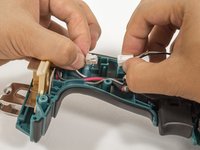
Pull both sides of the plastic connector apart.
-
-
Tool used on this step:Tweezers$4.99
-
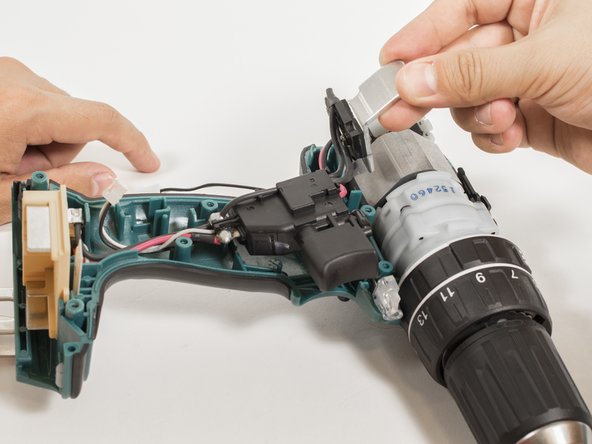
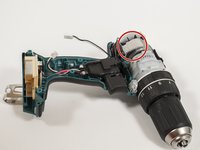
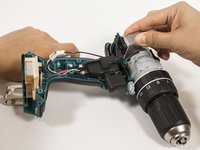
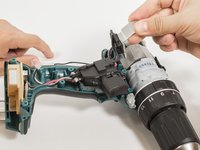
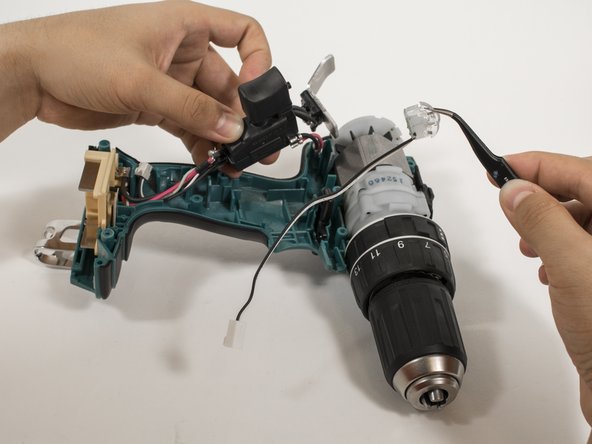
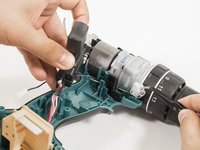
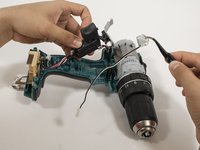
Use tweezers to pull out the LED light assembly.
-
-











To reassemble your device, follow these instructions in reverse order.
Cancel: I did not complete this guide.
2 other people completed this guide.

Team

Cal Poly, Team 15-4, Livingston Fall 2016 Member of Cal Poly, Team 15-4, Livingston Fall 2016
CPSU-LIVINGSTON-F16S15G4
4 Members
84 Guides authored
1 Guide Comment
Should I do these steps if my drill is under a warranty?
