Introduction
If you need a light stand for photos, this guide will show you how to take a broken standing lamp and convert it into a light stand (and save easily reused components).
Author's note: While I am using a fairly common style lamp (which came from Walmart as a "Mainstays" lamp, the socket cover for the bulb broke on) for this guide, other lamps from different brands may have minor disassembly deviations; keep this possibility in mind. Even a lamp of a similar but different style may not come apart the same way.
Read: While this approach may necessitate further modifications, these lamps as a starting point are usually a good place for a DIYer to start as they tend to be free or inexpensive with how common they are. Most people do not fix them when things break due to cost, making them an excellent base to modify and recover parts that can be reused when discarded.
Guide notes
- Use common sense when removing the cord and bulb socket, and discard anything that is damaged or not reusable. Death or injury may occur if you disassemble the lamp while plugged in, and you will get shocked with 120-240V AC! This is especially true with parts used to cover the parts that cover things like the bulb socket.
- Make sure you use a lamp you are certain you do not plan to reassemble (if you are uneasy about this, find a damaged lamp). ANY changes made may make reversal impractical if you choose to make modifications.
- The best option for those unwilling to take a working lamp apart is to use a broken lamp with a safety defect, as was done with this guide. The reason for this is things like the socket cover are proprietary enough that you cannot readily use any cover from another lamp in many cases unless they come from the same factory. Most will be similar but different enough that you will likely not find the part without another lamp. The plastic cover over the bulb socket broke after being hit by an Xbox controller, leading to a replacement lamp being unavailable as parts were unavailable.
- Note: While plastic parts (and some shades) on many of these lamps are not readily reusable (component deviation or design difference), it is (generally) possible to reuse the bulb socket and lamp cord on another lamp. Consider saving these for your parts drawer.
What you need
-
-
-
If the lamp has a lightbulb installed, remove it from the lamp.
-
-
-
-
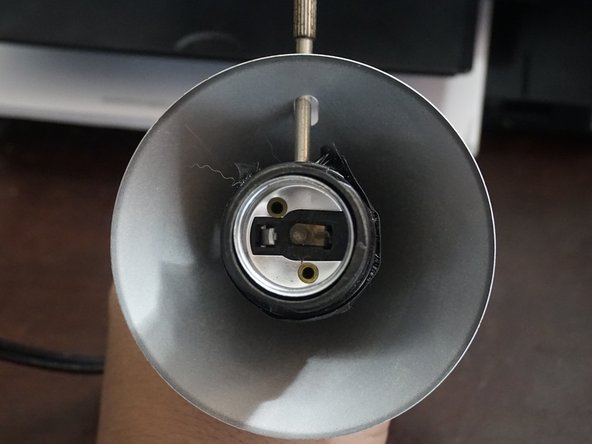
Remove the switch handle. Note: While this can be optional, it was required on this lamp. If it looks tied into something, it probably has to be removed.
-
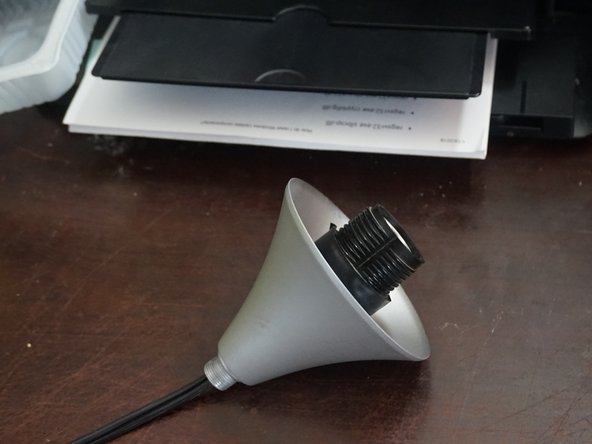
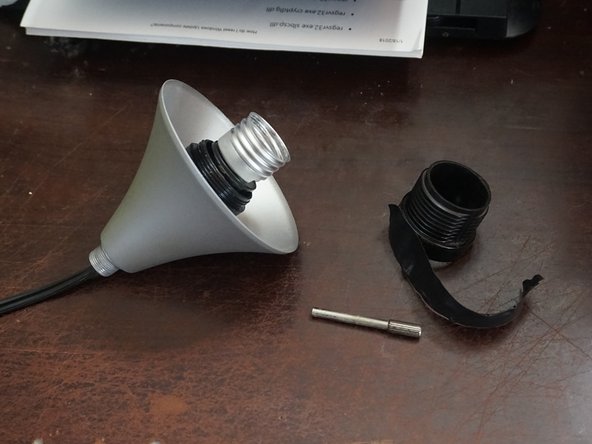
Remove the socket cover. Once removed, remove the bulb socket.
-
-
-
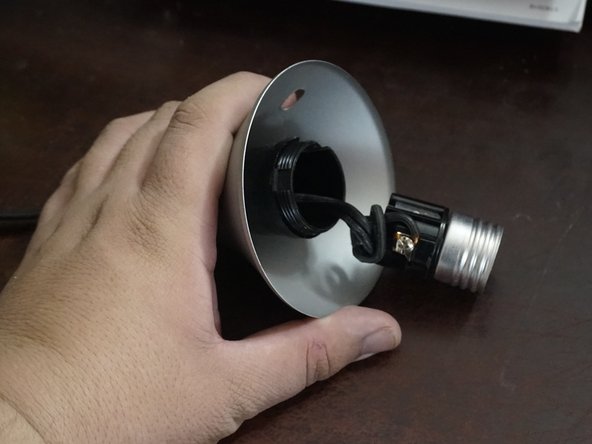
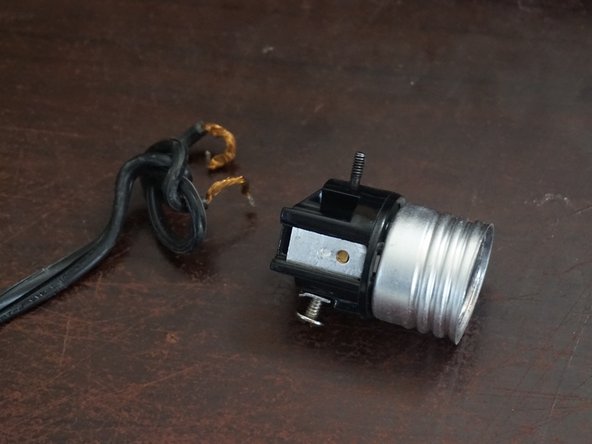
After removing the plastic cover and switch, remove the bulb socket with a Phillips #2 screwdriver. If your socket is press fit, these are generally not reusable. Cut the cord unless you can pull the cord and not compromise the socket.
-
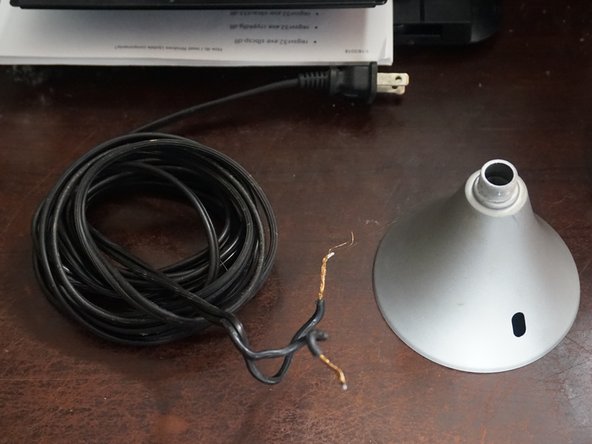
Discard any broken or unwanted components.
-
-
-
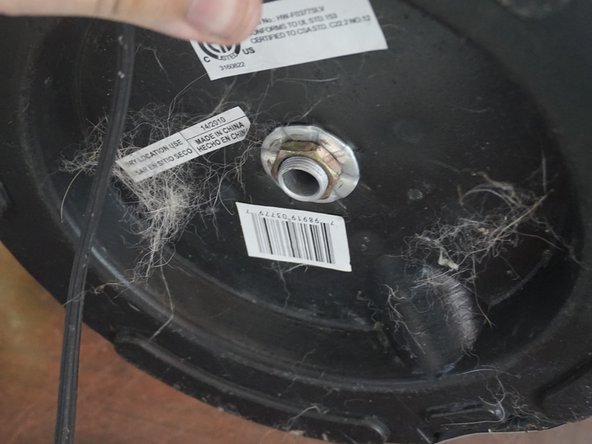
After gutting the lamp, find a good spot to clamp a workshop light on like the one shown. Additional changes like height reduction can also be done at this stage.
-

 Ask FixBot









Cancel: I did not complete this guide.
2 other people completed this guide.

