Free Shipping on Domestic Orders $75+

Magellan Roadmate 9055-LM Back Panel Disassembly

Views: 577

View statistics:

Past 24 Hours:
2
Past 7 Days:
15
Past 30 Days:
73
All Time:
577
Comments: 0

No one has left comments on this guide. Will you be first?

Go to guide comments
Completed: 0

No one has marked this guide "completed." Will you be the first?

Favorites: 0

No one has favorited (and subscribed to) this guide. Will you be the first?

Time Required: 5 - 10 minutes
Difficulty: Easy
Magellan Roadmate 9055-LM Back Panel Disassembly

Introduction

Go to step 1 ↓

Removing the back panel is the required step to replace anything for the gps

What you need

Tools

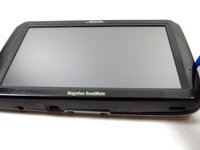
    1. Magellan Roadmate 9055-LM Back Panel Disassembly, Magellan Roadmate 9055-LM Back Panel Disassembly: step 1, image 1 of 1
      • Flip your device with back panel facing up.

      Ask FixBot
      Add Comment

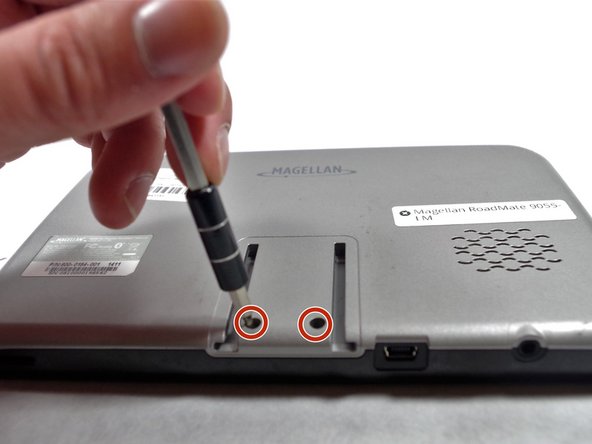
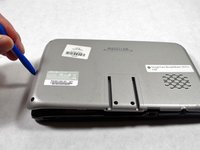
    2. Magellan Roadmate 9055-LM Back Panel Disassembly: step 2, image 1 of 3 Magellan Roadmate 9055-LM Back Panel Disassembly: step 2, image 2 of 3 Magellan Roadmate 9055-LM Back Panel Disassembly: step 2, image 3 of 3
      • Unscrew four Phillips #0 screws from the back panel.

      Ask FixBot
      Add Comment

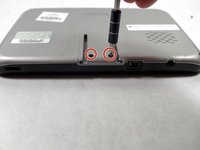
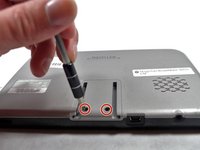
    3. Magellan Roadmate 9055-LM Back Panel Disassembly: step 3, image 1 of 2 Magellan Roadmate 9055-LM Back Panel Disassembly: step 3, image 2 of 2
      • Unscrew two Phillips #0 screws from the back panel.

      Ask FixBot
      Add Comment

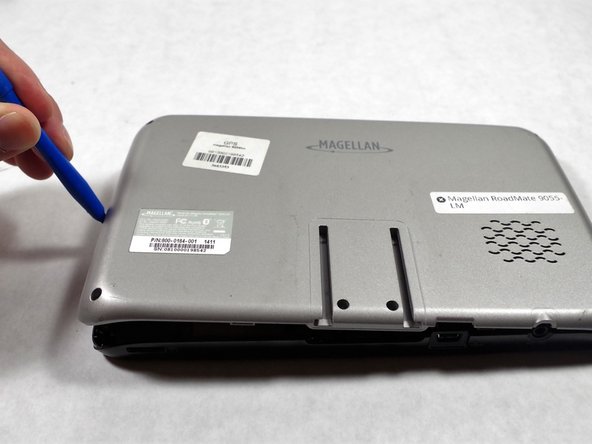
    4. Magellan Roadmate 9055-LM Back Panel Disassembly: step 4, image 1 of 2 Magellan Roadmate 9055-LM Back Panel Disassembly: step 4, image 2 of 2
      • Use a plastic opening tool to pop the right side of the panel.

      Ask FixBot

      Add Comment

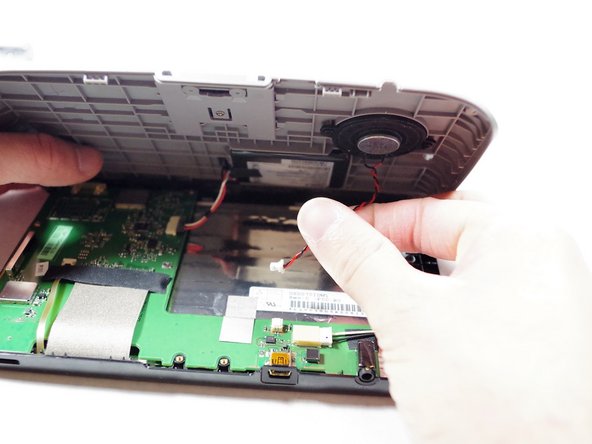
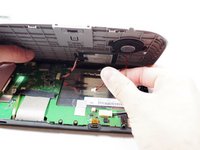
    5. Magellan Roadmate 9055-LM Back Panel Disassembly: step 5, image 1 of 1
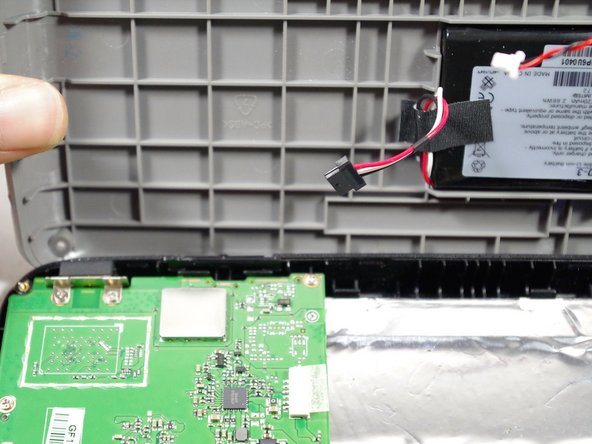
      • Lifting the back panel too quickly or forcefully may damage the speaker cable and battery cable, which are still attached underneath.

      • Gently lift up the back panel.

      Ask FixBot

      Add Comment

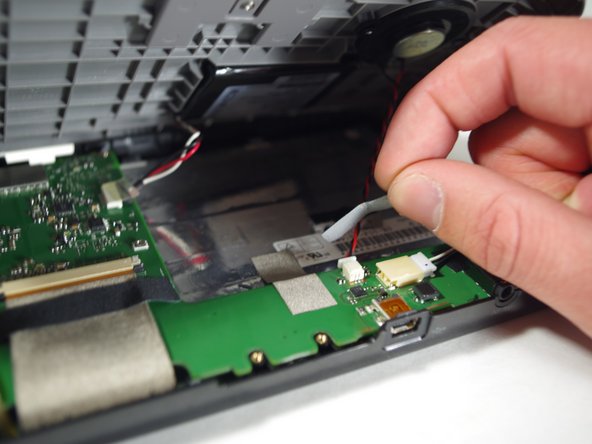
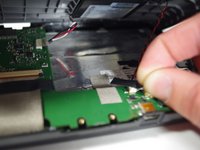
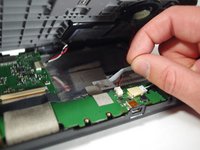
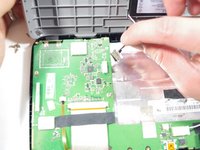
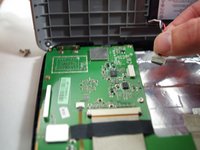
    6. Magellan Roadmate 9055-LM Back Panel Disassembly: step 6, image 1 of 3 Magellan Roadmate 9055-LM Back Panel Disassembly: step 6, image 2 of 3 Magellan Roadmate 9055-LM Back Panel Disassembly: step 6, image 3 of 3
      • Remove the tape.

      • Unplug the cable for the speaker.

      Ask FixBot

      Add Comment

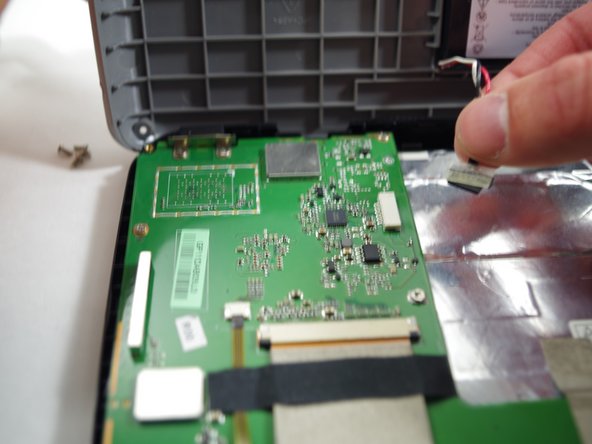
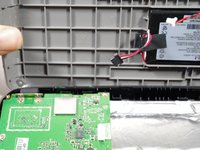
    7. Magellan Roadmate 9055-LM Back Panel Disassembly: step 7, image 1 of 3 Magellan Roadmate 9055-LM Back Panel Disassembly: step 7, image 2 of 3 Magellan Roadmate 9055-LM Back Panel Disassembly: step 7, image 3 of 3
      • Remove the cable of the battery.

      • Tape removal is not necessary.

      Ask FixBot

      Add Comment

    8. Magellan Roadmate 9055-LM Back Panel Disassembly: step 8, image 1 of 1
      • Place the back panel gently on the table.

      Ask FixBot

      Add Comment

Conclusion

To reassemble your device, follow these instructions in reverse order.

Cancel: I did not complete this guide.

YuChe Chang

Member since: 10/18/16

202 Reputation

2 Guides authored

Team

UMass Dartmouth, Team 1-5, Catania Fall 2016 Member of UMass Dartmouth, Team 1-5, Catania Fall 2016

UMASSD-CATANIA-F16S1G5

3 Members

84 Guides authored

0 Guide Comments

Add Comment

View Statistics:

Past 24 Hours: 2

Past 7 Days: 15

Past 30 Days: 73

All Time: 577