Free Shipping on Domestic Orders $75+

Macintosh PowerBook 165c Hard Drive Replacement

What you need

  1. Macintosh PowerBook 165c Hard Drive Replacement, Battery: step 1, image 1 of 1
    • Orient the computer so the battery is facing you.

    • Slide the gray plastic battery cover to the right.

    Ask FixBot

    Add Comment

  2. Macintosh PowerBook 165c Hard Drive Replacement: step 2, image 1 of 1
    • Pull the battery toward yourself until it is fully detached.

    Ask FixBot

    Add Comment

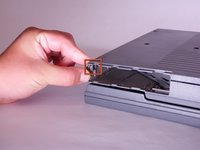
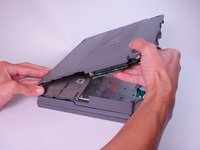
  3. Macintosh PowerBook 165c Hard Drive Replacement, Input/Output Door: step 3, image 1 of 1
    • Orient the computer right side up with the rear facing you.

    • Open the Input/Output (I/O) door.

    Ask FixBot

    Add Comment

  4. Macintosh PowerBook 165c Hard Drive Replacement: step 4, image 1 of 1
    • Carefully bend the door into an arch until one of the pins releases from its slot.

    • Once one of the pins is free, remove the I/O door from the computer.

    Ask FixBot

    Add Comment

  5. Macintosh PowerBook 165c Hard Drive Replacement, Lower Case: step 5, image 1 of 1
    • Orient the computer with the bottom facing up and rear facing you. You should be able to read the Macintosh label in this position.

    Ask FixBot

    Add Comment

  6. Macintosh PowerBook 165c Hard Drive Replacement: step 6, image 1 of 1
    • Use a T8 torx screwdriver to remove the 6.8mm long screw above and to the right of the modem jack.

    • Twist counter clockwise to remove the screw.

    Ask FixBot

    Add Comment

  7. Macintosh PowerBook 165c Hard Drive Replacement: step 7, image 1 of 1
    • Use a T10 torx screwdriver to remove the four, 18mm long screws from the lower case.

    Ask FixBot

    Add Comment

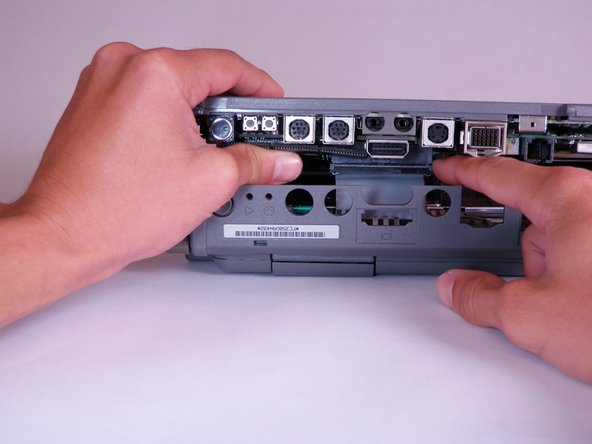
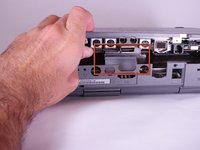
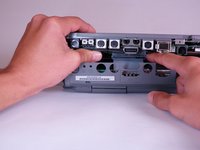
  8. Macintosh PowerBook 165c Hard Drive Replacement: step 8, image 1 of 2 Macintosh PowerBook 165c Hard Drive Replacement: step 8, image 2 of 2
    • Place your hands on the lower case, just above the I/O panel, and slowly lift the lower case a few inches above the main body of the computer.

    • Release the large, gray interconnect ribbon cable just behind the I/O panel.

    • Caution: Lower case cannot be fully removed until two plastic clips in the front corners are released. See the following step for details.

    Ask FixBot

    Add Comment

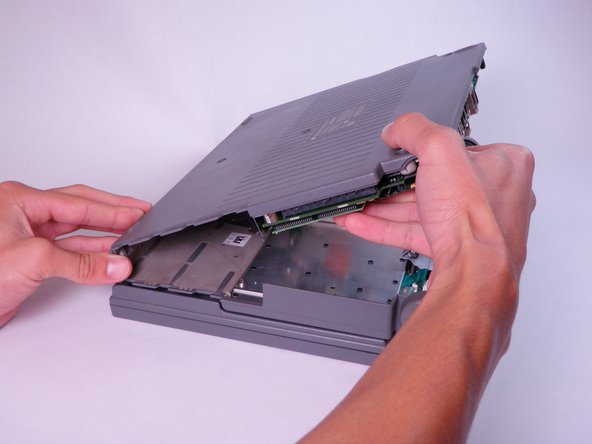
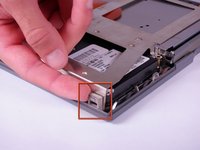
  9. Macintosh PowerBook 165c Hard Drive Replacement: step 9, image 1 of 2 Macintosh PowerBook 165c Hard Drive Replacement: step 9, image 2 of 2
    • Place your thumb on the upper case, inside the empty battery slot, and your index finger near your thumb on the left side of the lower case.

    • Pinch your thumb and index finger towards each other to release the clip. Without releasing pressure on the pinch grip, use your index finger to push the lower case upwards.

    • Lift the lower case to remove it.

    Ask FixBot

    Add Comment

  10. Macintosh PowerBook 165c Hard Drive Replacement, Modem Card: step 10, image 1 of 1
    • Orient the computer so the ports are facing you.

    Ask FixBot

    Add Comment

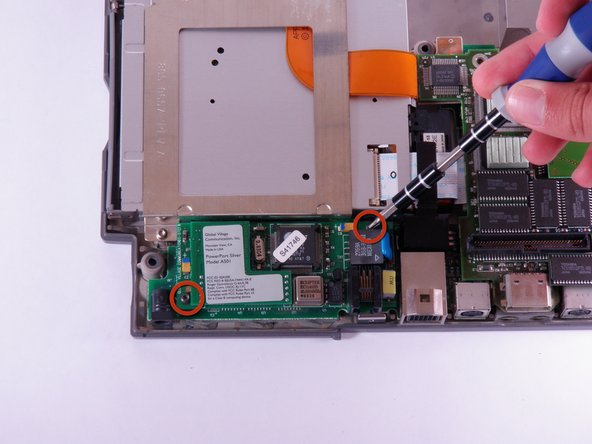
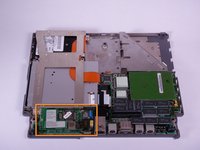
  11. Macintosh PowerBook 165c Hard Drive Replacement: step 11, image 1 of 2 Macintosh PowerBook 165c Hard Drive Replacement: step 11, image 2 of 2
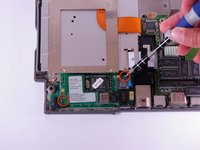
    • Locate the Modem Card on the lower case.

    • Use a T8 torx screwdriver to remove the two, 7.7mm long screws from the two corners.

    • The modem card is an optional component on the Macintosh 165c, and may not be included in all devices.

    Ask FixBot

    Add Comment

  12. Macintosh PowerBook 165c Hard Drive Replacement: step 12, image 1 of 1
    • Lift the modem card directly upward until it releases from the connector.

    • If the modem card is difficult to remove, gently jostle it back and forth as you lift up.

    Ask FixBot

    Add Comment

  13. Macintosh PowerBook 165c Hard Drive Replacement, RAM and PSRAM Expansion Card: step 13, image 1 of 2 Macintosh PowerBook 165c Hard Drive Replacement, RAM and PSRAM Expansion Card: step 13, image 2 of 2
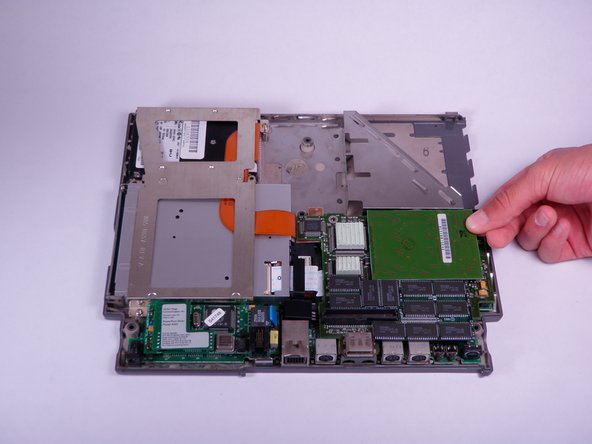
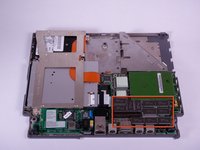
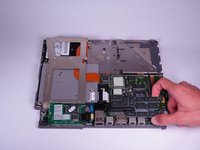
    • Locate and lift ram card directly up until connector releases.

    • Move the card back and forth gently if the connector does not release immediately.

    Ask FixBot

    Add Comment

  14. Macintosh PowerBook 165c Hard Drive Replacement: step 14, image 1 of 2 Macintosh PowerBook 165c Hard Drive Replacement: step 14, image 2 of 2
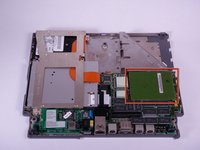
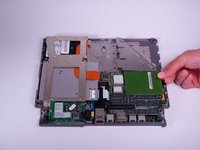
    • Locate and lift the PSRAM expansion card vertically until connector releases.

    • If the PSRAM expansion card is difficult to remove, gently jostle it back and forth as you lift up.

    • The PSRAM expansion card is an optional component, and may not be included in all devices.

    Ask FixBot

    Add Comment

  15. Macintosh PowerBook 165c Hard Drive Replacement, Daughterboard: step 15, image 1 of 1
    • Use T8 torx screwdriver to remove four, 7.7mm long screws from the perimeter of the daughterboard.

    Ask FixBot

    Add Comment

  16. Macintosh PowerBook 165c Hard Drive Replacement: step 16, image 1 of 1
    • Life the daughterboard directly up to remove it from the connector.

    • If the daughterboard does not easily release from the connector, gently jostle it back and forth as you lift up.

    Ask FixBot

    Add Comment

  17. Macintosh PowerBook 165c Hard Drive Replacement, Hard Drive: step 17, image 1 of 1
    • Use a T8 torx screwdriver to remove the five, 6.8mm long screws on the drive retainer.

    Ask FixBot

    Add Comment

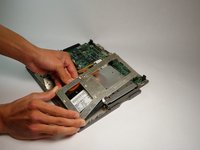
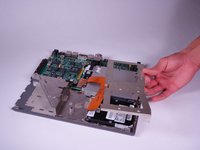
  18. Macintosh PowerBook 165c Hard Drive Replacement: step 18, image 1 of 3 Macintosh PowerBook 165c Hard Drive Replacement: step 18, image 2 of 3 Macintosh PowerBook 165c Hard Drive Replacement: step 18, image 3 of 3
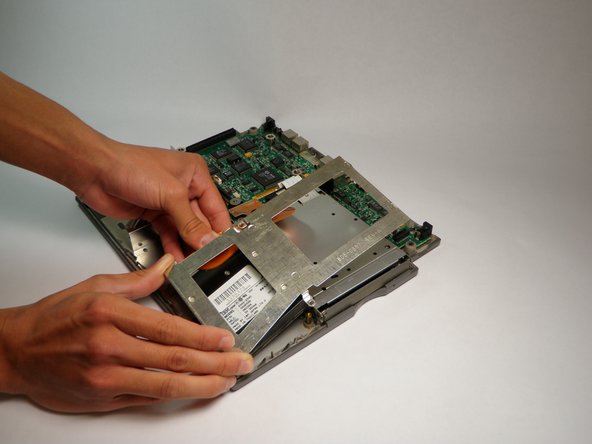
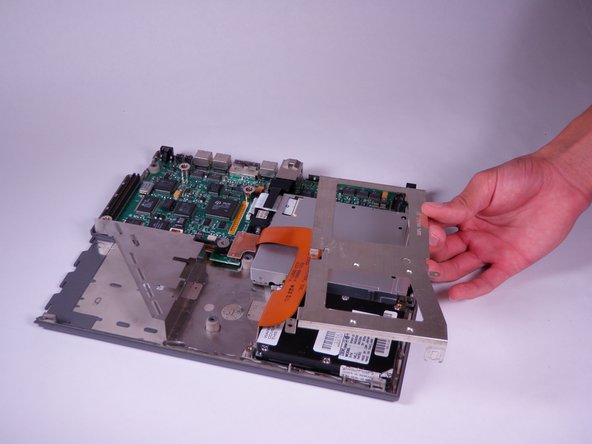
    • Orient the computer so the plastic clip in top left corner of the lower case is facing you. Release the clip by lifting the retainer. You may need to adjust the position of the hard drive to remove the retainer.

    • Lift the drive retainer out.

    Ask FixBot

    Add Comment

  19. Macintosh PowerBook 165c Hard Drive Replacement: step 19, image 1 of 1
    • Pull the orange connector attached to the ribbon cable until the connector releases from the motherboard.

    Ask FixBot

    Add Comment

  20. Macintosh PowerBook 165c Hard Drive Replacement: step 20, image 1 of 1
    • Lift the hard drive to remove it.

    Ask FixBot

    Add Comment

Conclusion

To reassemble your device, follow these instructions in reverse order.

Cancel: I did not complete this guide.

2 other people completed this guide.

John

Member since: 10/12/11

88 Reputation

4 Guides authored

Team

Cal Poly, Team 6-3, Regan Fall 2011 Member of Cal Poly, Team 6-3, Regan Fall 2011

CPSU-REGAN-F11S6G3

4 Members

12 Guides authored

0 Guide Comments

Add Comment

View Statistics:

Past 24 Hours: 2

Past 7 Days: 19

Past 30 Days: 68

All Time: 4,258