Free Shipping on Domestic Orders $75+

MacBook Pro 17" Unibody Hard Drive Bracket Replacement

What you need

  1. MacBook Pro 17" Unibody Hard Drive Bracket Replacement, Lower Case: step 1, image 1 of 1
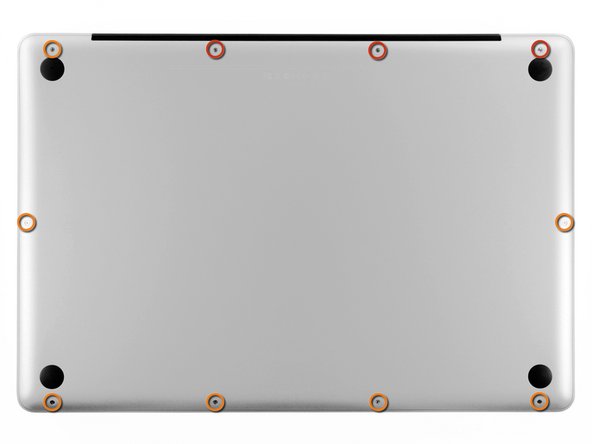
    • Remove the following ten screws securing the lower case to the upper case:

    • Three 13.5 mm Phillips screws.

    • Seven 3 mm Phillips screws.

    Ask FixBot

    Add Comment

  2. MacBook Pro 17" Unibody Hard Drive Bracket Replacement: step 2, image 1 of 2 MacBook Pro 17" Unibody Hard Drive Bracket Replacement: step 2, image 2 of 2
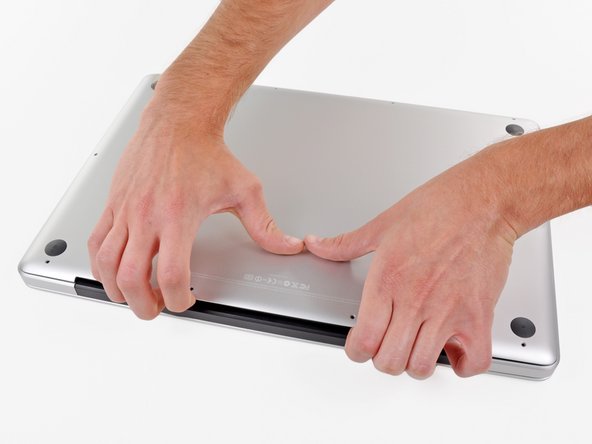
    • Wedge your fingers between the lower case and the vent, and lift upward to release the two clips holding the lower case to the upper case.

    • During reassembly, carefully align the lower case and then press it firmly until both clips engage.

    • Remove the lower case.

    Ask FixBot

    Add Comment

  3. MacBook Pro 17" Unibody Hard Drive Bracket Replacement, Battery: step 3, image 1 of 3 MacBook Pro 17" Unibody Hard Drive Bracket Replacement, Battery: step 3, image 2 of 3 MacBook Pro 17" Unibody Hard Drive Bracket Replacement, Battery: step 3, image 3 of 3
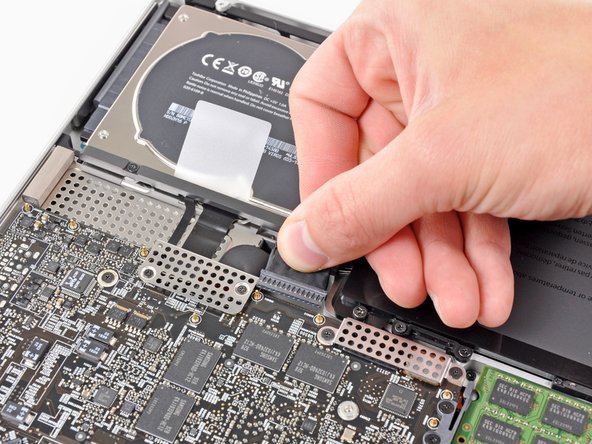
    • Whenever working near the logic board, it is always wise to first disconnect the battery to avoid short circuits.

    • If present, grab the plastic tab attached to the battery connector and pull it toward the front edge of the device. For Late-2011 models the battery connector will not have a tab and is simply a plug that inserts straight down into the motherboard--to remove pry the plug straight up.

    • If the plastic tab is missing, use a spudger to pry the connector up from its socket.

    • Pull the tab parallel to the face of the logic board.

    Ask FixBot

    Add Comment

  4. MacBook Pro 17" Unibody Hard Drive Bracket Replacement, Hard Drive: step 4, image 1 of 1
    • Remove the two Phillips screws securing the hard drive bracket to the upper case.

    • These screws are captive to the hard drive bracket.

    Ask FixBot

    Add Comment

  5. MacBook Pro 17" Unibody Hard Drive Bracket Replacement: step 5, image 1 of 1
    • Remove the hard drive bracket from the upper case.

    Ask FixBot

    Add Comment

  6. MacBook Pro 17" Unibody Hard Drive Bracket Replacement: step 6, image 1 of 1
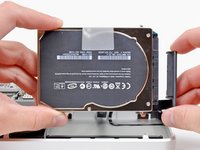
    • Use the hard drive's pull tab to lift it out of the upper case.

    • Don't try to completely remove the hard drive just yet! Its cable is still connected.

    Ask FixBot

    Add Comment

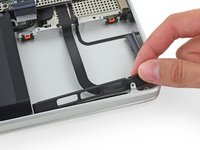
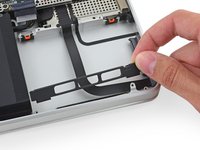
  7. MacBook Pro 17" Unibody Hard Drive Bracket Replacement: step 7, image 1 of 2 MacBook Pro 17" Unibody Hard Drive Bracket Replacement: step 7, image 2 of 2
    • Pull the hard drive connector away from the body of the hard drive.

    • Remove the hard drive from your MacBook Pro.

    Ask FixBot

    Add Comment

  8. MacBook Pro 17" Unibody Hard Drive Bracket Replacement, Hard Drive Bracket: step 8, image 1 of 1
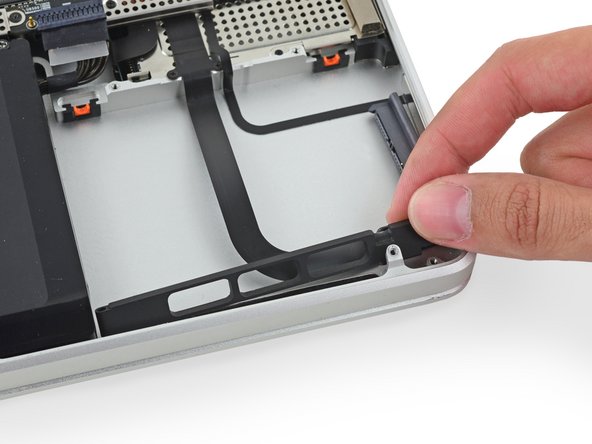
    • Remove the two 5 mm Phillips #00 screws securing the hard drive bracket to the upper case.

    Ask FixBot

    Add Comment

  9. MacBook Pro 17" Unibody Hard Drive Bracket Replacement: step 9, image 1 of 3 MacBook Pro 17" Unibody Hard Drive Bracket Replacement: step 9, image 2 of 3 MacBook Pro 17" Unibody Hard Drive Bracket Replacement: step 9, image 3 of 3
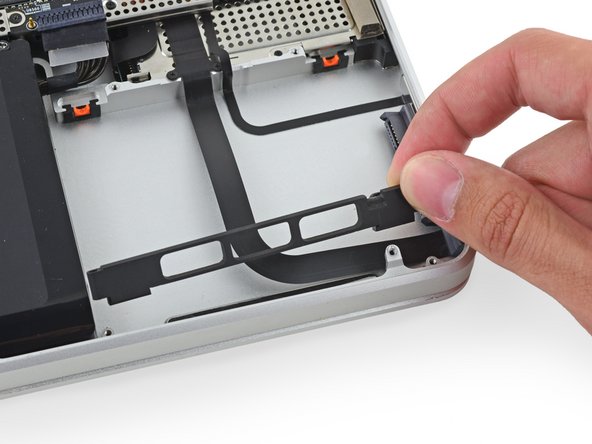
    • Tilt the outer hard drive bracket up toward the logic board and remove it from the rear case.

    Ask FixBot

    Add Comment

Conclusion

To reassemble your device, follow these instructions in reverse order.

Cancel: I did not complete this guide.

10 other people completed this guide.

Sam Goldheart

Member since: 10/18/12

477,615 Reputation

538 Guides authored

Team

iFixit Member of iFixit

Staff

122 Members

26,593 Guides authored

0 Guide Comments

Add Comment

View Statistics:

Past 24 Hours: 2

Past 7 Days: 22

Past 30 Days: 77

All Time: 5,599