Free Shipping on Domestic Orders $75+

MacBook Pro 13" Retina Display Early 2013 Right Fan Duct Replacement

What you need

  1. MacBook Pro 13" Retina Display Early 2013 Right Fan Duct Replacement, Lower Case: step 1, image 1 of 1
    Tool used on this step:
    Magnetic Project Mat
    $19.95
    Buy
    • Remove the following ten screws securing the lower case to the upper case:

    • Two 2.3 mm P5 Pentalobe screws

    • Eight 3.0 mm P5 Pentalobe screws

    • Throughout this repair, keep track of each screw and make sure it goes back exactly where it came from to avoid damaging your device.

    Ask FixBot
  2. MacBook Pro 13" Retina Display Early 2013 Right Fan Duct Replacement: step 2, image 1 of 1
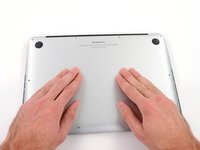
    • Wedge your fingers between the upper case and the lower case.

    • Gently pull the lower case away from the upper case.

    • Remove the lower case and set it aside.

    Ask FixBot
  3. MacBook Pro 13" Retina Display Early 2013 Right Fan Duct Replacement: step 3, image 1 of 3 MacBook Pro 13" Retina Display Early 2013 Right Fan Duct Replacement: step 3, image 2 of 3 MacBook Pro 13" Retina Display Early 2013 Right Fan Duct Replacement: step 3, image 3 of 3
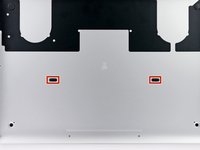
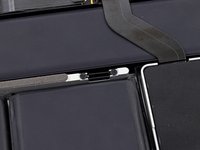
    • During reassembly, gently push down the center of the lower case to reattach the two plastic clips.

    • The lower case is connected to the upper case at the center, with two plastic clips.

    Ask FixBot
  4. MacBook Pro 13" Retina Display Early 2013 Right Fan Duct Replacement, Battery Connector: step 4, image 1 of 1
    • Remove the plastic cover adhered to the battery contact board.

    Ask FixBot
  5. MacBook Pro 13" Retina Display Early 2013 Right Fan Duct Replacement: step 5, image 1 of 1
    • Remove the following screws securing the battery connector board to the logic board:

    • Two 2.8 mm T6 Torx screws

    • One 7.0 mm T6 Torx shouldered screw

    Ask FixBot
  6. MacBook Pro 13" Retina Display Early 2013 Right Fan Duct Replacement: step 6, image 1 of 2 MacBook Pro 13" Retina Display Early 2013 Right Fan Duct Replacement: step 6, image 2 of 2
    Tool used on this step:
    Tweezers
    $4.99
    Buy
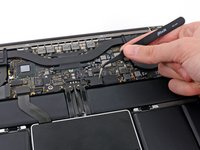
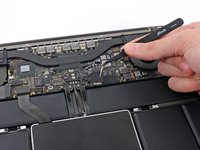
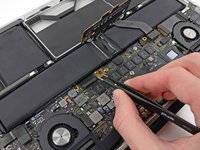
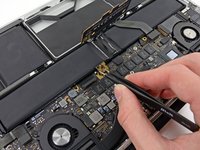
    • Use tweezers to remove the small plastic cover located near the bottom right of the battery connector board.

    Ask FixBot
  7. MacBook Pro 13" Retina Display Early 2013 Right Fan Duct Replacement: step 7, image 1 of 1
    • Remove the wide head 6.4 mm T6 Torx screw securing the battery connector to the logic board assembly.

    Ask FixBot
  8. MacBook Pro 13" Retina Display Early 2013 Right Fan Duct Replacement: step 8, image 1 of 2 MacBook Pro 13" Retina Display Early 2013 Right Fan Duct Replacement: step 8, image 2 of 2
    • Carefully lift the battery connector board up off the logic board.

    • It is recommended to bend the battery cables just slightly, to keep the board suspended up above the logic board and out of the way.

    • Do not fold the board completely over, or crease the cables, as this may damage the battery.

    Ask FixBot
  9. MacBook Pro 13" Retina Display Early 2013 Right Fan Duct Replacement, Battery Contact Board: step 9, image 1 of 2 MacBook Pro 13" Retina Display Early 2013 Right Fan Duct Replacement, Battery Contact Board: step 9, image 2 of 2
    Tool used on this step:
    Tweezers
    $4.99
    Buy
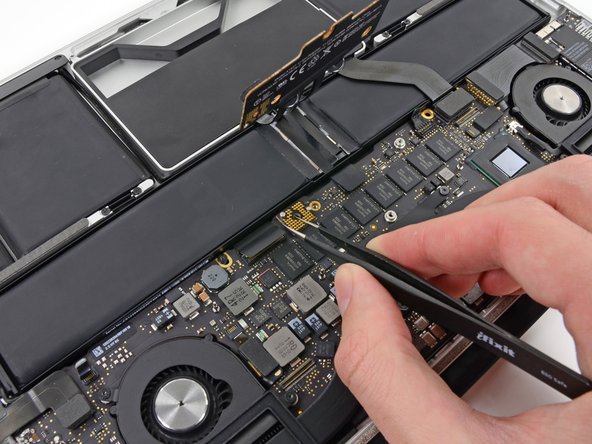
    • Grasp the Interposer with tweezers.

    • An interposer is the name for an interface that links one electrical connection to another. In this repair, it is the board connecting the battery to logic board.

    • Lift the Interposer off the logic board and remove it.

    • Removing this board will ensure that the battery remains disconnected throughout your repair, preventing your computer from accidentally powering on. It's also a good idea to take it out so it doesn't fall out unexpectedly.

    Ask FixBot
  10. MacBook Pro 13" Retina Display Early 2013 Right Fan Duct Replacement, Heat Sink Assembly: step 10, image 1 of 1
    • Remove the following screws securing the heat sink to the logic board assembly:

    • One 2.4 mm Phillips #00 screw

    • One 3.4 mm T5 Torx screw

    • Four 2.7 mm T5 Torx screws

    Ask FixBot
  11. MacBook Pro 13" Retina Display Early 2013 Right Fan Duct Replacement: step 11, image 1 of 2 MacBook Pro 13" Retina Display Early 2013 Right Fan Duct Replacement: step 11, image 2 of 2
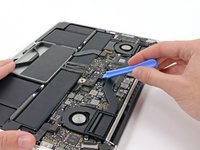
    • Lift and remove the heat sink up off the logic board assembly.

    • When reinstalling the heat sink, be sure to apply a new layer of thermal paste. If you have never applied thermal paste before, we have a guide that makes it easy.

    Ask FixBot
  12. MacBook Pro 13" Retina Display Early 2013 Right Fan Duct Replacement, Right Fan Duct: step 12, image 1 of 2 MacBook Pro 13" Retina Display Early 2013 Right Fan Duct Replacement, Right Fan Duct: step 12, image 2 of 2
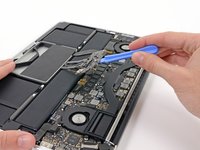
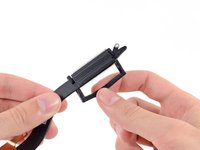
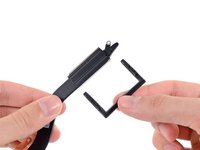
    • Carefully remove the right fan duct from the edge of the heat sink.

    Ask FixBot
Conclusion

To reassemble your device, follow these instructions in reverse order.

One other person completed this guide.

Sam Goldheart

Member since: 10/18/12

477,281 Reputation

538 Guides authored

Team

iFixit Member of iFixit

Staff

123 Members

25,718 Guides authored

0 Guide Comments

Add Comment

View Statistics:

Past 24 Hours: 6

Past 7 Days: 21

Past 30 Days: 91

All Time: 1,450