Free Shipping on Domestic Orders $75+

This translation was generated by a machine and has not been reviewed by a person yet. Speak this language? Review it.

MacBook Air 13" Early 2017 Keyboard Replacement

    1. MacBook Air 13" Early 2017 Keyboard Replacement, Lower Case: step 1, image 1 of 1
      Tool used on this step:
      P5 Pentalobe Screwdriver Retina MacBook Pro and Air
      $5.99
      Buy
      • Before proceeding, power down your MacBook. Close the display and lay it on a soft surface, top-side down.

      • Use a P5 Pentalobe driver to remove ten screws securing the lower case, of the following lengths:

      • Two 9 mm screws

      • Eight 2.6 mm screws

      Ask FixBot

      Add Comment

    2. MacBook Air 13" Early 2017 Keyboard Replacement: step 2, image 1 of 1
      • Wedge your fingers between the display and the lower case and pull upward to pop the lower case off the Air.

      • Remove the lower case and set it aside.

      Ask FixBot

      Add Comment

    1. MacBook Air 13" Early 2017 Keyboard Replacement, Battery Connector: step 3, image 1 of 2 MacBook Air 13" Early 2017 Keyboard Replacement, Battery Connector: step 3, image 2 of 2
      • To ensure that everything is de-energized and won't turn on while you're working, it is recommended that you disconnect the battery.

      • Grab the clear plastic pull tab attached to the battery connector and pull it parallel to the board toward the front edge of the Air.

      • Do not lift upward on the connector as you disconnect it or you risk damage to the connector socket.

      Ask FixBot

      Add Comment

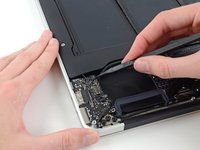
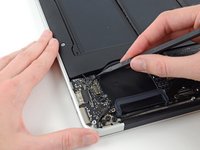
    1. MacBook Air 13" Early 2017 Keyboard Replacement, I/O Board Cable: step 4, image 1 of 1
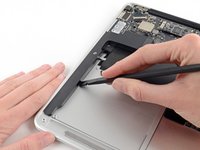
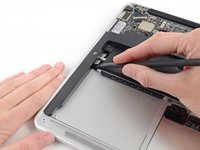
      • Use the flat end of a spudger to pry the I/O board cable connector up out of its socket on the I/O board.

      Ask FixBot

      Add Comment

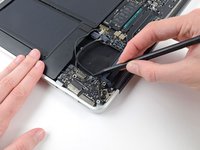
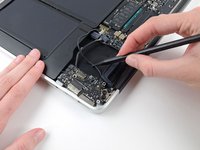
    2. MacBook Air 13" Early 2017 Keyboard Replacement: step 5, image 1 of 1
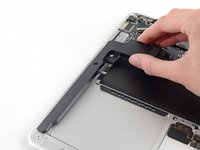
      • Carefully peel the I/O board cable from the adhesive securing it to the top of the fan.

      • During reassembly, make sure this cable is in the correct orientation. It will fit if reversed, but the laptop will not boot.

      Ask FixBot

      Add Comment

    3. MacBook Air 13" Early 2017 Keyboard Replacement: step 6, image 1 of 2 MacBook Air 13" Early 2017 Keyboard Replacement: step 6, image 2 of 2
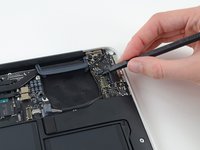
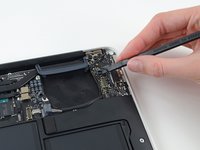
      • The following connector has an especially deep socket. Use care when disconnecting it.

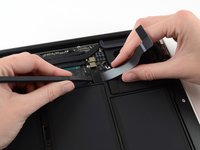
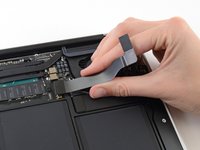
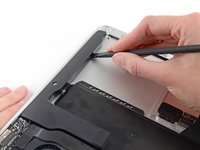
      • While gently pulling the I/O board cable upward near its connection to the logic board, use the flat end of a spudger to pry up on alternating sides of the connector to help "walk" it out of its socket.

      • Remove the I/O board cable.

      Ask FixBot

      Add Comment

    1. MacBook Air 13" Early 2017 Keyboard Replacement, Fan: step 7, image 1 of 1
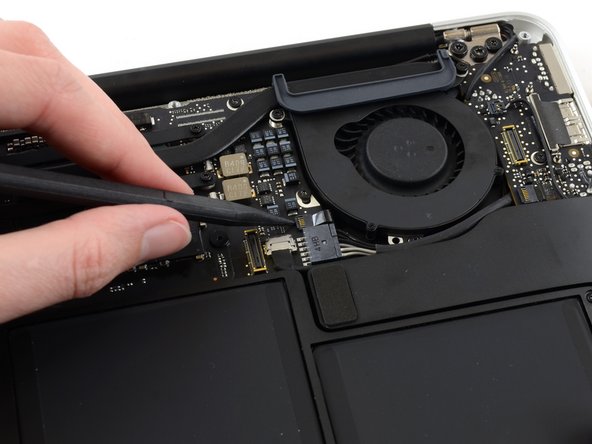
      • Use the tip of a spudger to carefully flip up the retaining flap on the fan cable ZIF socket.

      • Be sure you are prying up on the hinged retaining flap, not the socket itself.

      Ask FixBot

      Add Comment

    2. MacBook Air 13" Early 2017 Keyboard Replacement: step 8, image 1 of 1
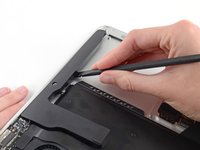
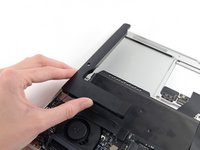
      • Peel the rubber gasket off the adhesive on the top of the fan.

      Ask FixBot

      Add Comment

    3. MacBook Air 13" Early 2017 Keyboard Replacement: step 9, image 1 of 1
      • Remove the following three screws securing the fan to the upper case:

      • One 5.2 mm T5 Torx screw

      • One 3.3 mm T5 Torx screw

      • One 4.4 mm T5 Torx screw with a short head

      Ask FixBot

      Add Comment

    4. MacBook Air 13" Early 2017 Keyboard Replacement: step 10, image 1 of 2 MacBook Air 13" Early 2017 Keyboard Replacement: step 10, image 2 of 2
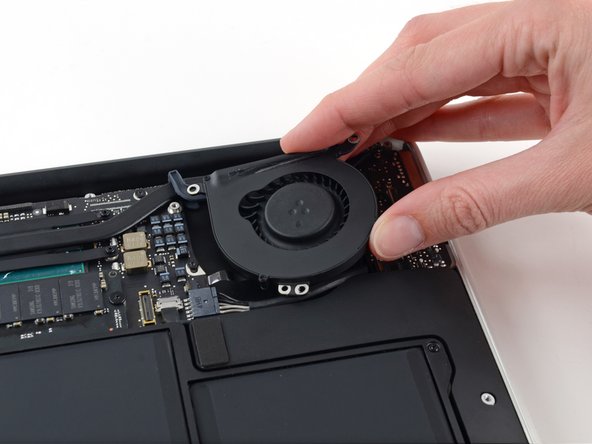
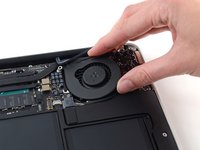
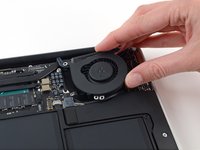
      • Lift the fan from the I/O board side and pull it free from the upper case.

      • Removing the fan will also disconnect the fan ribbon cable. Be careful not to snag it.

      Ask FixBot

      Add Comment

    1. MacBook Air 13" Early 2017 Keyboard Replacement, I/O Board: step 11, image 1 of 1
      • Disconnect the I/O board by pulling its power cable away from its socket on the logic board.

      • Pull the cable parallel to the face of the logic board toward the right edge of the Air.

      Ask FixBot

      Add Comment

    2. MacBook Air 13" Early 2017 Keyboard Replacement: step 12, image 1 of 2 MacBook Air 13" Early 2017 Keyboard Replacement: step 12, image 2 of 2
      • Use the flat end of a spudger to pry the left speaker cable connector up and out of its socket on the I/O board.

      • Pry up from beneath the wires.

      Ask FixBot

      Add Comment

    3. MacBook Air 13" Early 2017 Keyboard Replacement: step 13, image 1 of 2 MacBook Air 13" Early 2017 Keyboard Replacement: step 13, image 2 of 2
      • Use the tip of a spudger to carefully flip up the retaining flap on the microphone ribbon cable ZIF socket.

      • Make sure you are flipping up the retaining flap, not the socket itself.

      Ask FixBot

      Add Comment

    4. MacBook Air 13" Early 2017 Keyboard Replacement: step 14, image 1 of 1
      • Remove the single 4.1 mm T5 Torx screw securing the I/O board to the upper case.

      Ask FixBot

      Add Comment

    5. MacBook Air 13" Early 2017 Keyboard Replacement: step 15, image 1 of 2 MacBook Air 13" Early 2017 Keyboard Replacement: step 15, image 2 of 2
      • Gently de-route the camera cable from its notch on the I/O board and push it out of the way with the tip of a spudger.

      Ask FixBot

      Add Comment

    6. MacBook Air 13" Early 2017 Keyboard Replacement: step 16, image 1 of 1
      • Lift the I/O board from the logic board side and pull it free from the upper case.

      • Removing the I/O board will also disconnect the microphone ribbon cable. Be careful not to snag it.

      Ask FixBot

      Add Comment

    1. MacBook Air 13" Early 2017 Keyboard Replacement, Right Speaker: step 17, image 1 of 1
      • Use the flat end of a spudger to pry the right speaker connector up and out of its socket on the logic board.

      • Pry up from beneath the wires.

      Ask FixBot

      Add Comment

    2. MacBook Air 13" Early 2017 Keyboard Replacement: step 18, image 1 of 3 MacBook Air 13" Early 2017 Keyboard Replacement: step 18, image 2 of 3 MacBook Air 13" Early 2017 Keyboard Replacement: step 18, image 3 of 3
      • Use the flat end of a spudger to pry the right speaker off the adhesive securing it to the upper case.

      • Remove the right speaker from the upper case.

      Ask FixBot

      Add Comment

    1. MacBook Air 13" Early 2017 Keyboard Replacement, Left Speaker: step 19, image 1 of 1
      • Use the flat end of a spudger to pry the left speaker cable connector up and out of its socket on the I/O board.

      • Pry up from beneath the wires.

      Ask FixBot

      Add Comment

    2. MacBook Air 13" Early 2017 Keyboard Replacement: step 20, image 1 of 3 MacBook Air 13" Early 2017 Keyboard Replacement: step 20, image 2 of 3 MacBook Air 13" Early 2017 Keyboard Replacement: step 20, image 3 of 3
      • Use the flat end of a spudger to pry the left speaker off the adhesive securing it to the upper case.

      • Remove the left speaker from the upper case.

      Ask FixBot

      Add Comment

      • Lift the retaining flap on the display cable connector. You can lift it using a spudger, or by pulling on the black tape attached to it (using your fingers or tweezers).

      Ask FixBot

      Add Comment

      • Insert a comment.

      Ask FixBot

      Add Comment

      • Pull the cable horizontally to disconnect it. There is no latch or flap on this connector.

      Ask FixBot

      Add Comment

    1. MacBook Air 13" Early 2017 Keyboard Replacement, Disconnect the keyboard and trackpad cables: step 24, image 1 of 1
      • Flip up the retaining flap on the back of the trackpad connector with the tip of a spudger.

      • Flip up the retaining flap on the back of the power button connector with the tip of a spudger.

      • While carefully lifting the keyboard cable with one hand, use the tip of a spudger or your fingernail to flip up the retaining flap on the keyboard cable's ZIF socket.

      • Be sure to pry up on the hinged retaining flap and not the socket itself.

      • Pull the keyboard cable straight out of its socket, towards the front edge of the Air.

      Ask FixBot

      Add Comment

      • Start at a corner, then work along an edge and pull gently to avoid damaging the backlight if you intend to reuse it.

      Ask FixBot

      Add Comment

      • Unscrew the 40 (!) Phillips screws using a Phillips 000 screwdriver that hold the keyboard in place.

      Ask FixBot

      Add Comment

    2. MacBook Air 13" Early 2017 Keyboard Replacement, Disconnect the heat sink from the housing: step 27, image 1 of 2 MacBook Air 13" Early 2017 Keyboard Replacement, Disconnect the heat sink from the housing: step 27, image 2 of 2
      • Remove the two 4.9 mm Torx screws securing the antenna wire retainer for the left display clutch hinge to the upper housing.

      • Move the antenna wire retainer out of the way and remove the single 3 mm Torx screw securing the end of the heat sink to the upper housing.

      Ask FixBot

      Add Comment

      • Unscrew the 6 Torx screws securing the motherboard.

      • It is now easy to remove the motherboard. Be careful to clear the Wi-Fi antenna cables from their notches.

      Ask FixBot

      Add Comment

Conclusion

To reassemble your device, follow the instructions in reverse order.

Cancel: I did not complete this guide.

pichel

Member since: 05/28/15

635 Reputation

2 Guides authored

0 Guide Comments

Add Comment

View Statistics:

Past 24 Hours: 8

Past 7 Days: 54

Past 30 Days: 194

All Time: 1,017