Free Shipping on Domestic Orders $75+

Mac Studio 2023 Bottom Cover Replacement

What you need

  1. Mac Studio 2023 Bottom Cover Replacement, Prepare your Mac Studio for disassembly: step 1, image 1 of 3 Mac Studio 2023 Bottom Cover Replacement, Prepare your Mac Studio for disassembly: step 1, image 2 of 3 Mac Studio 2023 Bottom Cover Replacement, Prepare your Mac Studio for disassembly: step 1, image 3 of 3
    • Completely shut down your Mac Studio.

    • Unplug all cables from your device.

    Ask FixBot

    Add Comment

  2. Mac Studio 2023 Bottom Cover Replacement, Flip your Mac Studio over: step 2, image 1 of 1
    • Flip your Mac Studio over and lay it down so the bottom faces up and the SD card slot and two front USB‑C ports are facing you.

    Ask FixBot

    Add Comment

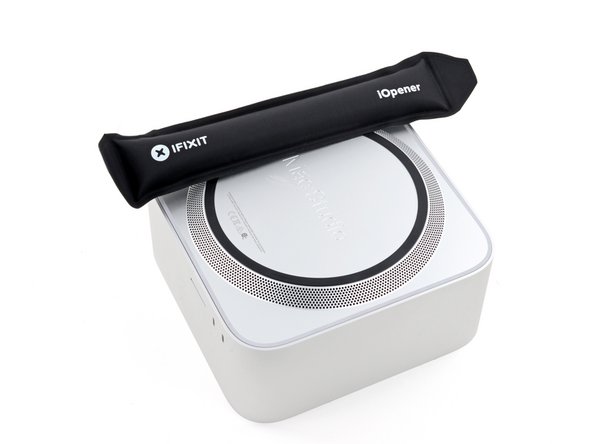
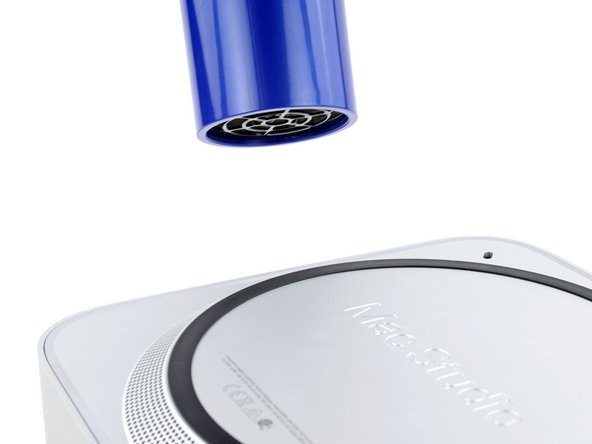
  3. Mac Studio 2023 Bottom Cover Replacement, Heat the bottom cover screw pad: step 3, image 1 of 3 Mac Studio 2023 Bottom Cover Replacement, Heat the bottom cover screw pad: step 3, image 2 of 3 Mac Studio 2023 Bottom Cover Replacement, Heat the bottom cover screw pad: step 3, image 3 of 3
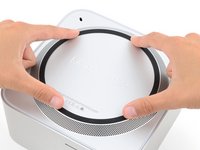
    • Adhesive strips secure the bottom cover screw pad.

    • Heat an iOpener and lay it over one of the bottom cover screws for two minutes to soften the adhesive near the screw—this is where you'll insert a spudger in the next step.

    • You can also use a hair dryer or heat gun, but be careful as extreme heat will warp the pad.

    Ask FixBot

    Add Comment

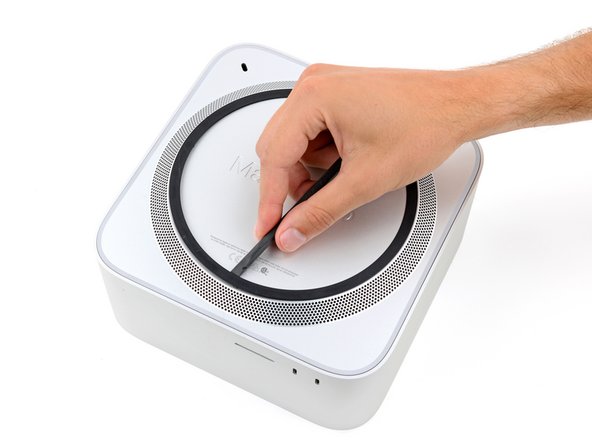
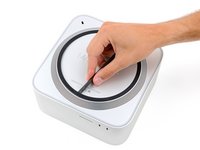
  4. Mac Studio 2023 Bottom Cover Replacement, Lift a section of bottom cover screw pad: step 4, image 1 of 3 Mac Studio 2023 Bottom Cover Replacement, Lift a section of bottom cover screw pad: step 4, image 2 of 3 Mac Studio 2023 Bottom Cover Replacement, Lift a section of bottom cover screw pad: step 4, image 3 of 3
    • Insert the point of a spudger under the pad's inner edge, near the screw you applied heat to in the previous step.

    • This may take some force. If you're having trouble, apply more heat and try again.

    • Use the spudger to lift the pad and separate the adhesive.

    Ask FixBot

    Add Comment

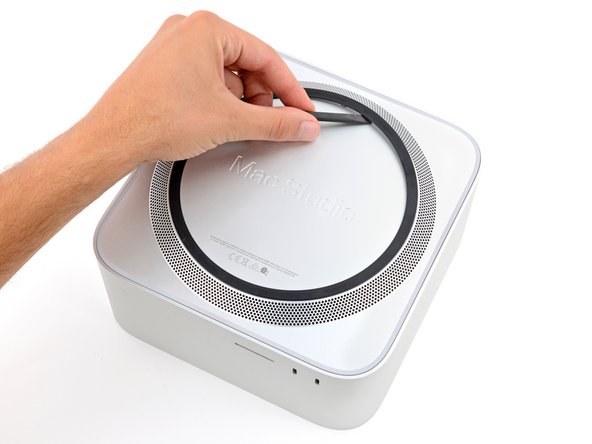
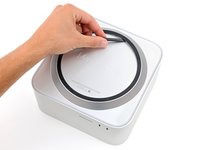
  5. Mac Studio 2023 Bottom Cover Replacement, Separate the remaining adhesive: step 5, image 1 of 3 Mac Studio 2023 Bottom Cover Replacement, Separate the remaining adhesive: step 5, image 2 of 3 Mac Studio 2023 Bottom Cover Replacement, Separate the remaining adhesive: step 5, image 3 of 3
    • Insert the flat end of a spudger under the pad.

    • Slide the spudger under the entire pad to separate the remaining adhesive.

    Ask FixBot

    Add Comment

  6. Mac Studio 2023 Bottom Cover Replacement, Remove the bottom cover screw pad: step 6, image 1 of 1
    • Remove the bottom cover screw pad.

    Ask FixBot

    Add Comment

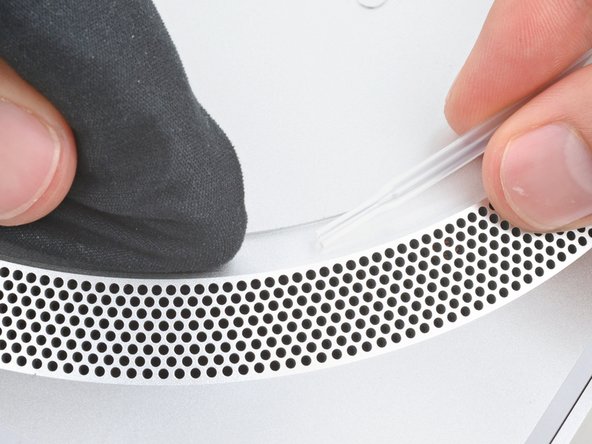
  7. Mac Studio 2023 Bottom Cover Replacement, Reassembly information: step 7, image 1 of 3 Mac Studio 2023 Bottom Cover Replacement, Reassembly information: step 7, image 2 of 3 Mac Studio 2023 Bottom Cover Replacement, Reassembly information: step 7, image 3 of 3
    Tool used on this step:
    Tesa 61395 Tape
    $2.95
    Buy
    • During reassembly:

    • If the adhesive strips are still sticky, you can reuse them.

    • If you're applying new adhesive:

    • Use the flat end of a spudger and your fingers to scrape up and remove the old adhesive strips.

    • Use isopropyl alcohol and a microfiber cloth to remove the old adhesive residue.

    • If you don't have replacement adhesive, you can use strips of thin, double-sided tape 2–3 mm wide.

    • Apply the new adhesive strips to the bottom cover and remove their liners.

    • Firmly press the bottom cover screw pad into its recess to secure it.

    Ask FixBot

    Add Comment

  8. Mac Studio 2023 Bottom Cover Replacement, Remove the bottom cover screws: step 8, image 1 of 2 Mac Studio 2023 Bottom Cover Replacement, Remove the bottom cover screws: step 8, image 2 of 2
    Tool used on this step:
    FixMat
    $36.95
    Buy
    • While the Mac Studio uses Torx Plus screws, standard Torx bits work. Make sure to apply constant, downward force to prevent stripping.

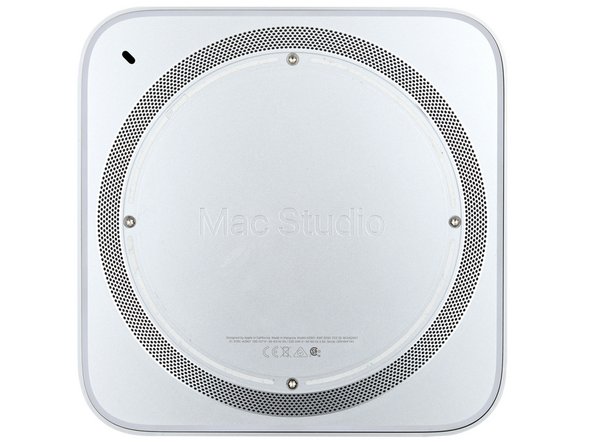
    • Use a T10 Torx screwdriver to remove the four 8 mm‑long screws securing the bottom cover.

    • Throughout this repair, keep track of each screw and make sure it goes back exactly where it came.

    Ask FixBot

    Add Comment

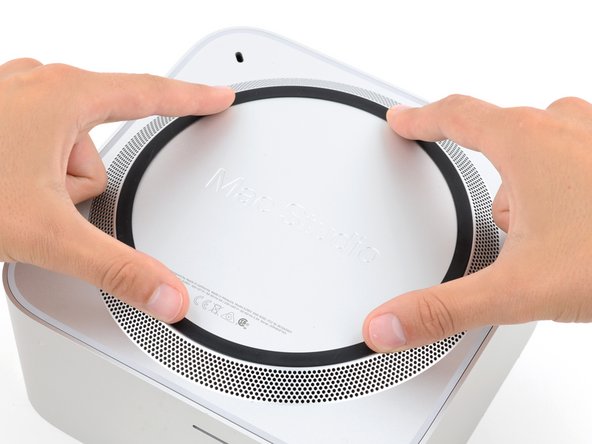
  9. Mac Studio 2023 Bottom Cover Replacement, Remove the bottom cover: step 9, image 1 of 3 Mac Studio 2023 Bottom Cover Replacement, Remove the bottom cover: step 9, image 2 of 3 Mac Studio 2023 Bottom Cover Replacement, Remove the bottom cover: step 9, image 3 of 3
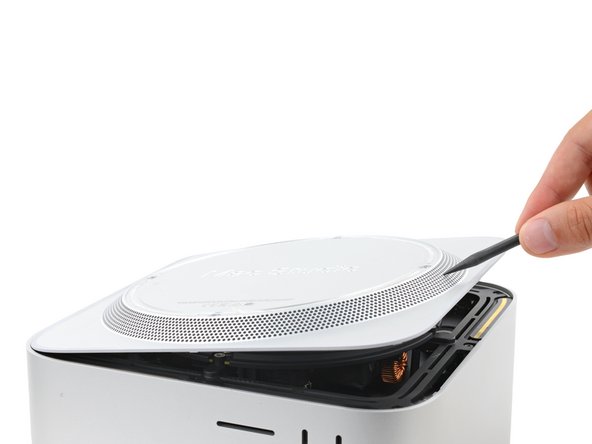
    • Insert the point of a spudger in one of the bottom cover's ventilation holes and lift the cover until you can grab it with your fingers.

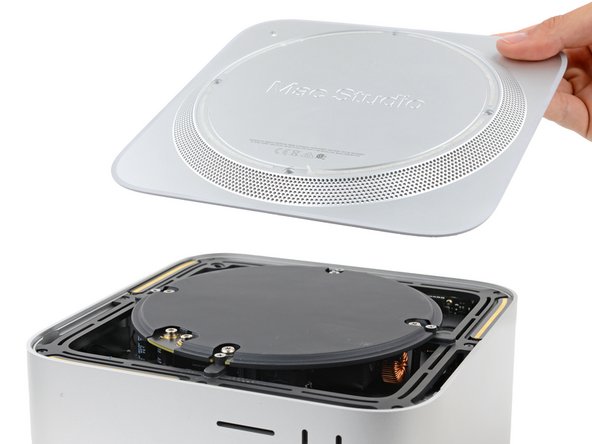
    • Remove the bottom cover.

    • To orient the bottom cover, align the Kensington lock cutout in the top left corner with the corresponding one on the internal frame.

    Ask FixBot

    Add Comment

Conclusion

To reassemble your device, follow these instructions in reverse order.

Repair didn’t go as planned? Try some basic troubleshooting, or ask our Answers community for help.


Cancel: I did not complete this guide.

Spencer Day

Member since: 09/14/22

195,202 Reputation

1,243 Guides authored

Team

iFixit Member of iFixit

Staff

122 Members

26,617 Guides authored

0 Guide Comments

Add Comment

View Statistics:

Past 24 Hours: 3

Past 7 Days: 22

Past 30 Days: 81

All Time: 1,116