Free Shipping on Domestic Orders $75+

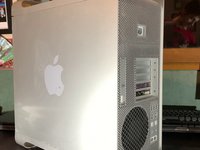
Mac Pro 2009-2012 Case Replacement

What you need

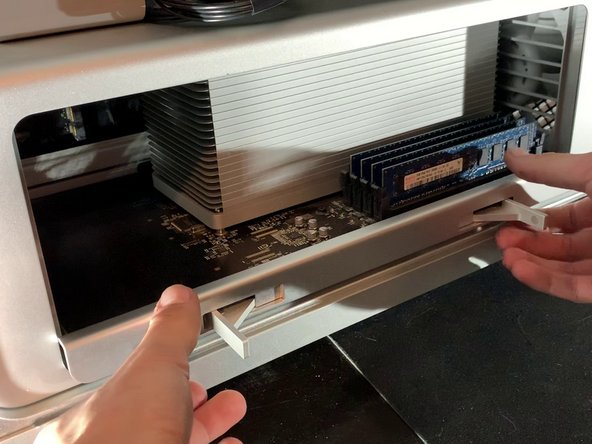
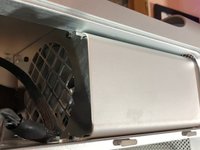
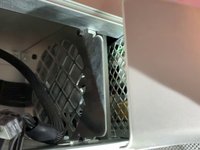
    1. Mac Pro 2009-2012 Case Replacement, Open the Case: step 1, image 1 of 3 Mac Pro 2009-2012 Case Replacement, Open the Case: step 1, image 2 of 3 Mac Pro 2009-2012 Case Replacement, Open the Case: step 1, image 3 of 3
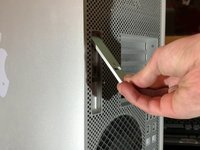
      • To open the Mac Pro, you'll have to lift the clip on the back of the case

      • Leave the clip open during the entire disassembly!

      Ask FixBot

      Add Comment

    2. Mac Pro 2009-2012 Case Replacement, Remove the side panel: step 2, image 1 of 2 Mac Pro 2009-2012 Case Replacement, Remove the side panel: step 2, image 2 of 2
      • Lift the flap to put it in the unlocked position. The panel should separate from the case without force.

      Ask FixBot

      Add Comment

    3. Mac Pro 2009-2012 Case Replacement, Remove the hard drives: step 3, image 1 of 2 Mac Pro 2009-2012 Case Replacement, Remove the hard drives: step 3, image 2 of 2
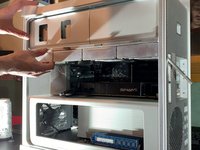
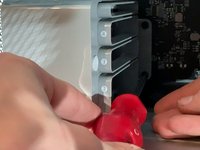
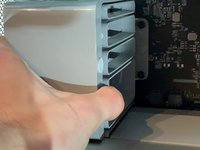
      • Then to remove the hard drives, pull them towards you with a bit of force.

      Ask FixBot

      Add Comment

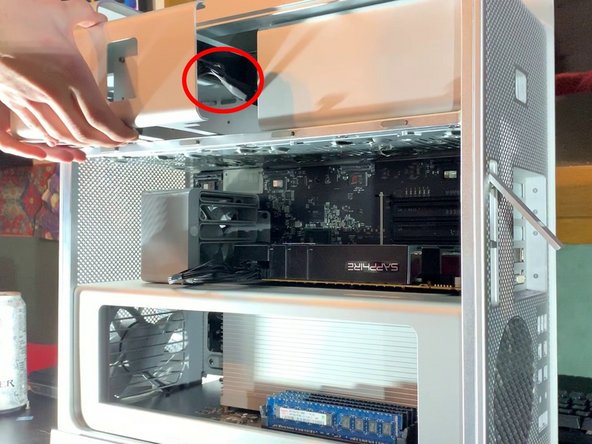
    4. Mac Pro 2009-2012 Case Replacement, Remove the DVD drives: step 4, image 1 of 3 Mac Pro 2009-2012 Case Replacement, Remove the DVD drives: step 4, image 2 of 3 Mac Pro 2009-2012 Case Replacement, Remove the DVD drives: step 4, image 3 of 3
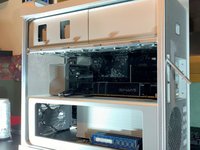
      • Simply pull the DVD drive bracket towards you, just like with the hard drives. Force it gently.

      • Unplug de power cable and the SATA cable of each DVD drive

      Ask FixBot

      Add Comment

    5. Mac Pro 2009-2012 Case Replacement, Remove the CPU board: step 5, image 1 of 3 Mac Pro 2009-2012 Case Replacement, Remove the CPU board: step 5, image 2 of 3 Mac Pro 2009-2012 Case Replacement, Remove the CPU board: step 5, image 3 of 3
      • Press both latches to unlocket the bracket.

      • Then, pull it towards you.

      • You shouldn't need to apply much force.

      Ask FixBot

      Add Comment

    6. Mac Pro 2009-2012 Case Replacement, Disconnect the GPU: step 6, image 1 of 2 Mac Pro 2009-2012 Case Replacement, Disconnect the GPU: step 6, image 2 of 2
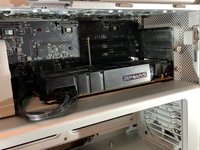
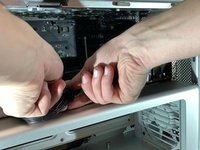
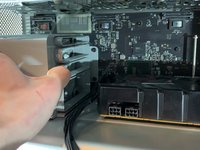
      • Remove the 6 or 8 pin connector from your graphics card.

      • This step is optional, it will depend on the graphics card of your Mac Pro

      Ask FixBot

      Add Comment

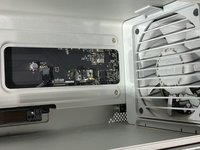
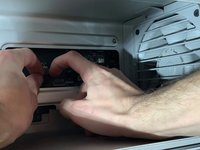
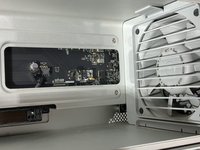
    7. Mac Pro 2009-2012 Case Replacement, Remove the GPU ( Optional ): step 7, image 1 of 3 Mac Pro 2009-2012 Case Replacement, Remove the GPU ( Optional ): step 7, image 2 of 3 Mac Pro 2009-2012 Case Replacement, Remove the GPU ( Optional ): step 7, image 3 of 3
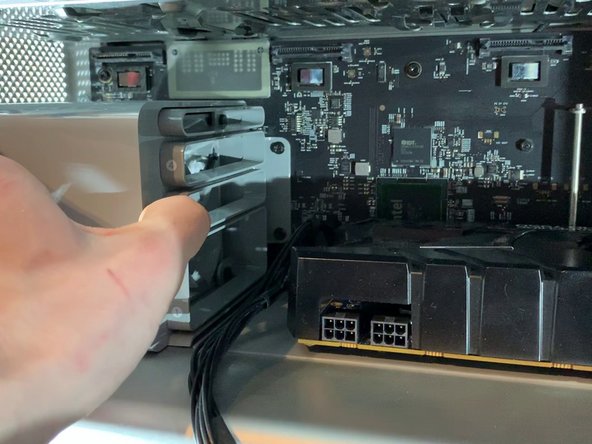
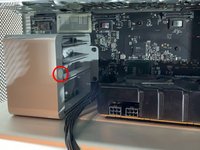
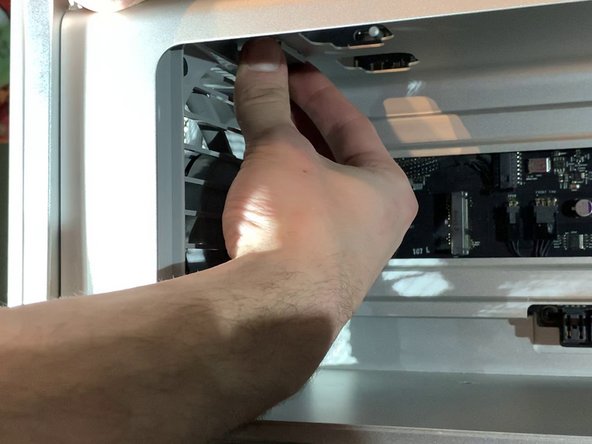
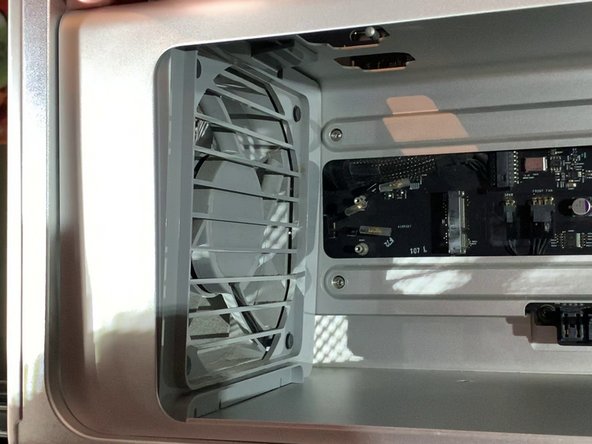
      • On the fan bracket, there is something like a button. Press it to move the support to the left (see picture)

      • Then pull the graphics card towards you to take it out of the case

      • This step is optional depending on the GPU of your Mac Pro

      Ask FixBot

      Add Comment

    8. Mac Pro 2009-2012 Case Replacement, Disconnect GPU support ( optional): step 8, image 1 of 2 Mac Pro 2009-2012 Case Replacement, Disconnect GPU support ( optional): step 8, image 2 of 2
      • Disconnect the PCI-e cables from the motherboard

      • This step is optional depending on the GPU of your Mac Pro

      Ask FixBot

      Add Comment

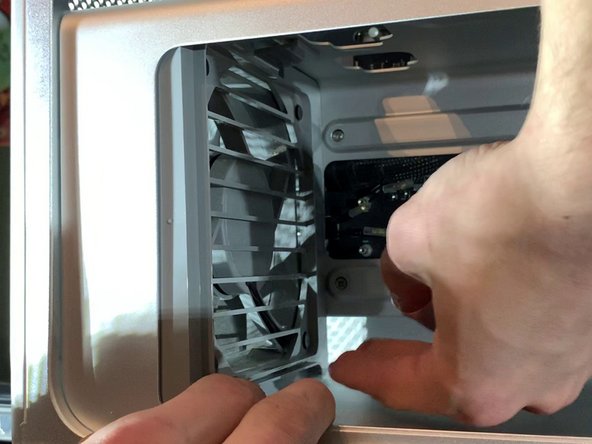
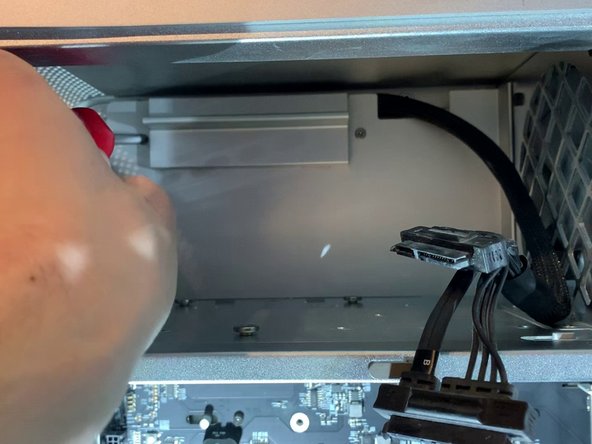
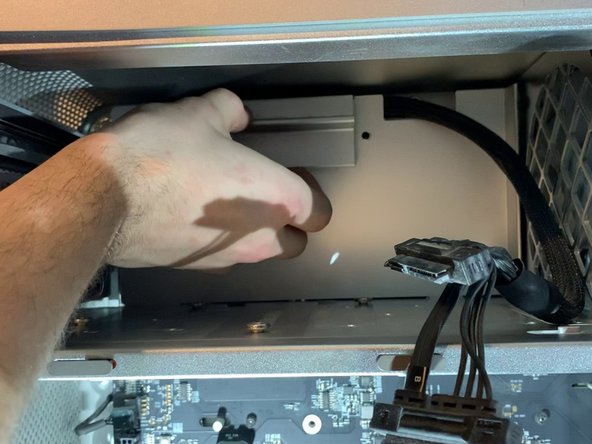
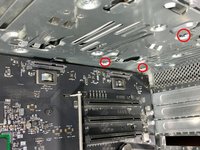
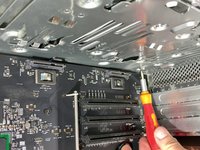
    9. Mac Pro 2009-2012 Case Replacement, Take out the PCI-e fan: step 9, image 1 of 3 Mac Pro 2009-2012 Case Replacement, Take out the PCI-e fan: step 9, image 2 of 3 Mac Pro 2009-2012 Case Replacement, Take out the PCI-e fan: step 9, image 3 of 3
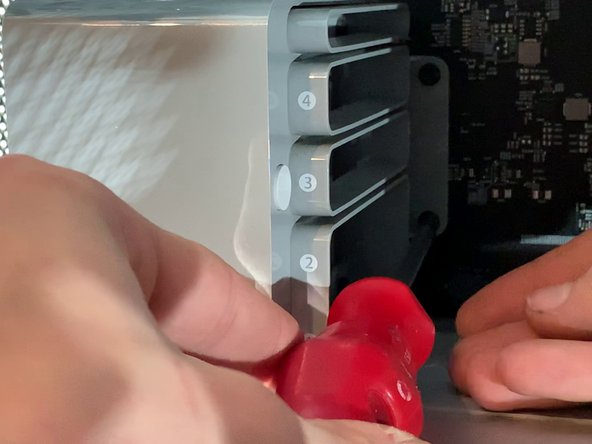
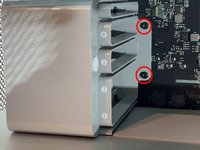
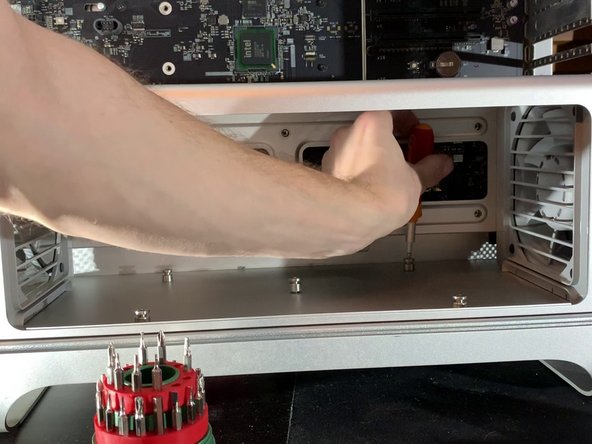
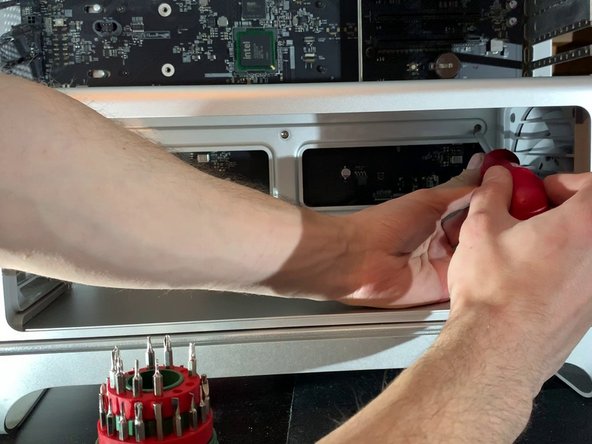
      • With a screwdriver, unscrew the two screws that hold the fan bracket to the board

      • Pull the fan towards you (to move it away from the case)

      Ask FixBot

      Add Comment

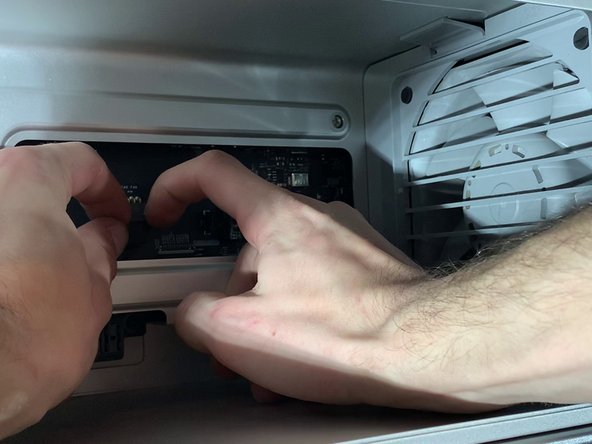
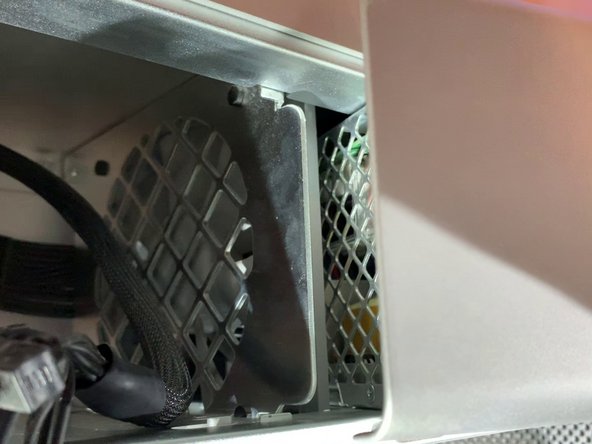
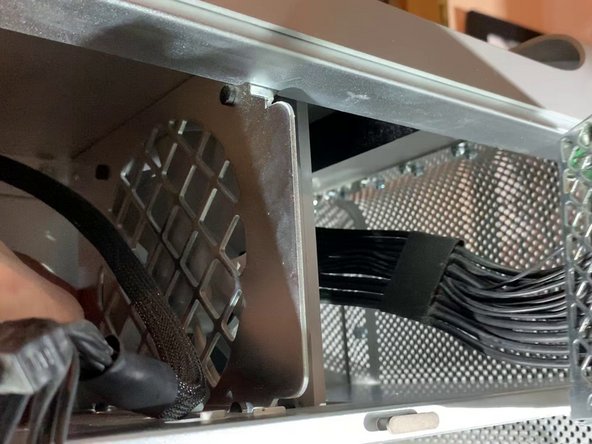
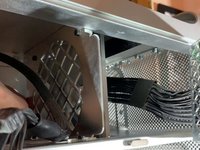
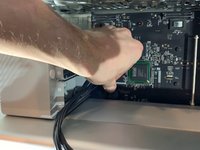
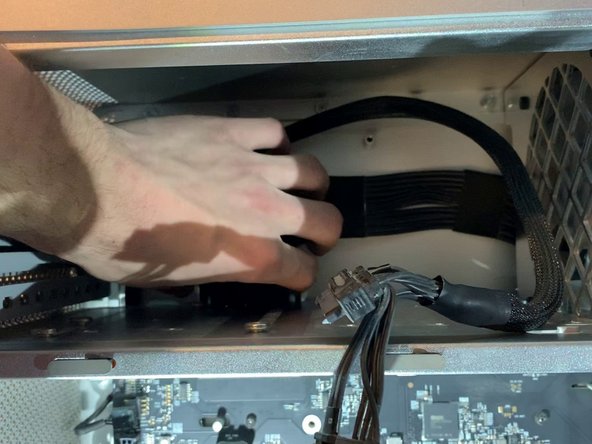
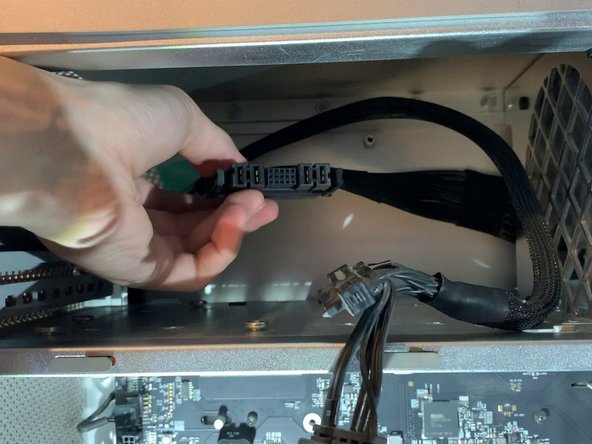
    10. Mac Pro 2009-2012 Case Replacement, Disconnect the SATA Cables: step 10, image 1 of 2 Mac Pro 2009-2012 Case Replacement, Disconnect the SATA Cables: step 10, image 2 of 2
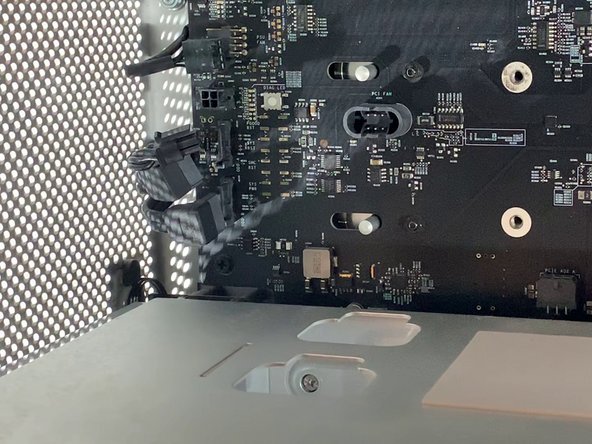
      • Behind the fan bracket, there are 2 SATA cables, a 4 pin mini power supply and a 4 pin fan

      Ask FixBot

      Add Comment

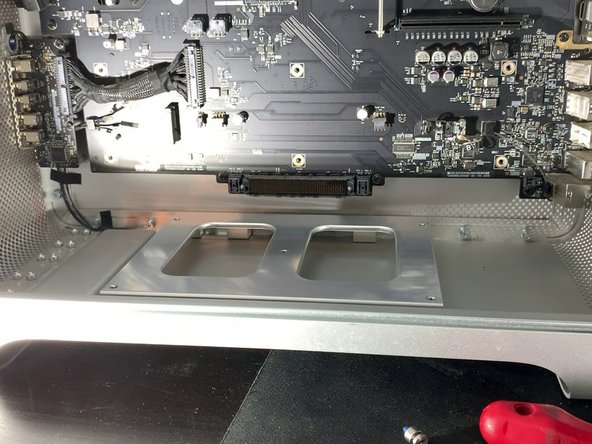
    11. Mac Pro 2009-2012 Case Replacement, Unscrew CPU support: step 11, image 1 of 3 Mac Pro 2009-2012 Case Replacement, Unscrew CPU support: step 11, image 2 of 3 Mac Pro 2009-2012 Case Replacement, Unscrew CPU support: step 11, image 3 of 3
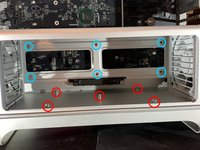
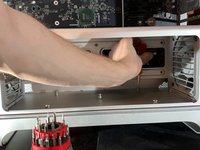
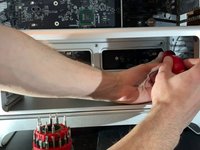
      • With a H2.5 screwdriver, unscrew the screws on the bottom of the bracket (photo 2)

      • With a Phillips screwdriver, unscrew the screws on the bottom of the case (photo 3)

      Ask FixBot

      Add Comment

    12. Mac Pro 2009-2012 Case Replacement, Remove the CPU Fan: step 12, image 1 of 3 Mac Pro 2009-2012 Case Replacement, Remove the CPU Fan: step 12, image 2 of 3 Mac Pro 2009-2012 Case Replacement, Remove the CPU Fan: step 12, image 3 of 3
      • Remove the clip at the top of the fan

      • Pull on the top of the fan a bit.

      Ask FixBot

      Add Comment

    13. Mac Pro 2009-2012 Case Replacement, Remove the CPU Fan: step 13, image 1 of 2 Mac Pro 2009-2012 Case Replacement, Remove the CPU Fan: step 13, image 2 of 2
      • As with the top, remove the clip at the bottom and pull out the fan.

      Ask FixBot

      Add Comment

    14. Mac Pro 2009-2012 Case Replacement, Disconnect Fan and Speakers: step 14, image 1 of 3 Mac Pro 2009-2012 Case Replacement, Disconnect Fan and Speakers: step 14, image 2 of 3 Mac Pro 2009-2012 Case Replacement, Disconnect Fan and Speakers: step 14, image 3 of 3
      • Disconnect the 2 x 4 pin fan cables and the 1 x 2 pin speaker cable

      • Do not forget this step, or else you risk damaging the connectors on the motherboard and making your fans and speaker useless!

      Ask FixBot

      Add Comment

    15. Mac Pro 2009-2012 Case Replacement, Remove the CPU Support: step 15, image 1 of 3 Mac Pro 2009-2012 Case Replacement, Remove the CPU Support: step 15, image 2 of 3 Mac Pro 2009-2012 Case Replacement, Remove the CPU Support: step 15, image 3 of 3
      • Pull the CPU support towards you

      • Do not use force during this step. If it does not come out easily, ensure the fans are not blocking the exit.

      Ask FixBot

      Add Comment

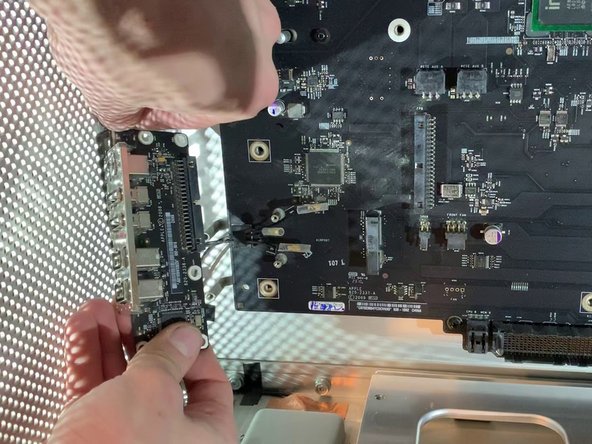
    16. Mac Pro 2009-2012 Case Replacement, Remove the expansion card connector: step 16, image 1 of 3 Mac Pro 2009-2012 Case Replacement, Remove the expansion card connector: step 16, image 2 of 3 Mac Pro 2009-2012 Case Replacement, Remove the expansion card connector: step 16, image 3 of 3
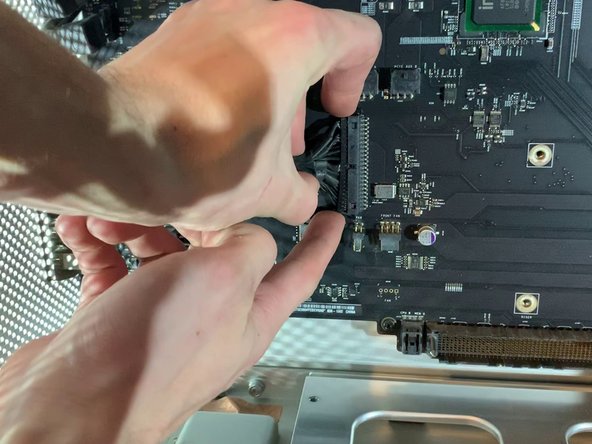
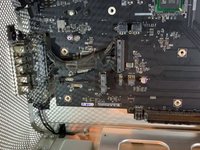
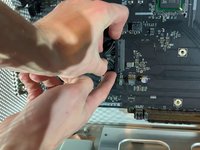
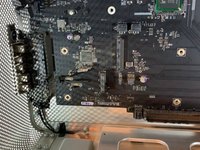
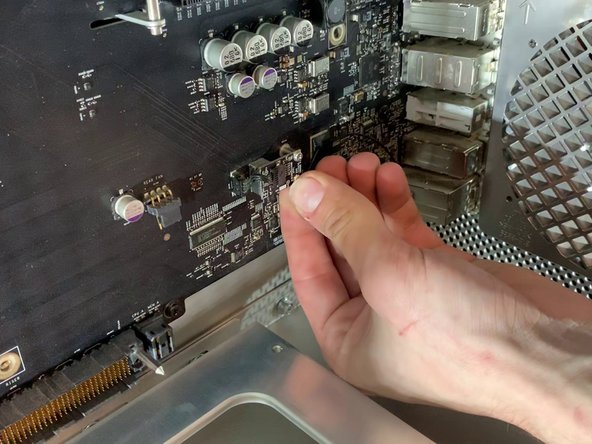
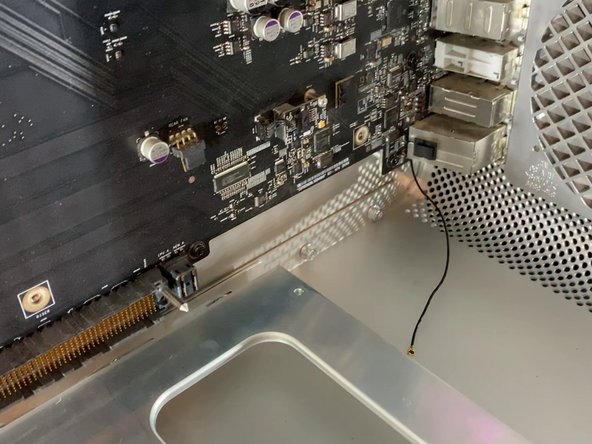
      • Remove the ribbon that connects the motherboard to the expansion card (USB, Jack, Power Off etc.)

      • Warning, remove the cable carefully so as not to bend the pins which are in the connector of the motherboard!

      Ask FixBot

      Add Comment

    17. Mac Pro 2009-2012 Case Replacement, Remove the expansion card: step 17, image 1 of 3 Mac Pro 2009-2012 Case Replacement, Remove the expansion card: step 17, image 2 of 3 Mac Pro 2009-2012 Case Replacement, Remove the expansion card: step 17, image 3 of 3
      • Unscrew the 5 screws that hold the card in place.

      • Be careful to unplug the power button of the card!

      Ask FixBot

      Add Comment

    18. Mac Pro 2009-2012 Case Replacement, Remove the cover: step 18, image 1 of 3 Mac Pro 2009-2012 Case Replacement, Remove the cover: step 18, image 2 of 3 Mac Pro 2009-2012 Case Replacement, Remove the cover: step 18, image 3 of 3
      • Unscrew the two screws and remove the cover

      Ask FixBot

      Add Comment

    19. Mac Pro 2009-2012 Case Replacement, Unplug the power supply: step 19, image 1 of 3 Mac Pro 2009-2012 Case Replacement, Unplug the power supply: step 19, image 2 of 3 Mac Pro 2009-2012 Case Replacement, Unplug the power supply: step 19, image 3 of 3
      • Push on both knobs to remove the power connector

      • Do not use force, if you are struggling ensure you are squeezing the clips adequately.

      Ask FixBot

      Add Comment

    20. Mac Pro 2009-2012 Case Replacement, Separate the power supply: step 20, image 1 of 2 Mac Pro 2009-2012 Case Replacement, Separate the power supply: step 20, image 2 of 2
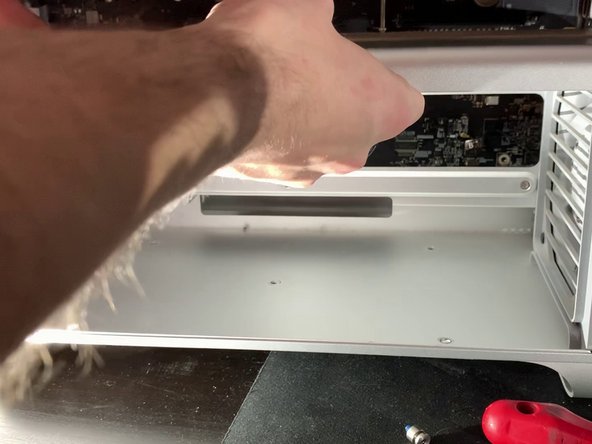
      • Unscrew the 4 screws that hold in the power supply

      Ask FixBot

      Add Comment

    21. Mac Pro 2009-2012 Case Replacement, Remove the power supply: step 21, image 1 of 3 Mac Pro 2009-2012 Case Replacement, Remove the power supply: step 21, image 2 of 3 Mac Pro 2009-2012 Case Replacement, Remove the power supply: step 21, image 3 of 3
      • Pull the power supply towards you.

      • Be sure to pull the connector forward and watch the cables

      Ask FixBot

      Add Comment

    22. Mac Pro 2009-2012 Case Replacement, Detach the bluetooth antenna: step 22, image 1 of 3 Mac Pro 2009-2012 Case Replacement, Detach the bluetooth antenna: step 22, image 2 of 3 Mac Pro 2009-2012 Case Replacement, Detach the bluetooth antenna: step 22, image 3 of 3
      • Unclip the bluetooth antenna

      Ask FixBot

      Add Comment

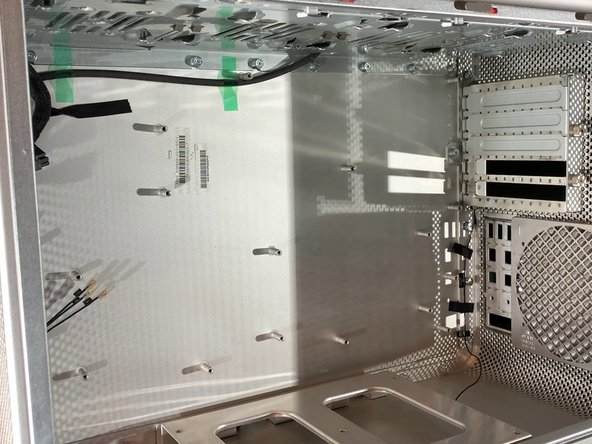
    23. Mac Pro 2009-2012 Case Replacement, Remove the motherboard: step 23, image 1 of 3 Mac Pro 2009-2012 Case Replacement, Remove the motherboard: step 23, image 2 of 3 Mac Pro 2009-2012 Case Replacement, Remove the motherboard: step 23, image 3 of 3
      • Unscrew the 10 screws holding in the motherboard

      Ask FixBot

      Add Comment

    24. Mac Pro 2009-2012 Case Replacement, Change the case: step 24, image 1 of 1
      • Follow the steps in reverse for reassembly!

      Ask FixBot

      Add Comment

Conclusion

To reassemble your device, follow the instructions in reverse order.

Cancel: I did not complete this guide.

23 other people completed this guide.

Special thanks to these translators:

fr en

100%

These translators are helping us fix the world! Want to contribute?
Start translating ›

remitouch

Member since: 10/12/16

1,039 Reputation

1 Guide authored

7 Guide Comments

Bonjour, j’ai un mac pro 5,1 de 2010 dont les clapets (ou les trappes, j’ignore le terme exact) de la baie des lecteurs de disques restent ouverts à chaque fois qu’ils sont actionnés. Je n’ai pas réussi à les démonter, et les 2 gouttes de 3 en 1 sur les glissières latérales n’ont rien changé au problème. Je n’ai trouvé aucun tutoriel, ni même aucune occurrence de ce problème sur le web. Pourriez-vous me donner quelques conseils ? Merci.

Gabriel Fracque - Reply Share

Amazing explanations and perfect picture track on each move made.

Thanks much - this was very helpful :)
Dennis.

Dennis OBrien - Reply Share
Hello sir , I have a problem with my Mac Pro 5,1 mid 2010 Xeon 6core Cpu 64 GB Ram RX580

I erase SSD Hard Drive and I want to reinstall mojave OS and it does not work still appear ‘Missing Operating System’

I try to use all commends on startup like (Option) (Commend+R) (Option+Commend+R)(Option+Commend+R+P) and more commends

but nothing work with it … please I want help . I need your help please , please …

Hussain Khan - Reply Share
You’d probably get an answer a lot quicker if you just posted that as a question.

[deleted] - Reply Share

Thanks for posting this guide!

I used it to replace all the cooking fans in my macpro5,1. Worked great!!

Andrew Clark - Reply Share

Add Comment

View Statistics:

Past 24 Hours: 8

Past 7 Days: 32

Past 30 Days: 177

All Time: 31,312