Free Shipping on Domestic Orders $75+

Mac Pro 2009-2012 CPU Replacement

What you need

    1. Mac Pro 2009-2012 CPU  Replacement, Pull out CPU tray: step 1, image 1 of 3 Mac Pro 2009-2012 CPU  Replacement, Pull out CPU tray: step 1, image 2 of 3 Mac Pro 2009-2012 CPU  Replacement, Pull out CPU tray: step 1, image 3 of 3
      • Find the 2 pull tabs and use them to pull out the CPU tray and place them on the table.

      • Use a hex wrench to unscrew the spring-loaded screw using the star pattern on the CPU Heatsink for even force of the CPU die. This is a specially needed when putting the Heatsink back on.

      • Turn the hex wrench once each time until it's loose when Using the star pattern (Diagram shown).

      • On 2009 (4,1) Mac Pros, The CPU comes up with the Heatsink and is not socketed. Like the 2010-2012 (5,1) Mac Pros.

      • Pull Straight up as there is a vital connection built into the heatsink.

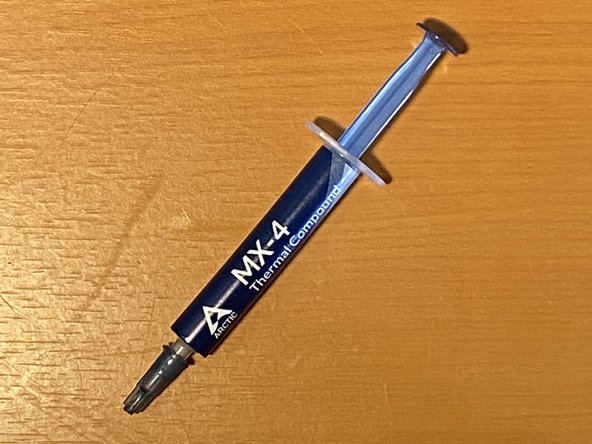
      • On the bottom of the heatsink will be a copper pad that comes in contact with the CPU. Use a paper towel to wipe off all the remaining thermal paste, isopropyl Alcohol is handy for this.

      • Isopropyl alcohol is handy for getting the best for cleaning the Copper Heatsink&CPU for new thermal paste.

      Ask FixBot

      Add Comment

    2. Mac Pro 2009-2012 CPU  Replacement, CPU replacement: step 2, image 1 of 3 Mac Pro 2009-2012 CPU  Replacement, CPU replacement: step 2, image 2 of 3 Mac Pro 2009-2012 CPU  Replacement, CPU replacement: step 2, image 3 of 3
      • Clean all of the thermal paste on the CPU and lift the metal bar up and pull the bracket back.

      • Gently pull out the old CPU with thumb and pointer finger and then place it towards the side.

      • Don't touch the exposed connectors on the CPU to the CPU tray.

      Ask FixBot

      Add Comment

    3. Mac Pro 2009-2012 CPU  Replacement, New CPU: step 3, image 1 of 3 Mac Pro 2009-2012 CPU  Replacement, New CPU: step 3, image 2 of 3 Mac Pro 2009-2012 CPU  Replacement, New CPU: step 3, image 3 of 3
      • Inspect the cpu socket and other connectors for dust and debris and blow away if necessary.

      • Place the new cpu in with a touch of thermal paste at the top.

      Ask FixBot

      Add Comment

Conclusion

To reassemble your device, follow these instructions in reverse order.

Cancel: I did not complete this guide.

4 other people completed this guide.

Branning Goody

Member since: 01/24/22

301 Reputation

2 Guides authored

3 Guide Comments

This process shows a single CPU MacPro, which gets a Xeon processor WITH the LID covering it and heatsink on it. As of MacPro4,1 with Nehalem it's bi-xeon CPU and heatsink on a bare processor chip, no lid covers. That difference cannot be seen from a built MacPro board (because of the big heatsinks-) But it's a good performance improvement (CPU temp the lower the faster) when heatsink's directly in contact with the chip.

https://superuser.com/questions/923678/d...

If you can buy a Xeon upgrade just be sure to choose the processor without the lid (most Apple Mac setups) or with the lid cover (as PC setups)

Ti B Rakotoarima - Reply Share

Your guide has been very useful. Best compliments. I'll follow you 4ever!

aureliogiovanardi - Reply Share

Glad to here!
Thanks for the positive feedback! @goodyb Good job!

Ben Capehart - Reply Share

Add Comment

View Statistics:

Past 24 Hours: 6

Past 7 Days: 56

Past 30 Days: 238

All Time: 10,848