Free Shipping on Domestic Orders $75+

MSI MS-1782 Speaker Assembly Replacement

What you need

    1. MSI MS-1782 Speaker Assembly Replacement, Back Cover: step 1, image 1 of 1
      • Remove five 6.6 mm screws from the edges of the bottom cover using a JIS #1 screwdriver.

      • Remove one 5.6 mm screw from the center of the bottom cover using a JIS #1 screwdriver.

      Ask FixBot

      Add Comment

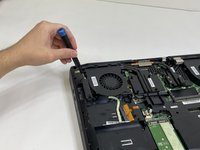
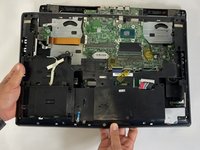
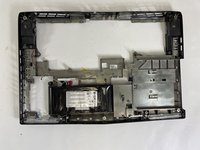
    2. MSI MS-1782 Speaker Assembly Replacement: step 2, image 1 of 3 MSI MS-1782 Speaker Assembly Replacement: step 2, image 2 of 3 MSI MS-1782 Speaker Assembly Replacement: step 2, image 3 of 3
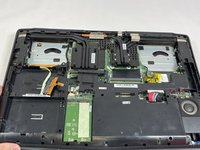
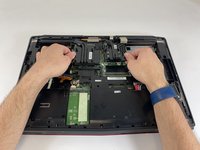
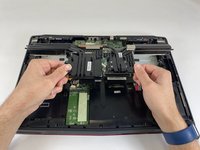
      • Use an iFixit opening pick to unclip the bottom cover.

      • It is ok to run the picks along the edges since there is nothing connected to the bottom cover. It is easier to start from the sides and then work your way forward.

      • After unclipping the bottom case, pull from the back of the laptop upwards using the lip of the bottom case as a handle.

      Ask FixBot

      Add Comment

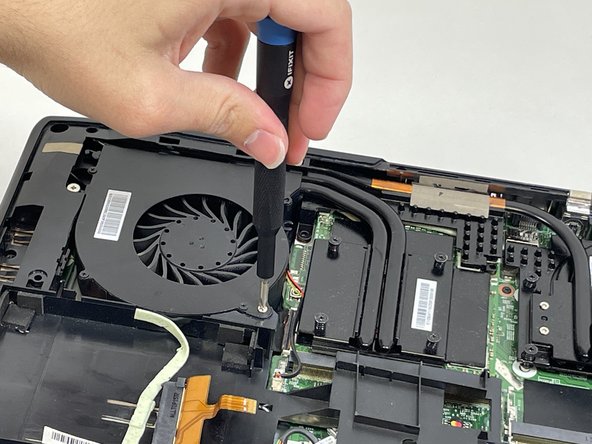
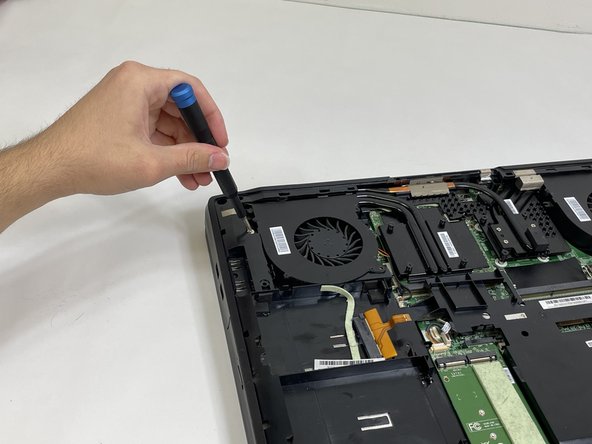
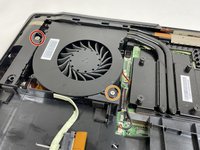
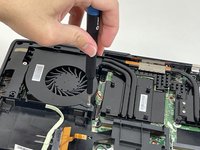
    1. MSI MS-1782 Speaker Assembly Replacement, Cooling Assembly: step 3, image 1 of 3 MSI MS-1782 Speaker Assembly Replacement, Cooling Assembly: step 3, image 2 of 3 MSI MS-1782 Speaker Assembly Replacement, Cooling Assembly: step 3, image 3 of 3
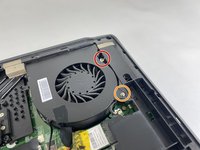
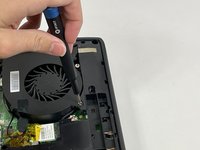
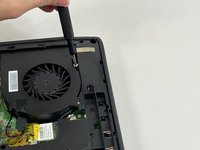
      • Loosen the captive screw on the left side of the left fan using a JIS #2 screwdriver.

      • Remove the 5.1 mm screw on the right side of the left fan using a JIS #2 screwdriver.

      Ask FixBot

      Add Comment

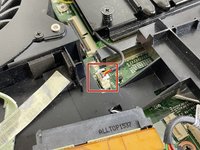
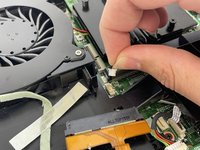
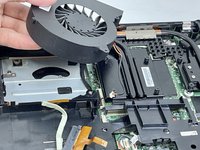
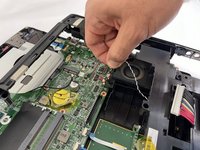
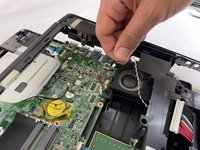
    2. MSI MS-1782 Speaker Assembly Replacement: step 4, image 1 of 3 MSI MS-1782 Speaker Assembly Replacement: step 4, image 2 of 3 MSI MS-1782 Speaker Assembly Replacement: step 4, image 3 of 3
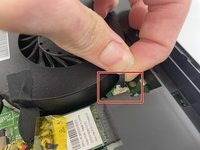
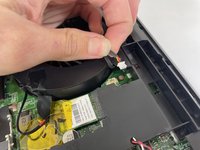
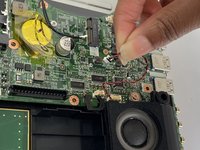
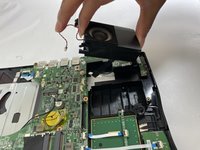
      • Gently detach the fan connector.

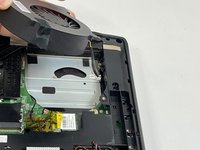
      • Remove the fan by lifting it out of its housing.

      • Be sure to handle the wire delicately; if not it will break.

      Ask FixBot

      Add Comment

    3. MSI MS-1782 Speaker Assembly Replacement: step 5, image 1 of 3 MSI MS-1782 Speaker Assembly Replacement: step 5, image 2 of 3 MSI MS-1782 Speaker Assembly Replacement: step 5, image 3 of 3
      • Loosen the captive screw on the top of the right fan using a JIS #2 screwdriver.

      • Remove the 3.6 mm screw on the bottom of the right fan using a JIS #2 screwdriver.

      Ask FixBot

      Add Comment

    4. MSI MS-1782 Speaker Assembly Replacement: step 6, image 1 of 3 MSI MS-1782 Speaker Assembly Replacement: step 6, image 2 of 3 MSI MS-1782 Speaker Assembly Replacement: step 6, image 3 of 3
      • Gently detach the fan connector.

      • Remove the fan by lifting it out of its housing.

      • Be sure to handle the wire delicately; if not it will break.

      Ask FixBot

      Add Comment

    5. MSI MS-1782 Speaker Assembly Replacement: step 7, image 1 of 3 MSI MS-1782 Speaker Assembly Replacement: step 7, image 2 of 3 MSI MS-1782 Speaker Assembly Replacement: step 7, image 3 of 3
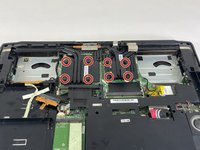
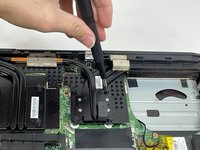
      • Loosen the eight captive screws holding the heat sink in place using a JIS #2 screwdriver.

      • Be sure to follow the numbers that are next to the screws on the heatsink. This evenly removes pressure on the components when removing the heatsink.

      Ask FixBot

      Add Comment

    6. MSI MS-1782 Speaker Assembly Replacement: step 8, image 1 of 3 MSI MS-1782 Speaker Assembly Replacement: step 8, image 2 of 3 MSI MS-1782 Speaker Assembly Replacement: step 8, image 3 of 3
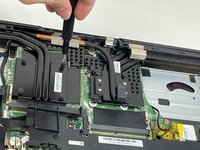
      • Gently lift the heat sink and then pull forwards towards you.

      Ask FixBot

      Add Comment

    1. MSI MS-1782 Speaker Assembly Replacement, Battery: step 9, image 1 of 3 MSI MS-1782 Speaker Assembly Replacement, Battery: step 9, image 2 of 3 MSI MS-1782 Speaker Assembly Replacement, Battery: step 9, image 3 of 3
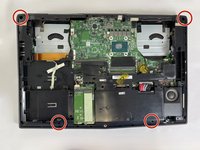
      • Remove the four 5.5 mm screws holding the battery frame in place using a JIS #1 screwdriver.

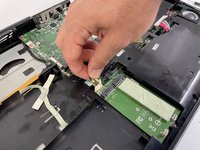
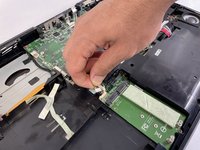
      • Gently disconnect the cable connecting the M.2 caddy to the motherboard.

      Ask FixBot

      Add Comment

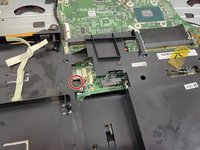
    2. MSI MS-1782 Speaker Assembly Replacement: step 10, image 1 of 3 MSI MS-1782 Speaker Assembly Replacement: step 10, image 2 of 3 MSI MS-1782 Speaker Assembly Replacement: step 10, image 3 of 3
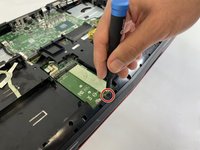
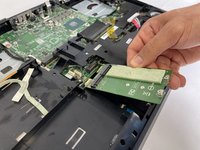
      • Remove the 3.6 mm screw holding the M.2 caddy in place using a JIS #1 screwdriver.

      Ask FixBot

      Add Comment

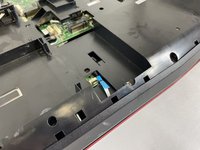
    3. MSI MS-1782 Speaker Assembly Replacement: step 11, image 1 of 3 MSI MS-1782 Speaker Assembly Replacement: step 11, image 2 of 3 MSI MS-1782 Speaker Assembly Replacement: step 11, image 3 of 3
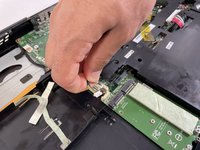
      • Gently disconnect the two blue ribbons.

      Ask FixBot

      Add Comment

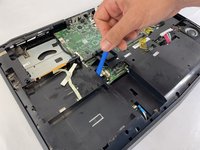
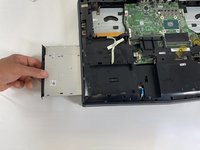
    4. MSI MS-1782 Speaker Assembly Replacement: step 12, image 1 of 3 MSI MS-1782 Speaker Assembly Replacement: step 12, image 2 of 3 MSI MS-1782 Speaker Assembly Replacement: step 12, image 3 of 3
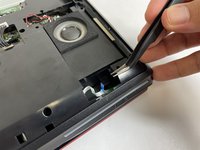
      • Remove the 5.1 mm screw holding in the disk reader using a JIS #1 screwdriver.

      • Use an iFixit opening tool to push the back of the disk reader to push it out of the laptop's chassis.

      Ask FixBot

      Add Comment

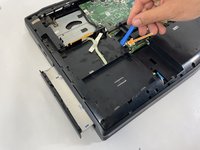
    5. MSI MS-1782 Speaker Assembly Replacement: step 13, image 1 of 3 MSI MS-1782 Speaker Assembly Replacement: step 13, image 2 of 3 MSI MS-1782 Speaker Assembly Replacement: step 13, image 3 of 3
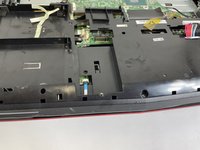
      • Gently pull the disc reader out of the laptop.

      • Lift the plastic cover and disconnect the cable connected next to the speaker.

      Ask FixBot

      Add Comment

    6. MSI MS-1782 Speaker Assembly Replacement: step 14, image 1 of 1
      • Remove the five 5 mm screws holding the frame in place using a JIS #1 screwdriver.

      Ask FixBot

      Add Comment

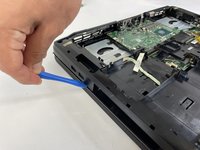
    7. MSI MS-1782 Speaker Assembly Replacement: step 15, image 1 of 3 MSI MS-1782 Speaker Assembly Replacement: step 15, image 2 of 3 MSI MS-1782 Speaker Assembly Replacement: step 15, image 3 of 3
      • Pry up on the battery frame with an opening tool and unclip from the main chassis, working your way around the laptop.

      • To remove the battery, pry up on it to unstick the adhesive.

      • A little Isopropyl alcohol under the battery can help unstick it from the frame.

      Ask FixBot

      Add Comment

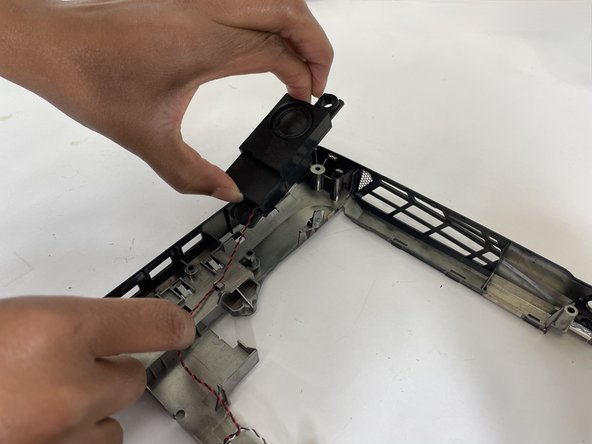
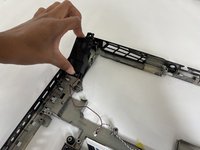
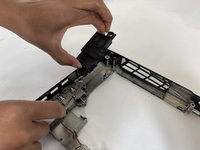
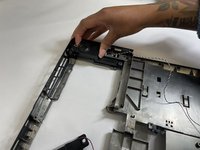
    1. MSI MS-1782 Speaker Assembly Replacement, Speaker Assembly: step 16, image 1 of 2 MSI MS-1782 Speaker Assembly Replacement, Speaker Assembly: step 16, image 2 of 2
      • Pull the left speaker out, following the wire, unclipping it as you go to the next.

      Ask FixBot

      Add Comment

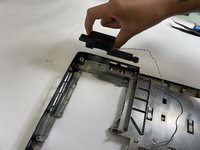
    2. MSI MS-1782 Speaker Assembly Replacement: step 17, image 1 of 2 MSI MS-1782 Speaker Assembly Replacement: step 17, image 2 of 2
      • Pull the right speaker out. Unclip the wire as you go, now completely removing both speakers.

      Ask FixBot

      Add Comment

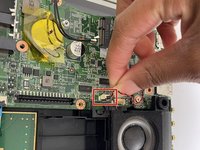
    3. MSI MS-1782 Speaker Assembly Replacement: step 18, image 1 of 3 MSI MS-1782 Speaker Assembly Replacement: step 18, image 2 of 3 MSI MS-1782 Speaker Assembly Replacement: step 18, image 3 of 3
      • Unplug the subwoofer and lift vertically to remove.

      Ask FixBot

      Add Comment

Conclusion

To reassemble your device, follow these instructions in reverse order.

Cancel: I did not complete this guide.

A'kia

Member since: 03/08/23

193 Reputation

2 Guides authored

0 Guide Comments

Add Comment

View Statistics:

Past 24 Hours: 2

Past 7 Days: 11

Past 30 Days: 29

All Time: 361