
MSI GS60 Ghost Pro 4K Gold Edition Back Panel Replacement

nonEdward666 and 2 other contributors
Last updated on Dec 13, 2017
Views: 1.1K
View statistics:
- Past 24 Hours:
- 2
- Past 7 Days:
- 21
- Past 30 Days:
- 86
- All Time:
- 1,098
Comments: 0
No one has left comments on this guide. Will you be first?
Go to guide commentsCompleted: 0 1
No one has marked this guide "completed." Will you be the first?
1 person has marked this guide "completed." It's you — great job!
Favorites: 0 1
No one has favorited (and subscribed to) this guide. Will you be the first?
1 person has favorited (and subscribed to) this guide — and that's you!
Introduction
Go to step 1 ↓This guide covers the procedure necessary to remove and replace the back panel of this device.
What you need
Tools


-
-
-
-
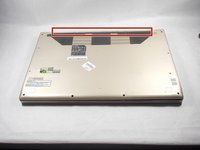
Using the screwdriver, unscrew the highlighted 1.2mm Phillips head #0 screws which secure the back panel into place.
-
-
-
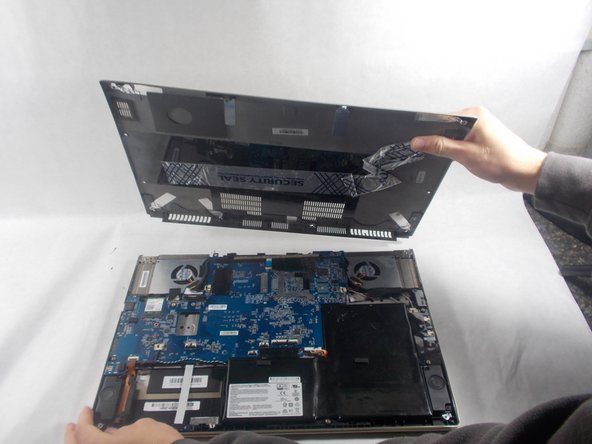
Using the plastic opening tools, separate the back panel from the rest of the device.
-
Do this by firmly pressing the head of the tool into the space between the back panel, and the rest of the device.
-

 Ask FixBot


To reassemble your device, follow these instructions in reverse order.

Team

UMass Dartmouth, Team S2-G2, Julie Fall 2017 Member of UMass Dartmouth, Team S2-G2, Julie Fall 2017
UMASSD-JULIE-F17S2G2
4 Members
84 Guides authored
