
MSI GP62MVR 6RF Leopard Pro Fans Replacement

Dawson and 3 other contributors
Last updated on Jun 17, 2020
Views: 2.1K
View statistics:
- Past 24 Hours:
- 1
- Past 7 Days:
- 14
- Past 30 Days:
- 79
- All Time:
- 2,068
Comments: 0
No one has left comments on this guide. Will you be first?
Go to guide commentsCompleted: 0 1
No one has marked this guide "completed." Will you be the first?
1 person has marked this guide "completed." It's you — great job!
Favorites: 0 1
No one has favorited (and subscribed to) this guide. Will you be the first?
1 person has favorited (and subscribed to) this guide — and that's you!
Introduction
Go to step 1 ↓This guide demonstrates how to replace the fans in the MSI GP62MVR 6RF Leopard Pro laptop. It is a difficult process with no special skills required. Avoid touching the circuitry when the case is open to avoid short-circuiting components or shocking yourself. If your fans are not turning on or are turning slow, and the laptop is overheating, then the fans will need to be replaced. Follow this guide to change the fans in a MSI GP62MVR 6RF Leopard Pro.
What you need
Tools


-
-
-
Place the laptop upside down.
-
Remove the sixteen 5.5 mm screws with a Phillips #0 screwdriver.
 Ask FixBot
-
-
-
Use the Jimmy tool to evenly pry loose the bottom cover.
-
Ensure that all sides are detached from the plastic hinging before attempting to remove the bottom cover.
-
-
-
-
-
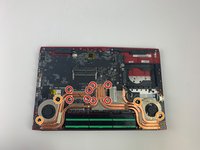
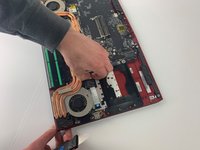
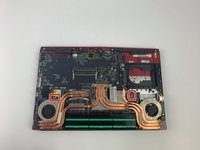
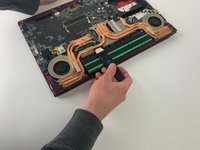
Remove the eight 4.5 mm screws that hold the heat sink to the motherboard with a Phillips #0 screwdriver.
-
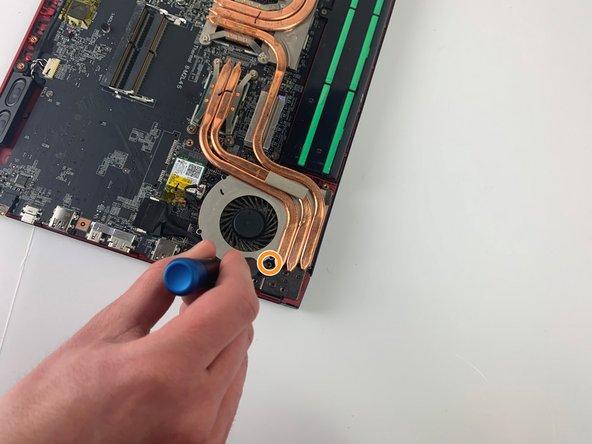
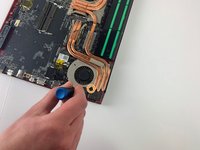
Remove the four 4.5 mm screws holding the fan in place also using a Phillips #0 screwdriver.
-
-
-
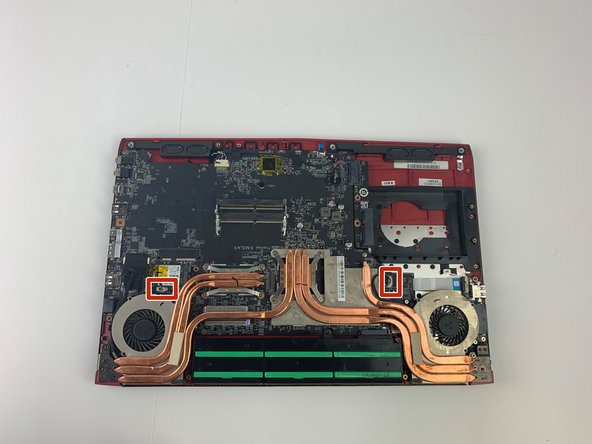
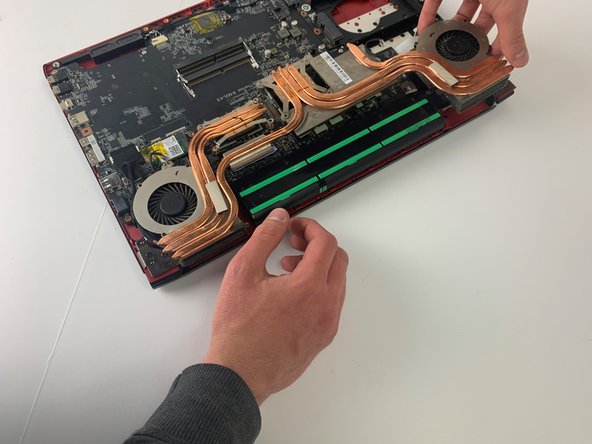
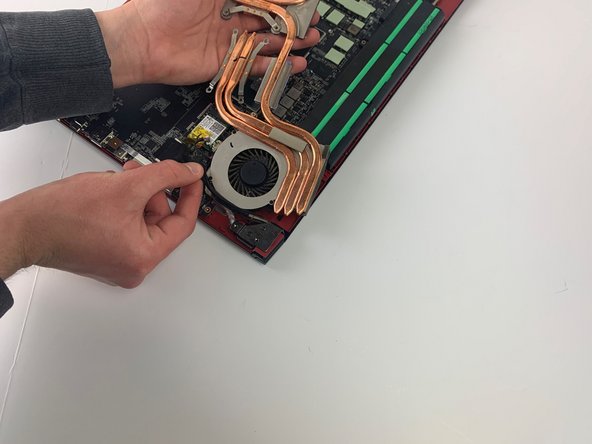
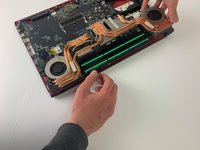
Using the Jimmy tool, remove the adhesive pads securing the fans to the board.
-
-
-
-
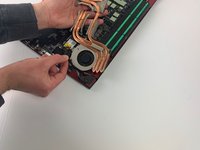
Remove the three 3.5 mm screws on each fan holding the fan to the heat sink using a Phillips #0 screwdriver.
-
-






To reassemble your device, follow these instructions in reverse order.

Team

Embry-Riddle Aeronautical University, Team S7-G6, Rauch Spring 2020 Member of Embry-Riddle Aeronautical University, Team S7-G6, Rauch Spring 2020
ERAU-RAUCH-S20S7G6
4 Members
72 Guides authored
