
MSI GE72 6QF Apache Pro SSD Replacement

Tanmay Kumar and 4 other contributors
Last updated on Nov 17, 2022
Views: 8.9K
View statistics:
- Past 24 Hours:
- 3
- Past 7 Days:
- 29
- Past 30 Days:
- 107
- All Time:
- 8,937
Comments: 7
7 comments on steps.
Completed: 7 8
7 people have marked this guide "completed." Will you be next?
8 people have marked this guide "completed." Including you — great job!
Favorites: 0 1
No one has favorited (and subscribed to) this guide. Will you be the first?
1 person has favorited (and subscribed to) this guide — and that's you!
Featured Student Guide
This guide has been the hard work of our awesome students and is found to be exceptionally cool by the iFixit staff.
Introduction
Go to step 1 ↓This guide will teach you how to replace the SSD on your MSI GE72 6QF Apache Pro
What you need
Fix Kit
This kit contains all the parts and tools needed to complete this guide.

Parts


Tools

-
-
-
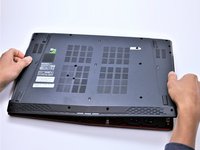
With the laptop closed and upside down, unscrew the nineteen 5.5mm Phillips #1 screws that keep the back cover in place.
 Ask FixBot
-
-
-
Use a Phillips screwdriver to remove the three screws along the edge of the optical drive bay.
-
-
-
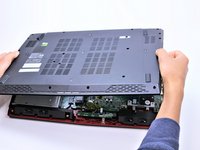
Using your fingers, gently loosen the edges of all four sides of the back cover.
-
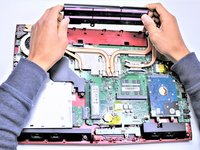
Gently pull off the back cover.
-
-
-
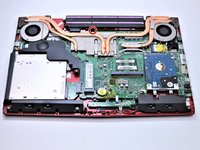
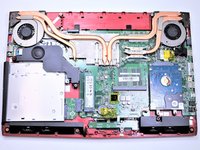
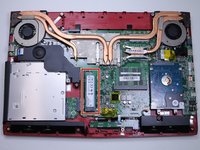
Grab the battery with your fingers and gently pull it up and away from the rest of the laptop.
-
-
-
-
-
-
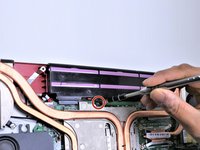
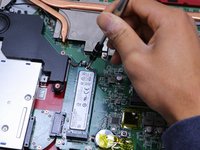
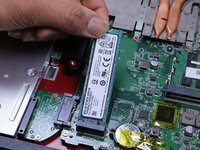
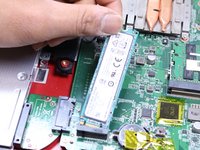
Remove the single 5.5mm Phillips #1 screw attaching the SSD to the laptop.
-
-










To reassemble your device, follow these instructions in reverse order.
Cancel: I did not complete this guide.
7 other people completed this guide.

Team

Cal Poly, Team S14-G4, Banghart Spring 2017 Member of Cal Poly, Team S14-G4, Banghart Spring 2017
CPSU-BANGHART-S17S14G4
4 Members
48 Guides authored
