
MSI GE72 6QF Apache Pro Optical Drive Replacement

Riley Smith and one other contributor
Last updated on Jan 4, 2018
Views: 2.2K
View statistics:
- Past 24 Hours:
- 2
- Past 7 Days:
- 21
- Past 30 Days:
- 94
- All Time:
- 2,245
Comments: 4
2 comments on steps, 2 guide comments.
Go to guide commentsCompleted: 1 2
1 person has marked this guide "completed." Will you be next?
2 people have marked this guide "completed." Including you — great job!
Favorites: 0 1
No one has favorited (and subscribed to) this guide. Will you be the first?
1 person has favorited (and subscribed to) this guide — and that's you!
Introduction
Go to step 1 ↓The Optical Drive replacement is easy, just a note though, our Optical Drive did not come with the bezel attached. When the drive has the bezel attached the back panel does not have to come off. Instead a single screw on the back panel would be removed and the drive would slide out.
What you need
Tools

-
-
-
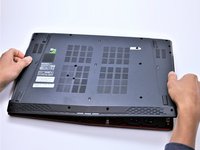
With the laptop closed and upside down, unscrew the nineteen 5.5mm Phillips #1 screws that keep the back cover in place.
 Ask FixBot
-
-
-
Use a Phillips screwdriver to remove the three screws along the edge of the optical drive bay.
-
-
-
Using your fingers, gently loosen the edges of all four sides of the back cover.
-
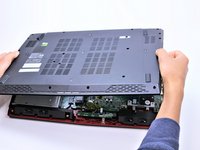
Gently pull off the back cover.
-
-
-
-
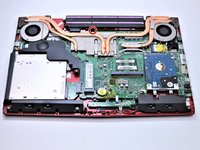
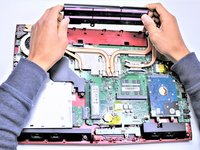
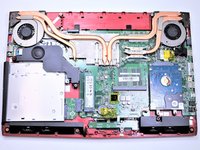
Grab the battery with your fingers and gently pull it up and away from the rest of the laptop.
-
-
-
-
-
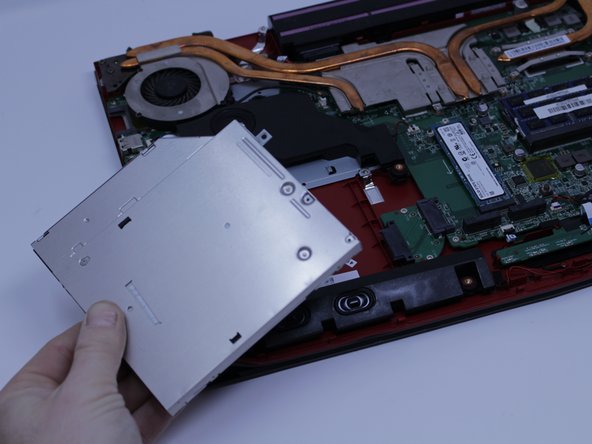
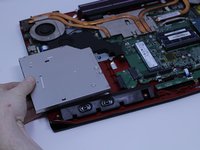
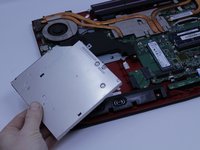
Carefully slide the Optical Drive off of the SATA connector.
-
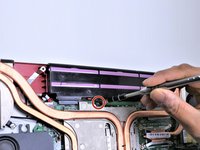
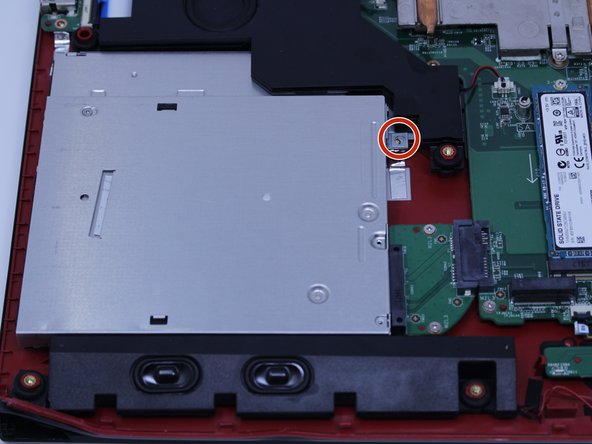
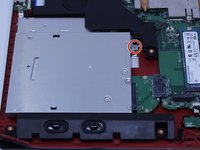
The red marker shows the location for where the retaining screw comes through the back panel to hold the Optical Drive.
-
-







To reassemble your device, follow these instructions in reverse order.
Cancel: I did not complete this guide.
One other person completed this guide.

Team

Central Washington University, Team S1-G2, Pengilly Fall 2017 Member of Central Washington University, Team S1-G2, Pengilly Fall 2017
CWU-PENGILLY-F17S1G2
4 Members
48 Guides authored
