Introduction
In this guide we are replacing the ABXY button from the MSI FORCE GC30 V2; the model number/name: MSI FORCE GC30 V2. The ABXY button are one of the main buttons on the layout of the controller. All games utilize these buttons as they are used to control a characters action. There are a few symptoms of a faulty ABXY button that is in need of replacement. One symptom users experience is button jamming, its when the user presses one of the ABXY buttons and it does not pop back up to its original position. Another symptom is no input is received when you press one of the ABXY buttons.
What you need
-
-
Puncture the sticker where indicated using a screwdriver, then remove the 9.1 mm-long Phillips screw.
-
Remove the six 9.2 mm-long Phillips #0 screws.
 Ask FixBot
-
-
-
Insert an opening pick in the gap between the front and rear case.
-
Slide the pick around the perimeter of the controller while prying until it fully releases.
-
-
-
Use tweezers to grip the white battery connector.
-
Pull the battery connector directly out of its port.
-
-
-
Pry carefully around the battery until it fully releases.
-
Remove the battery.
-
-
-
-
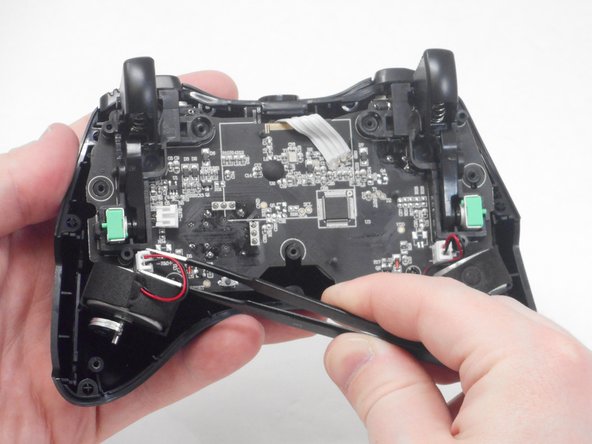
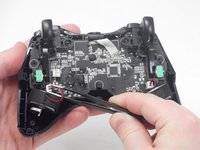
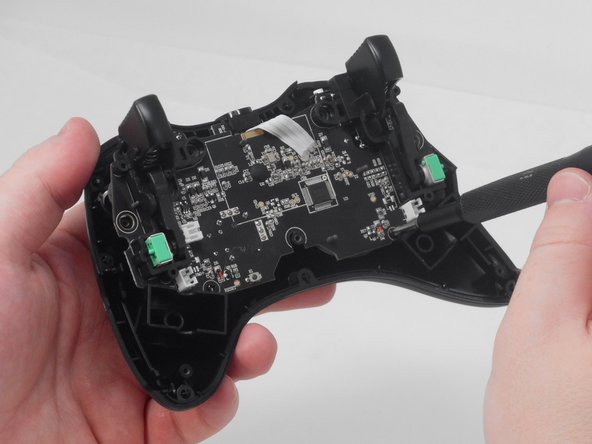
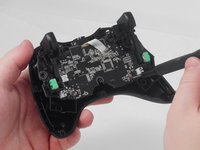
Use blunt tweezers to disconnect both of the vibration motor connectors from the motherboard.
-
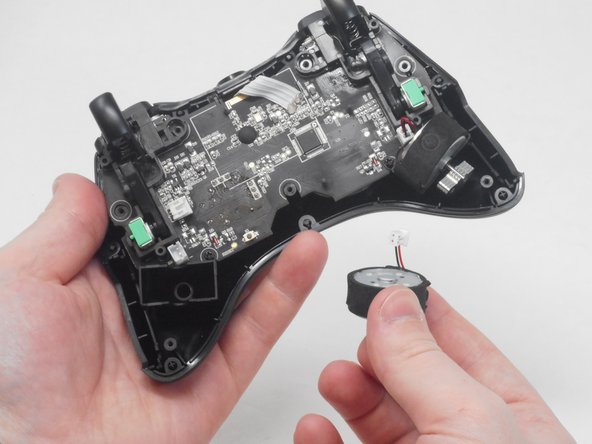
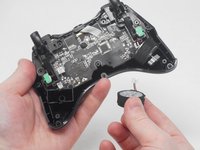
Carefully remove both the right and left vibration motors from their housing.
-
-
-
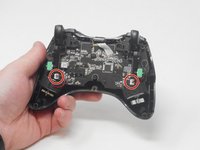
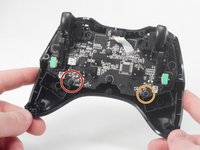
Remove the 7.1 mm-long Phillips #0 screw.
-
Remove the 7 mm-long Phillips #0 screw.
-
-
-
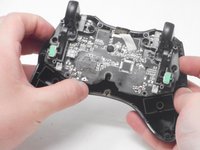
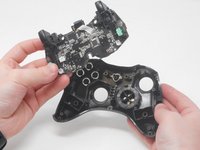
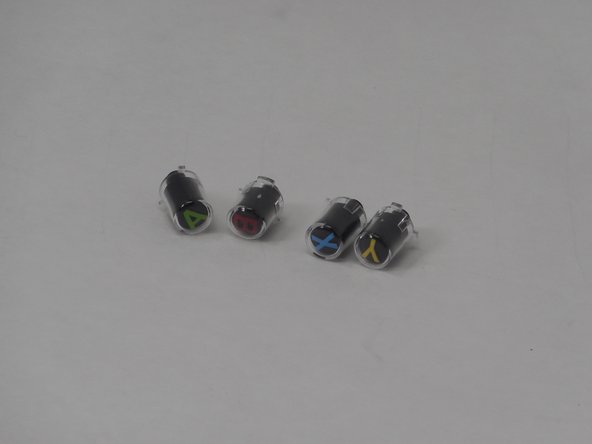
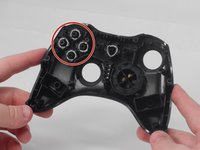
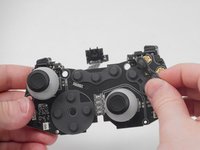
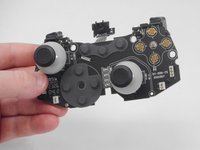
Remove the ABXY button either by pulling them out or turning the controller the other side and letting the buttons fall out.
-
-
-
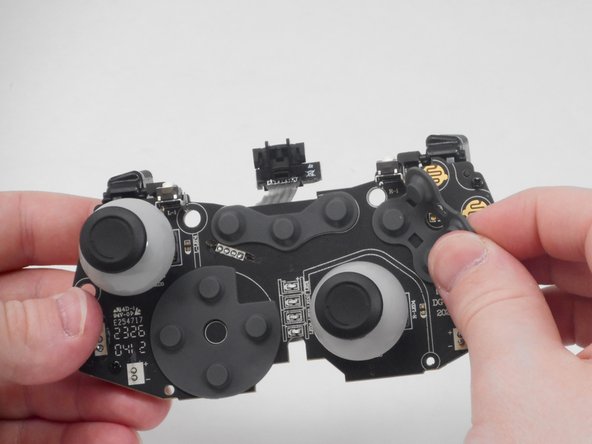
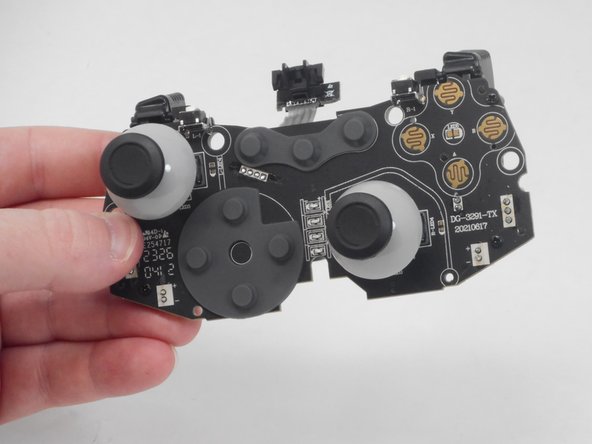
Remove the ABXY button membrane by carefully lifting it off the motherboard.
-




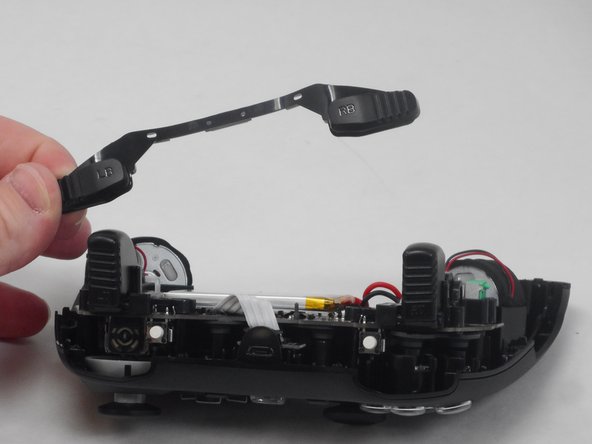

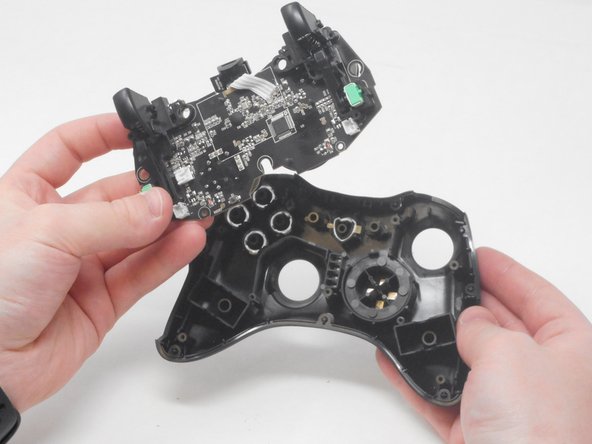


To reassemble your device, follow these instructions in reverse order.

Team

University of Memphis, Team 1-4, Sneed Spring 2024 Member of University of Memphis, Team 1-4, Sneed Spring 2024
UM-SNEED-S24S1G4
4 Members
6 Guides authored
